11g rac 安装
RAC信息规划:
主机名 racnode1 racnode2
IP地址:
public: 192.168.11.156 192.168.11.157
private: 192.168.201.156 192.168.201.157
vip: 192.168.11.158 192.168.11.159
scan: 192.168.11.160
实例名:racdb racdb1 racdb2
1、GRID安装
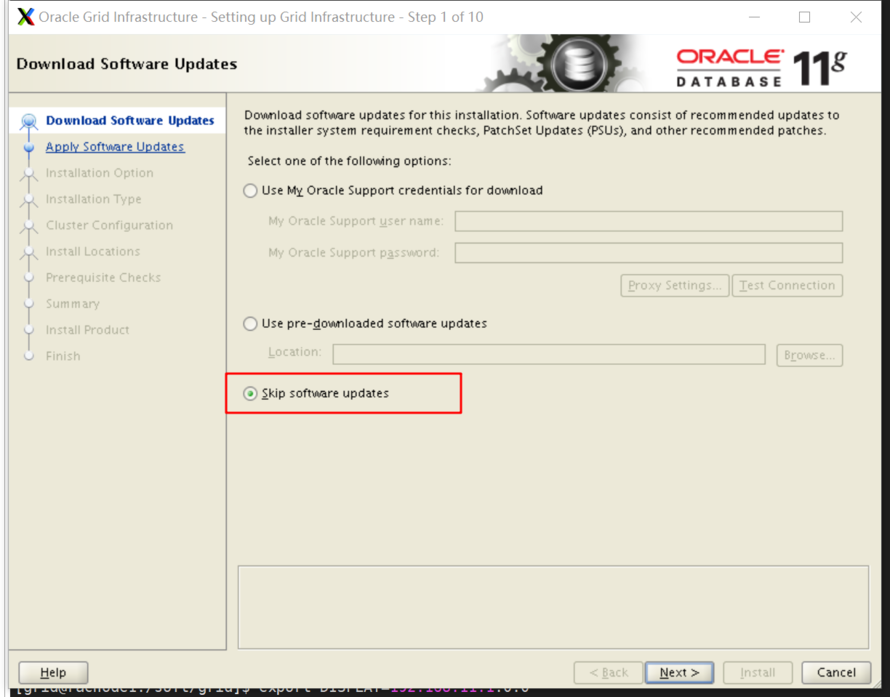
step1:
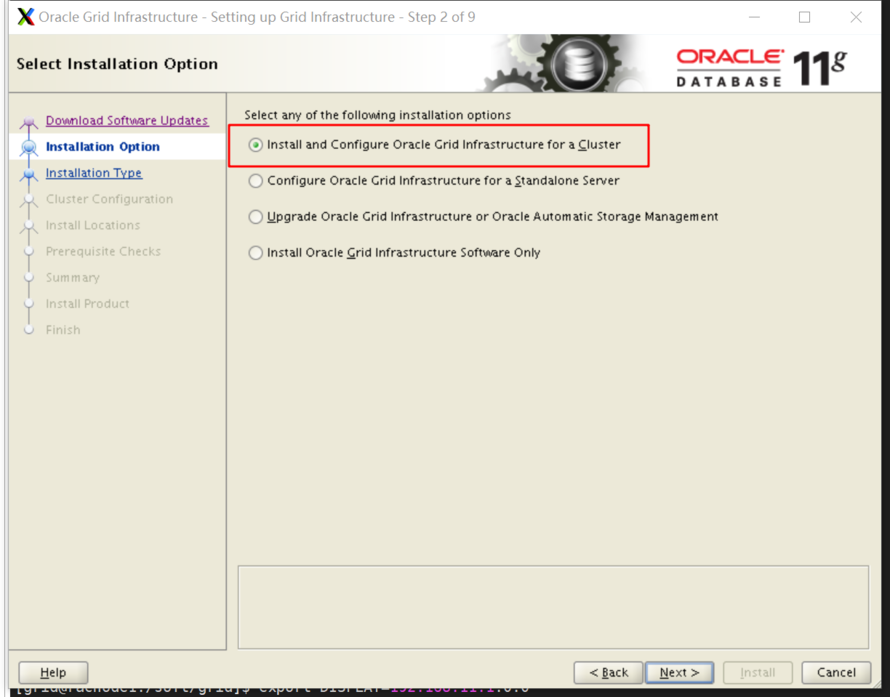
step2:
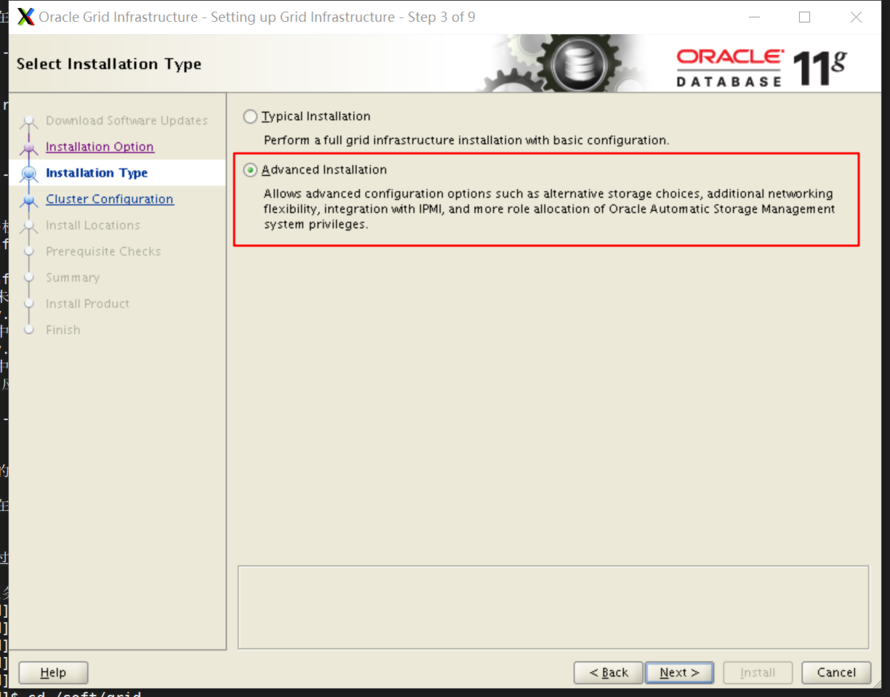
step3:
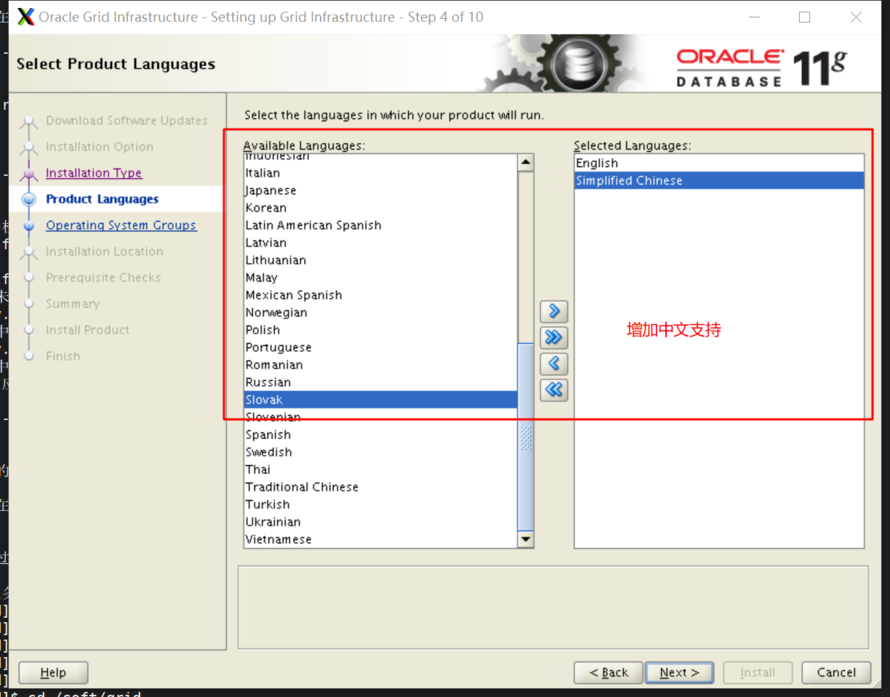
step4:
step5:
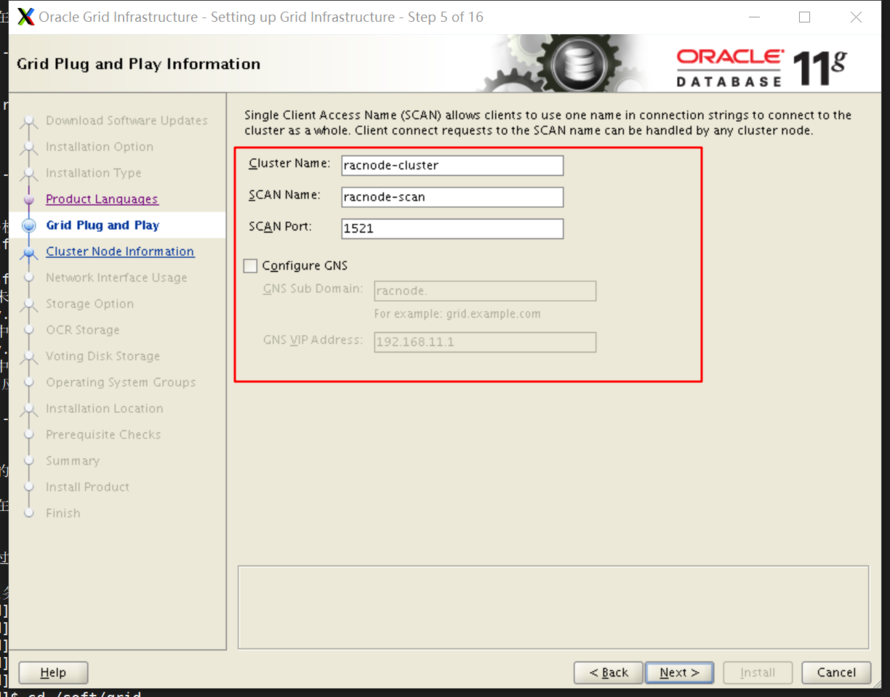
step6:

step7:
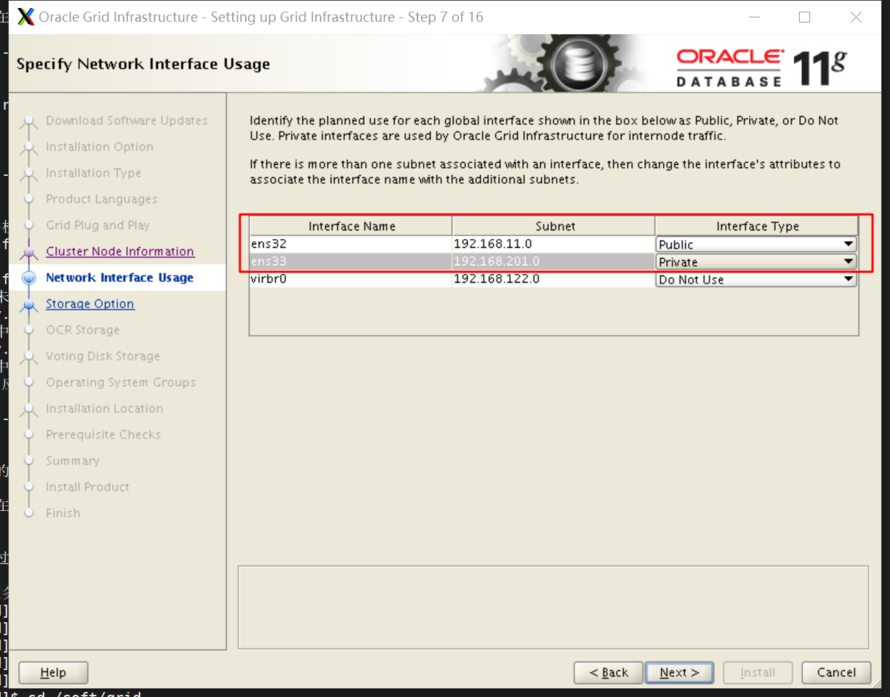
step8:

step9:


step10:
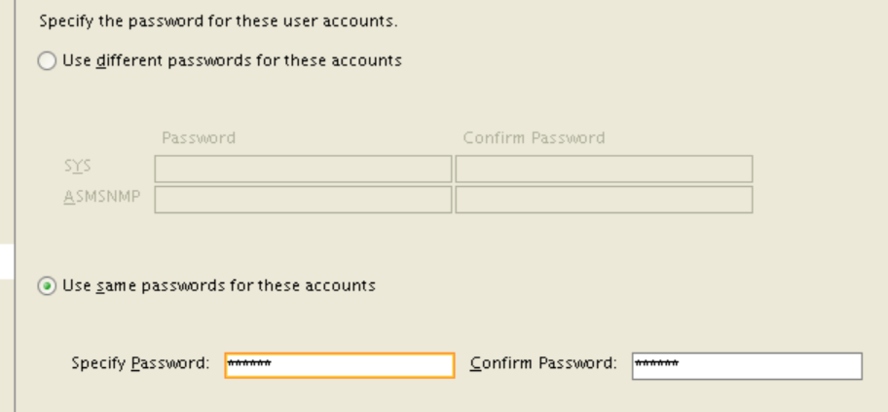
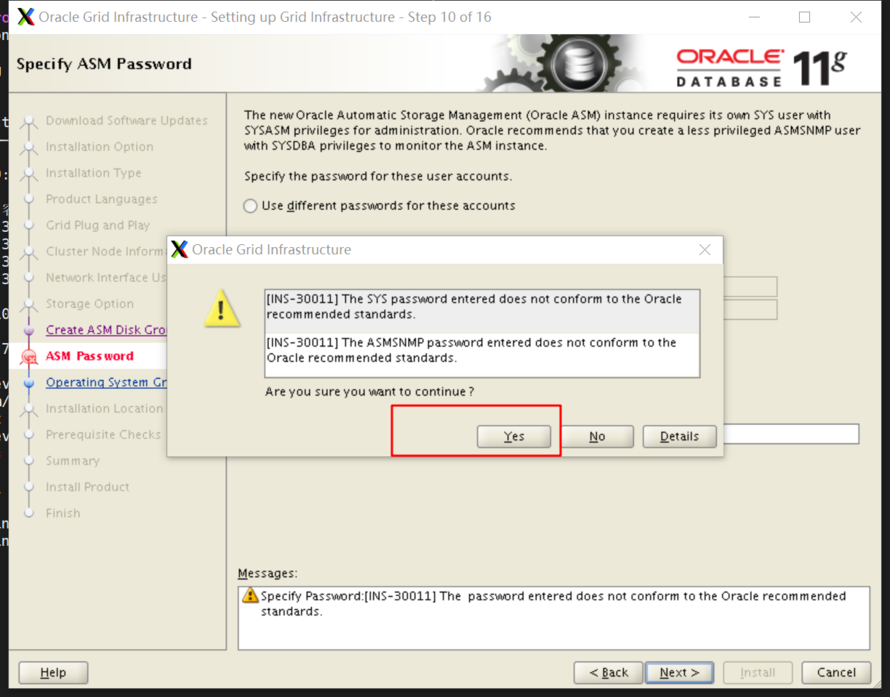
step11:

step12:
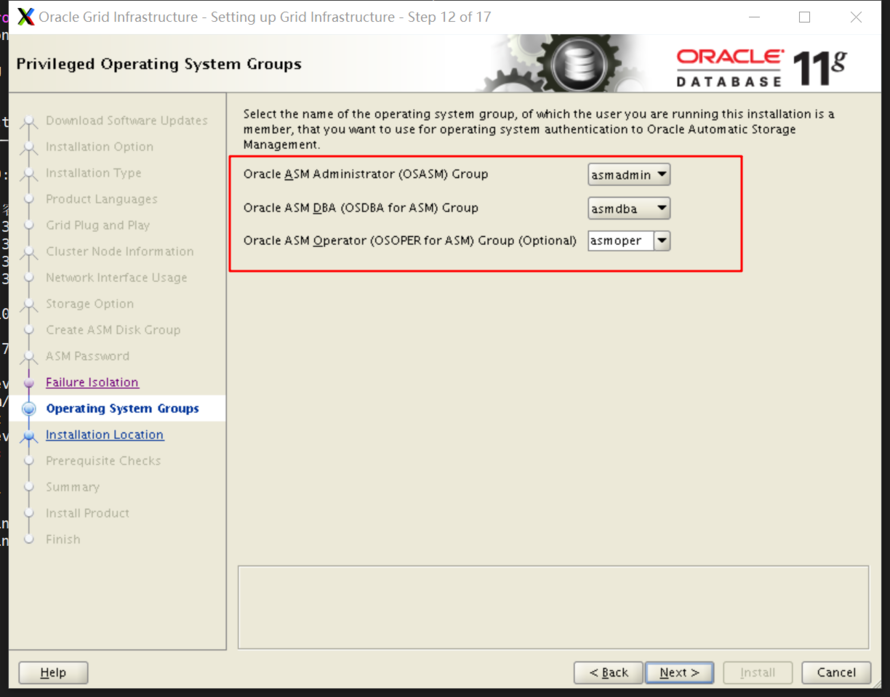
step13:

step14:
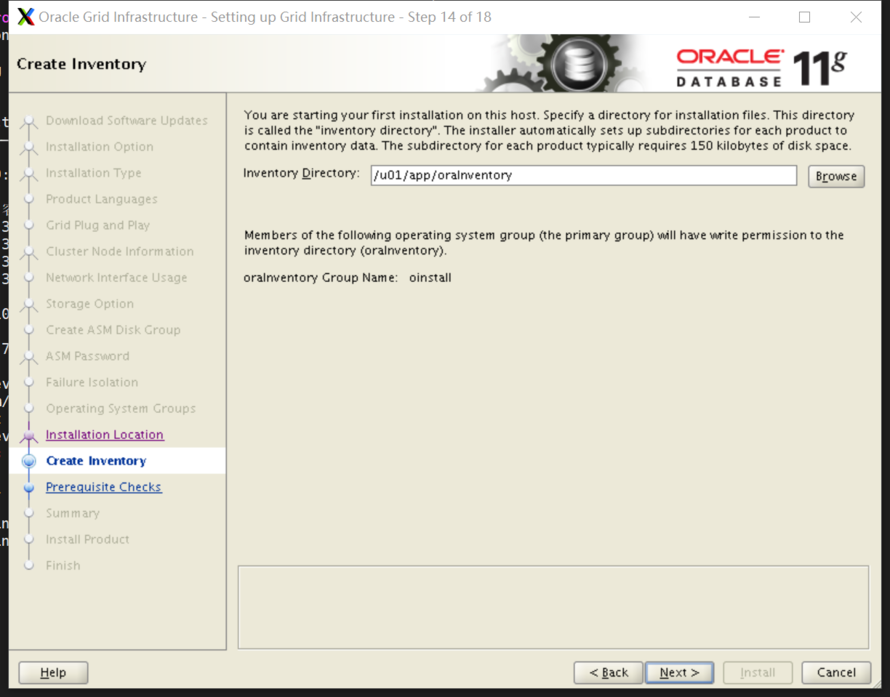
step15:


step16:
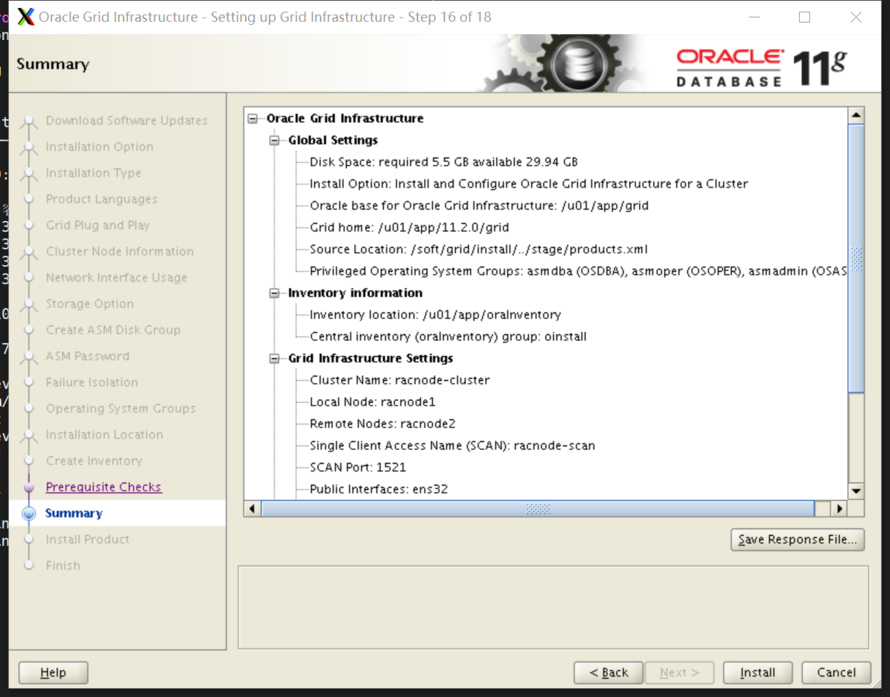
step17:
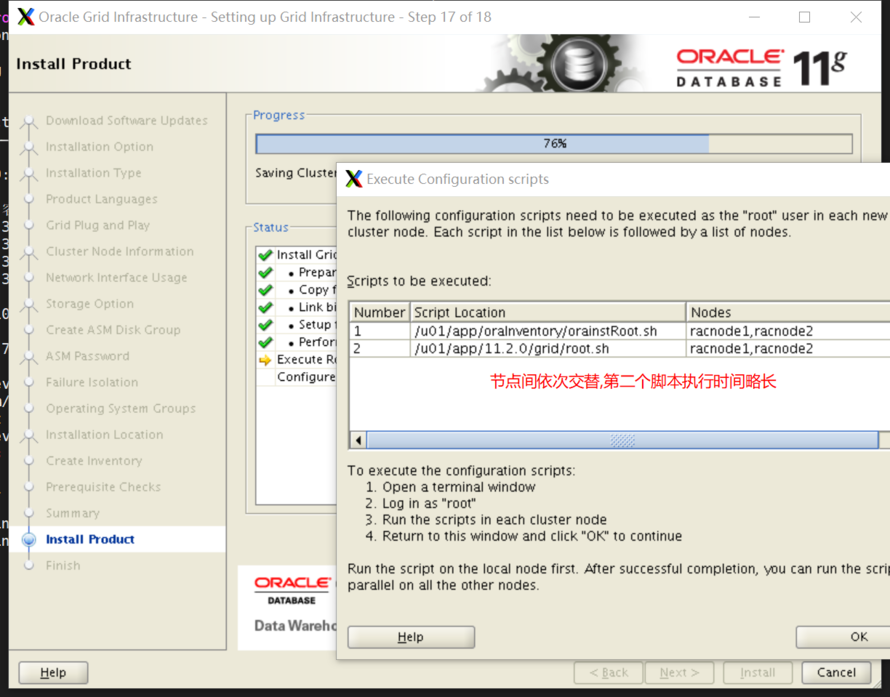
root.sh执行: (11g rac 在centos7 系列os 上inittab 启动ohasd failed ,及其解决办法)
[root@racnode1 ~]# /u01/app/11.2.0/grid/root.sh
Performing root user operation for Oracle 11g
The following environment variables are set as:
ORACLE_OWNER= grid
ORACLE_HOME= /u01/app/11.2.0/grid
Enter the full pathname of the local bin directory: [/usr/local/bin]:
The contents of "dbhome" have not changed. No need to overwrite.
The contents of "oraenv" have not changed. No need to overwrite.
The contents of "coraenv" have not changed. No need to overwrite.
Entries will be added to the /etc/oratab file as needed by
Database Configuration Assistant when a database is created
Finished running generic part of root script.
Now product-specific root actions will be performed.
Using configuration parameter file: /u01/app/11.2.0/grid/crs/install/crsconfig_params
User ignored Prerequisites during installation
Installing Trace File Analyzer
OLR initialization - successful
root wallet
root wallet cert
root cert export
peer wallet
profile reader wallet
pa wallet
peer wallet keys
pa wallet keys
peer cert request
pa cert request
peer cert
pa cert
peer root cert TP
profile reader root cert TP
pa root cert TP
peer pa cert TP
pa peer cert TP
profile reader pa cert TP
profile reader peer cert TP
peer user cert
pa user cert
Adding Clusterware entries to inittab
ohasd failed to start
Failed to start the Clusterware. Last 20 lines of the alert log follow:
2026-06-06 12:44:45.491:
[client(26199)]CRS-2101:The OLR was formatted using version 3.
2026-06-06 12:46:59.112:
[client(27241)]CRS-2101:The OLR was formatted using version 3.
CRS-2672: Attempting to start 'ora.mdnsd' on 'racnode1'
CRS-2676: Start of 'ora.mdnsd' on 'racnode1' succeeded
CRS-2672: Attempting to start 'ora.gpnpd' on 'racnode1'
CRS-2676: Start of 'ora.gpnpd' on 'racnode1' succeeded
CRS-2672: Attempting to start 'ora.cssdmonitor' on 'racnode1'
CRS-2672: Attempting to start 'ora.gipcd' on 'racnode1'
CRS-2676: Start of 'ora.cssdmonitor' on 'racnode1' succeeded
CRS-2676: Start of 'ora.gipcd' on 'racnode1' succeeded
CRS-2672: Attempting to start 'ora.cssd' on 'racnode1'
CRS-2672: Attempting to start 'ora.diskmon' on 'racnode1'
CRS-2676: Start of 'ora.diskmon' on 'racnode1' succeeded
CRS-2676: Start of 'ora.cssd' on 'racnode1' succeeded
已成功创建并启动 ASM。
已成功创建磁盘组OCR。
clscfg: -install mode specified
Successfully accumulated necessary OCR keys.
Creating OCR keys for user 'root', privgrp 'root'..
Operation successful.
CRS-4256: Updating the profile
Successful addition of voting disk 0d2a4ffe29364f87bf61acfcf7c67f4f.
Successfully replaced voting disk group with +OCR.
CRS-4256: Updating the profile
CRS-4266: Voting file(s) successfully replaced
## STATE File Universal Id File Name Disk group
-- ----- ----------------- --------- ---------
1. ONLINE 0d2a4ffe29364f87bf61acfcf7c67f4f (/dev/oracleasm/disks/ASM_OCR) [OCR]
Located 1 voting disk(s).
CRS-2672: Attempting to start 'ora.asm' on 'racnode1'
CRS-2676: Start of 'ora.asm' on 'racnode1' succeeded
CRS-2672: Attempting to start 'ora.OCR.dg' on 'racnode1'
CRS-2676: Start of 'ora.OCR.dg' on 'racnode1' succeeded
Configure Oracle Grid Infrastructure for a Cluster ... succeeded


查看verification 的具体日志,如下(和local_dns有关,不能解析域名, 忽略 选择ok即可):


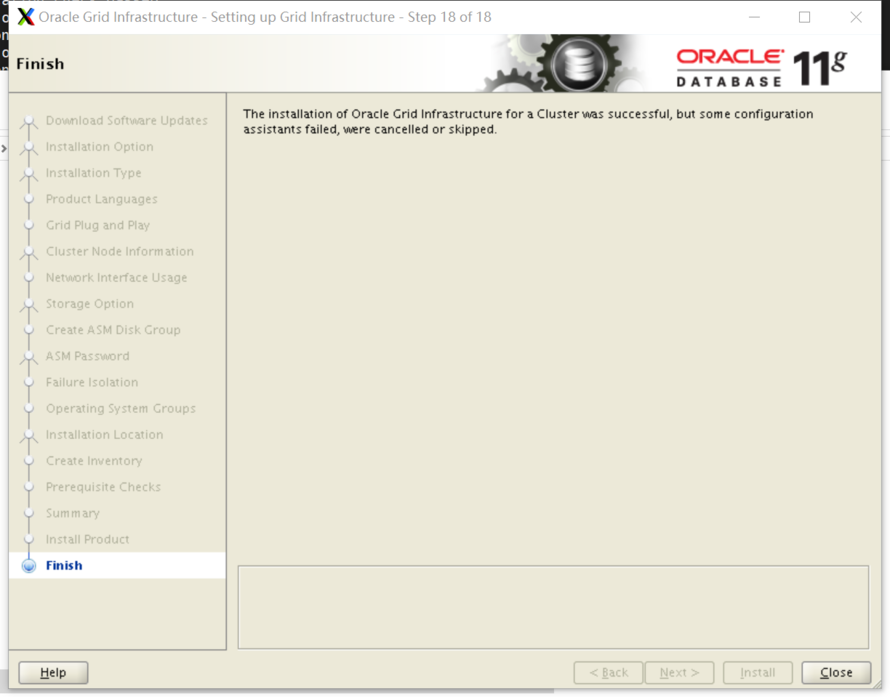
step18:
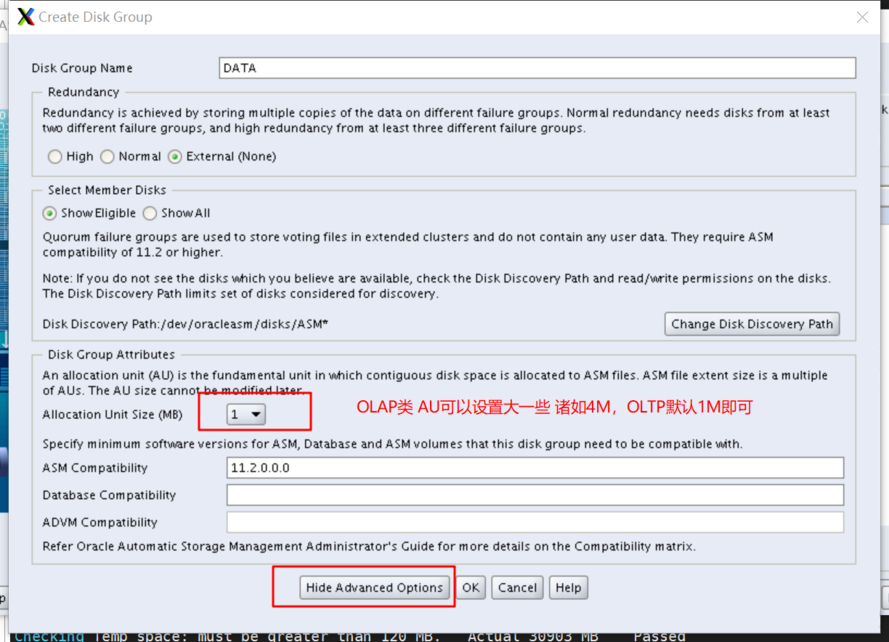
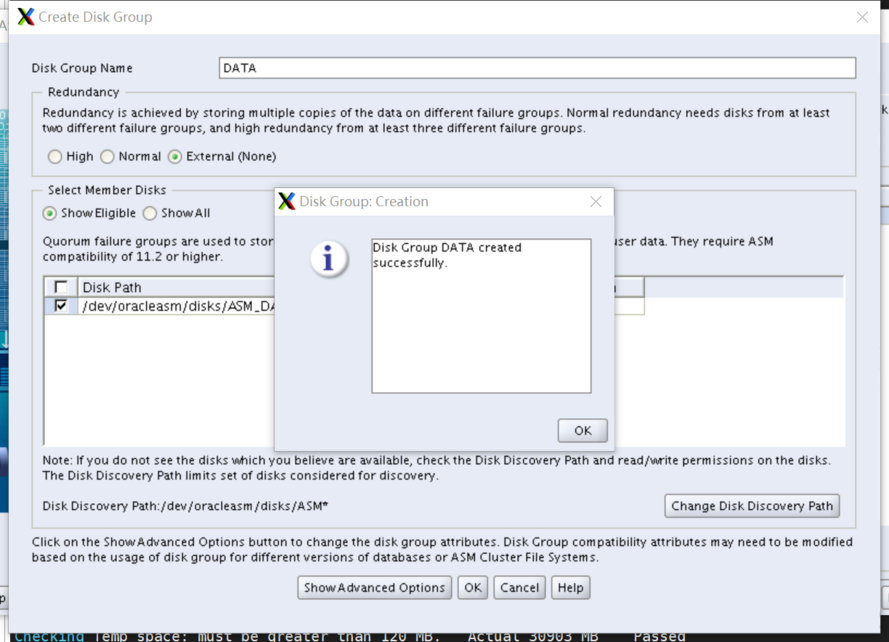
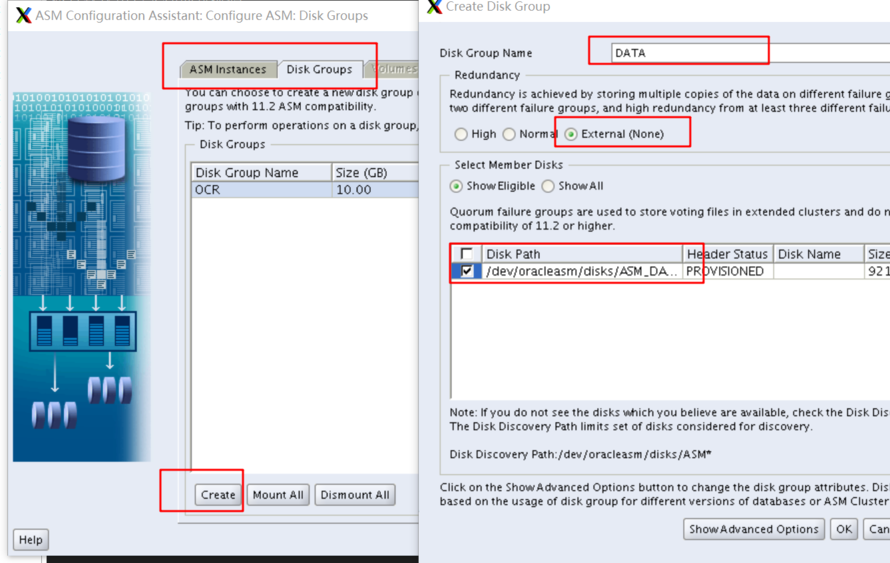
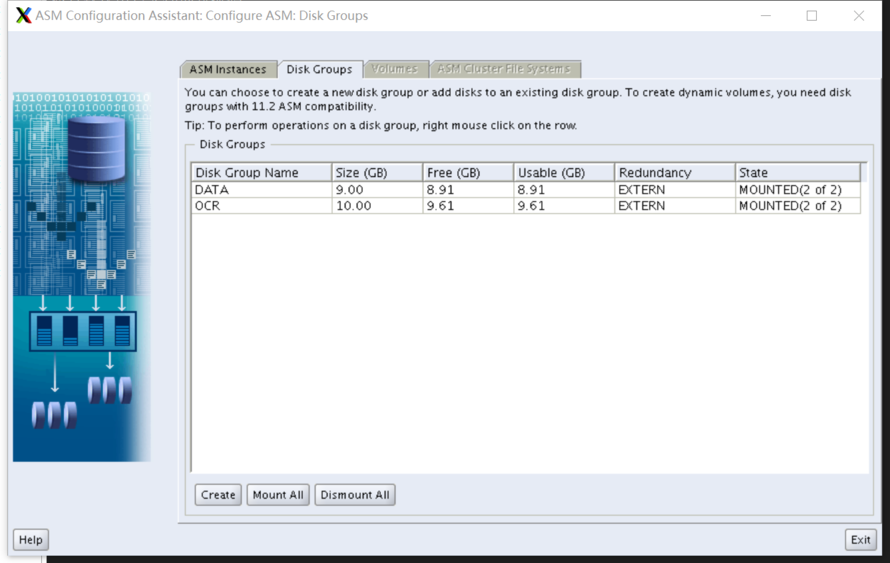
2、创建data卷组
3、数据库软件安装
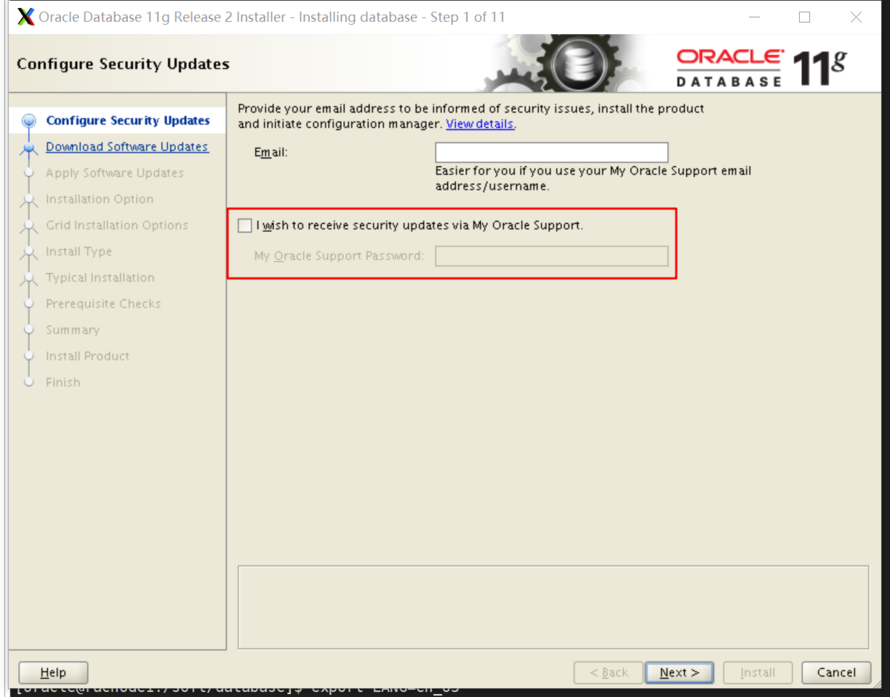
step1:

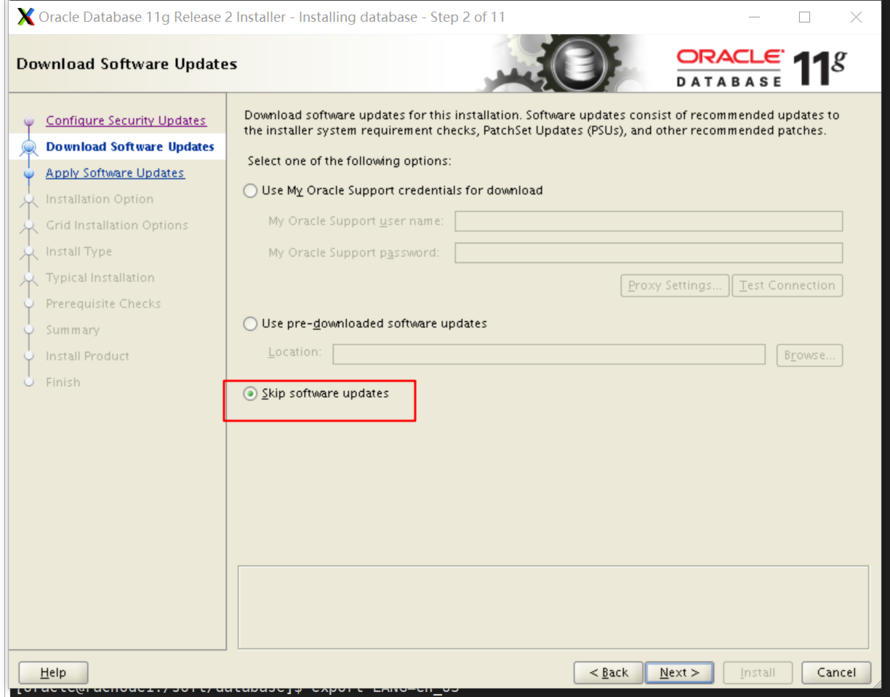
step2:
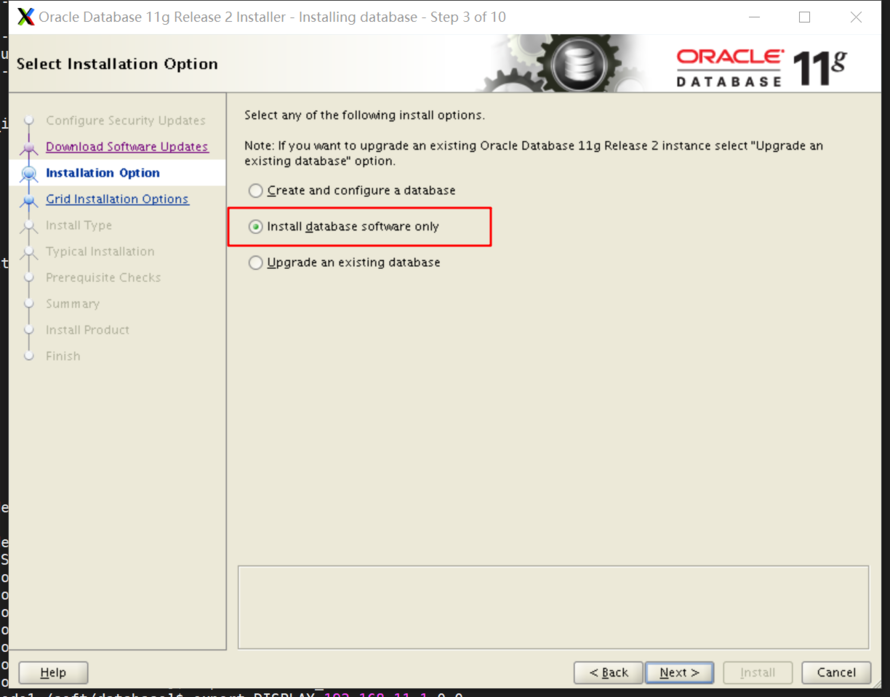
step3:
step4:
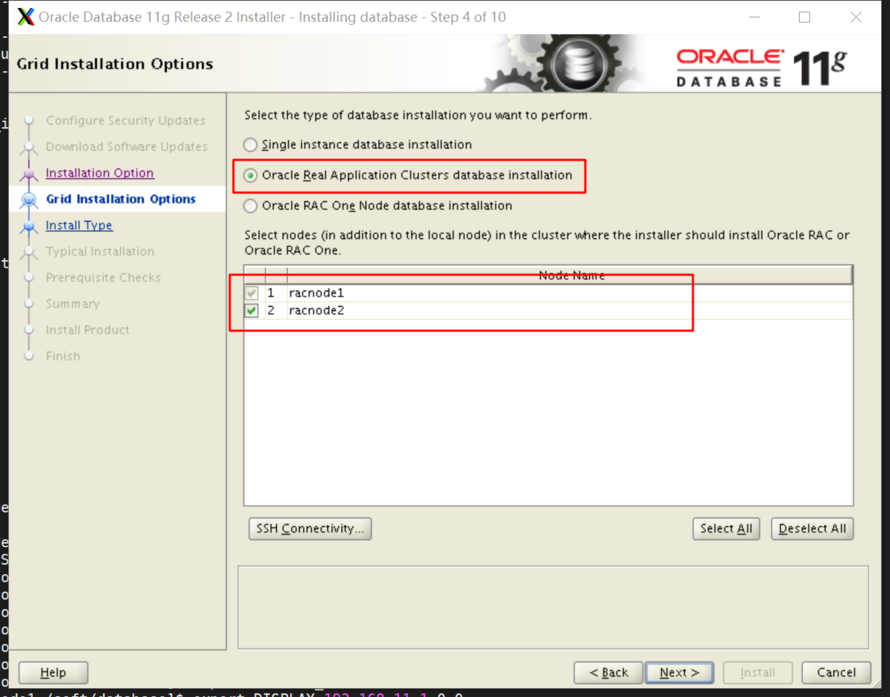
step5:
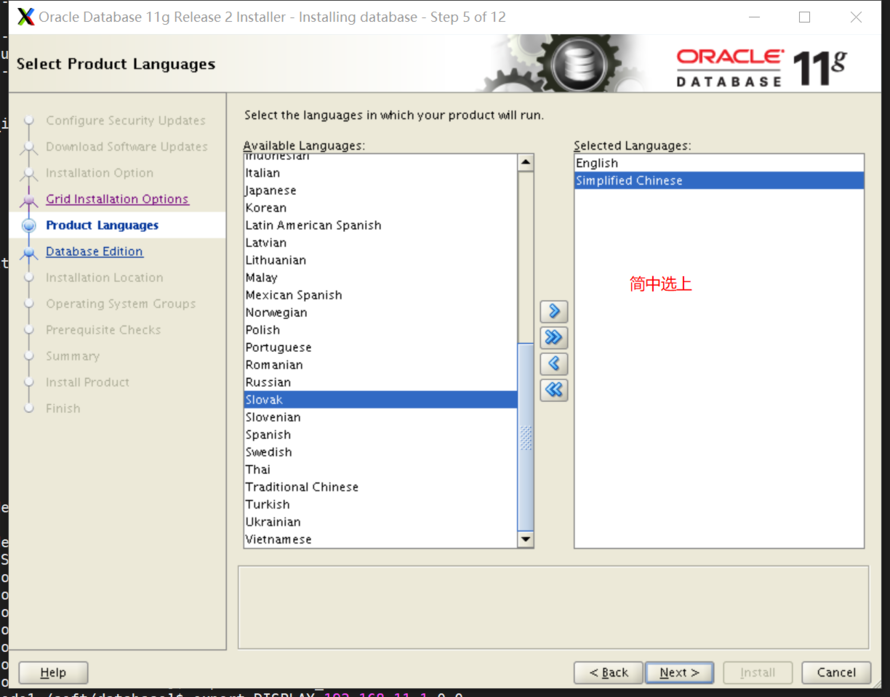
step6:
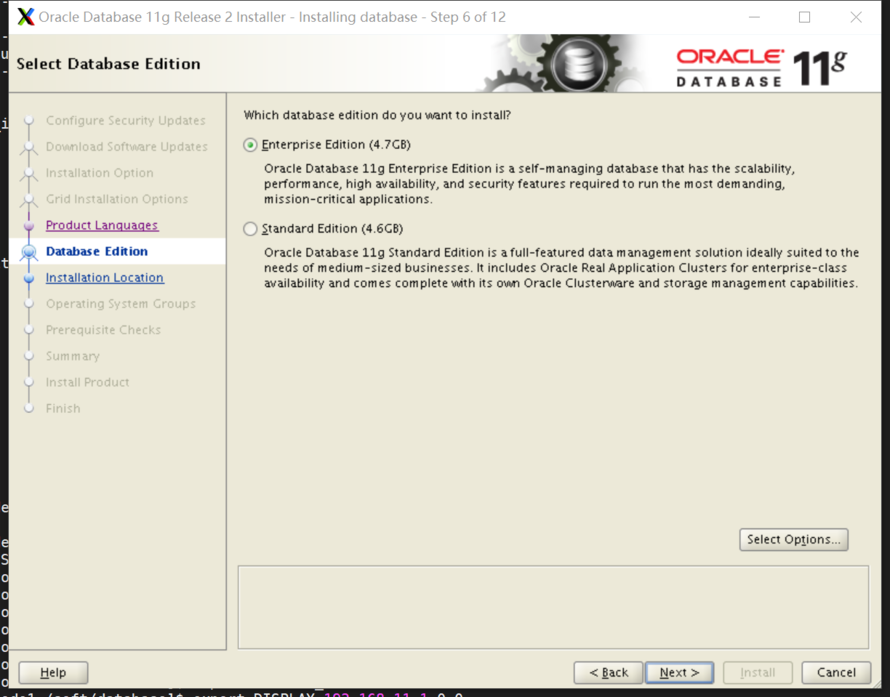
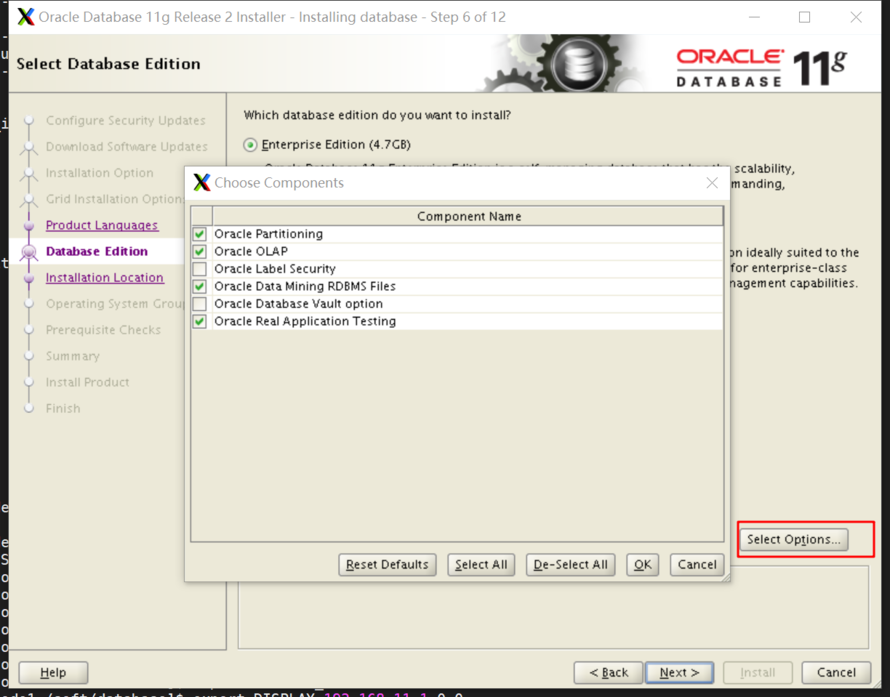
step7:
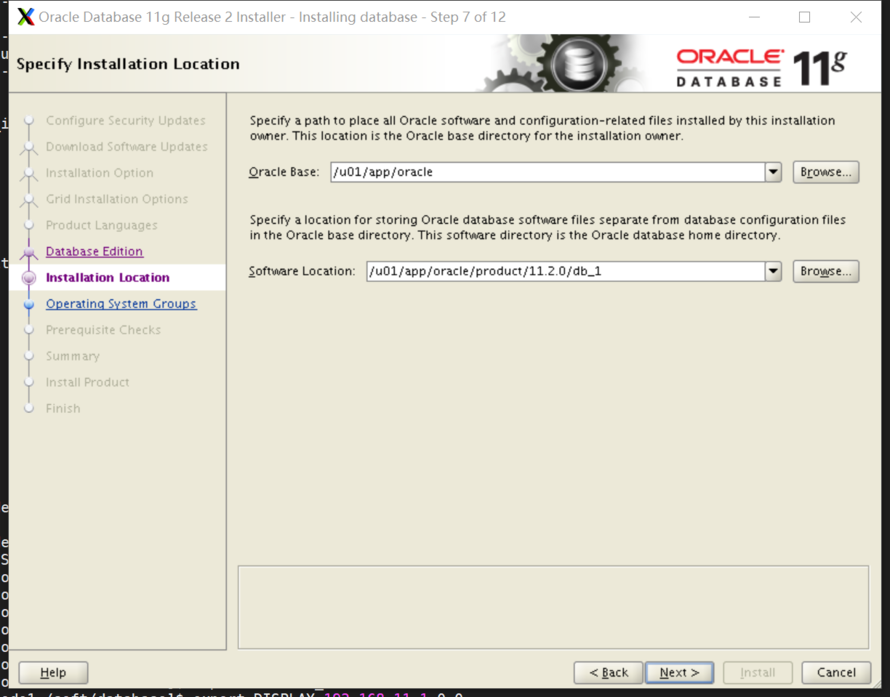
step8:
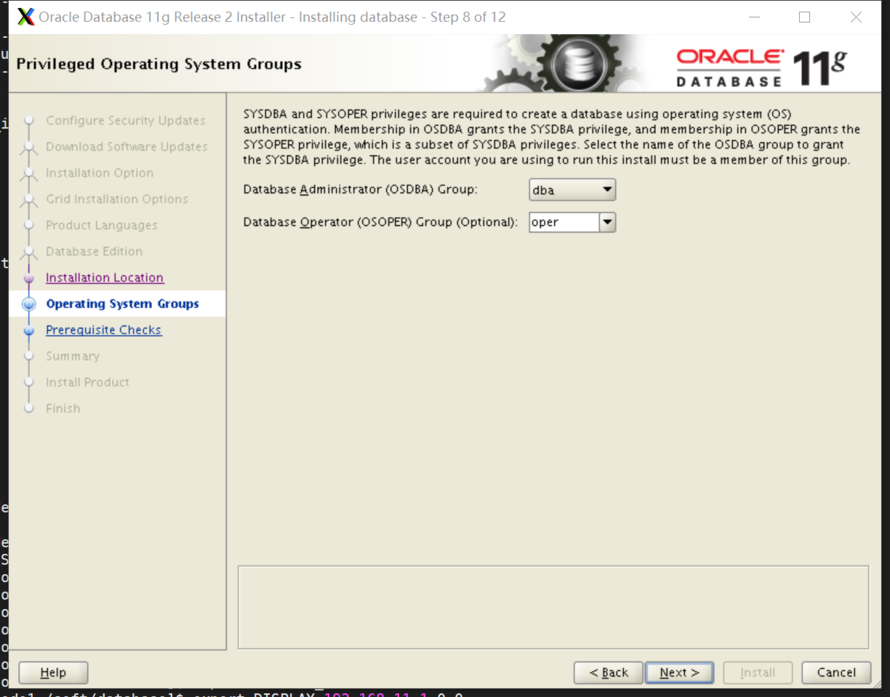
step9:
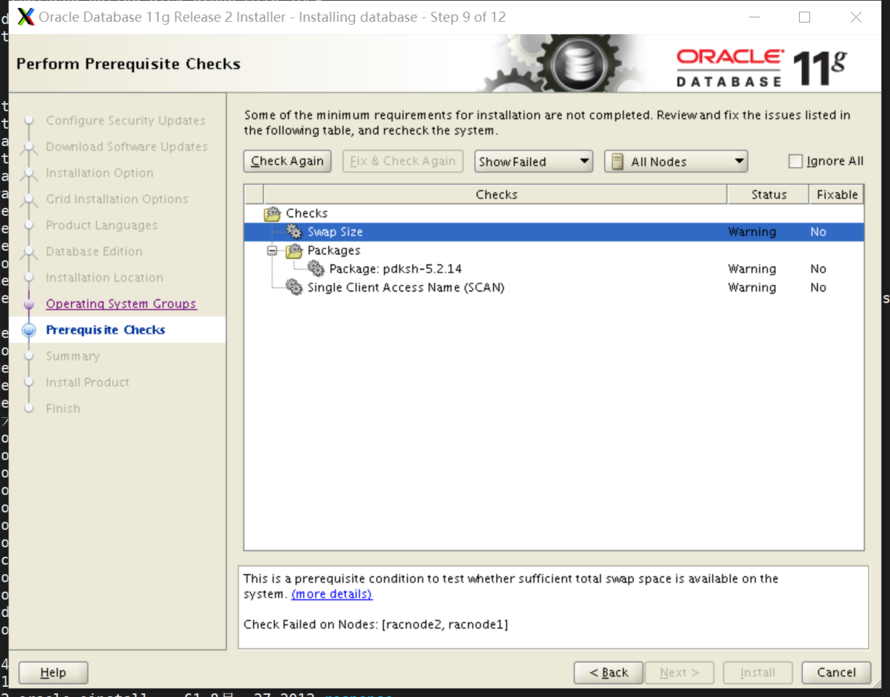

step10:
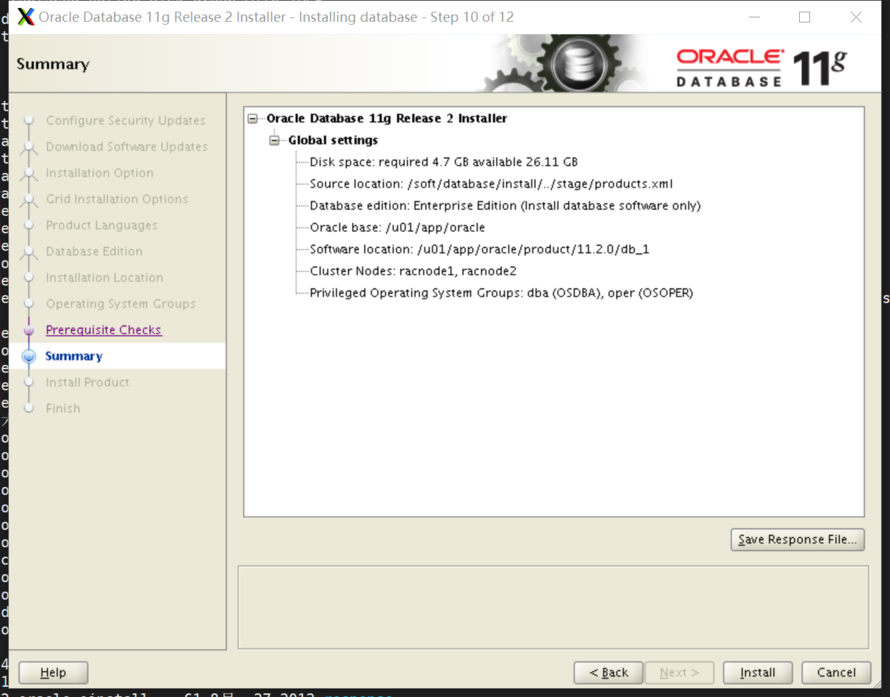
step11:
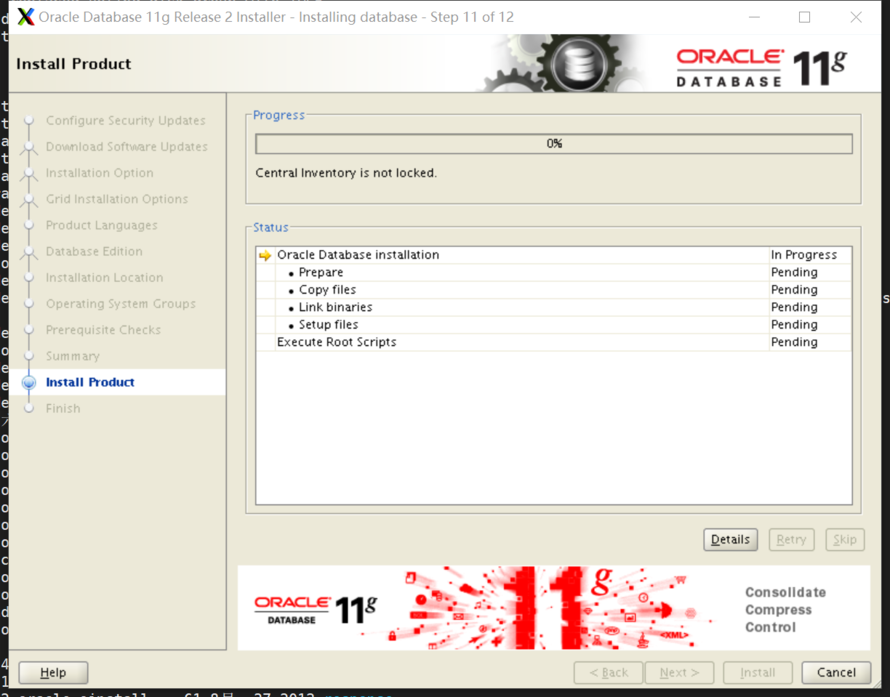

保留安装过程,另外开启一个终端窗口,修改makefile文件/u01/app/oracle/product/11.2.0/db_1/sysman/lib/ins_emagent.mk,将 (MK_EMAGENT_NMECTL)更改为$(MK_EMAGENT_NMECTL) -lnnz11,然后在安装过程中点击Retry


step12:
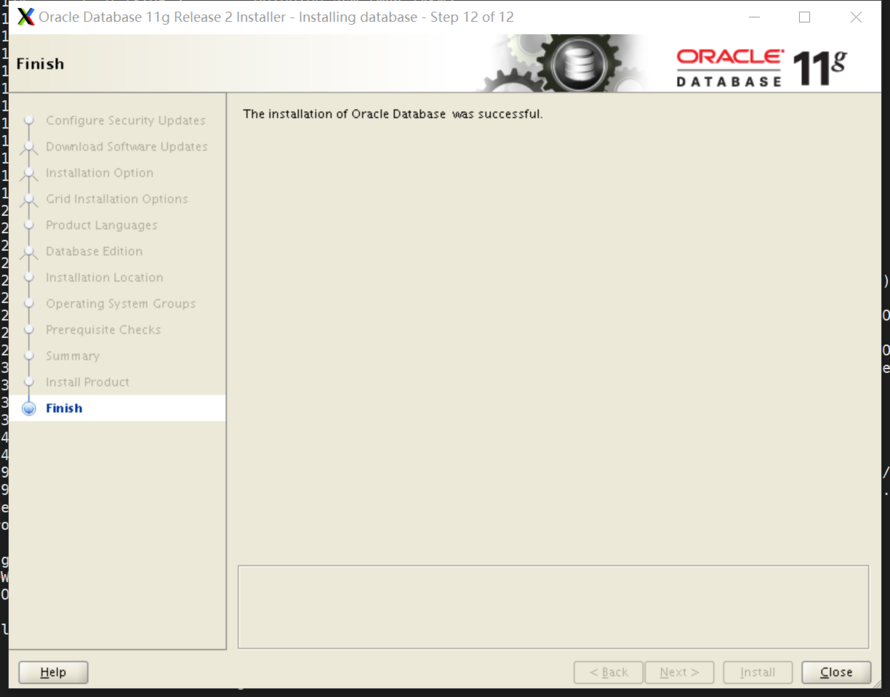
4、dbca建库
step1:
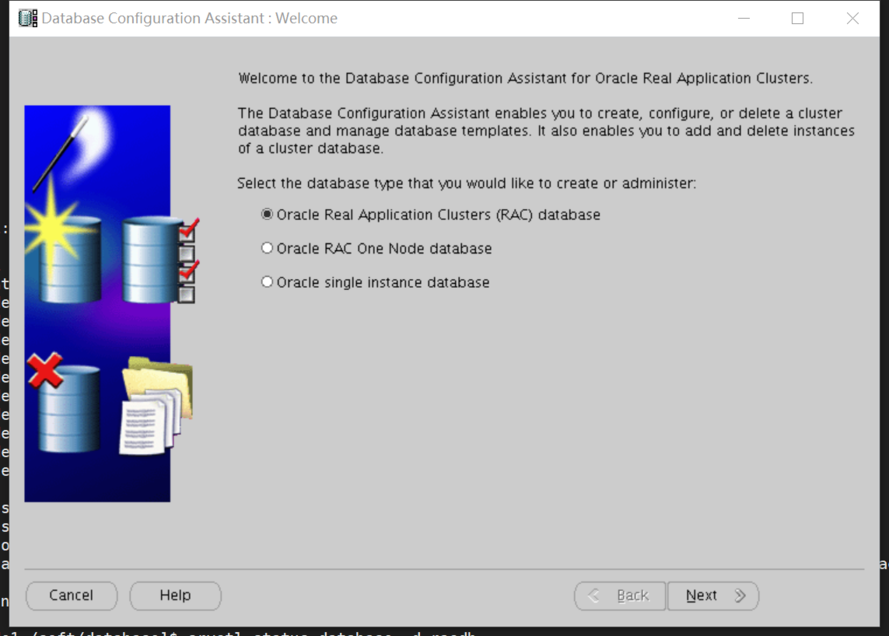
 step2:
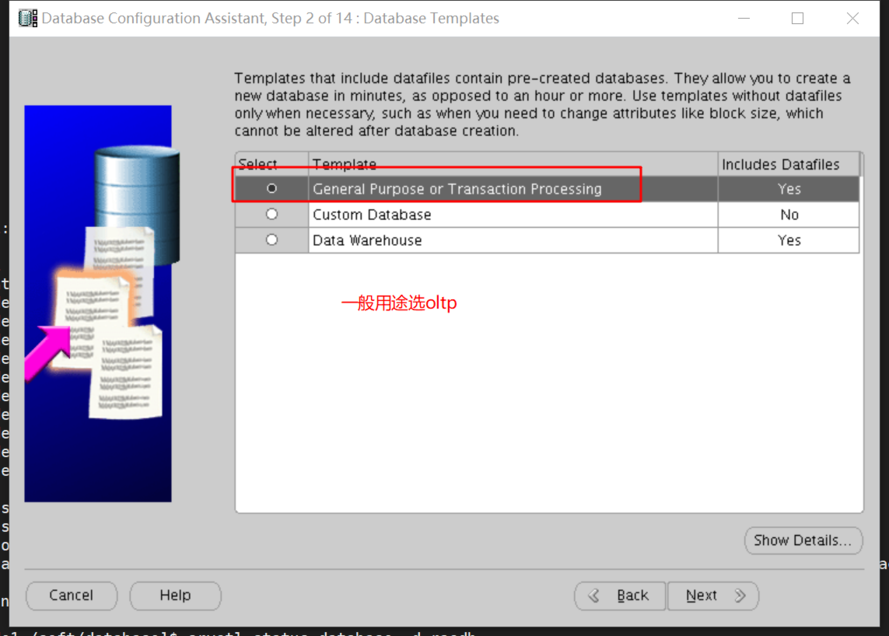
step3:
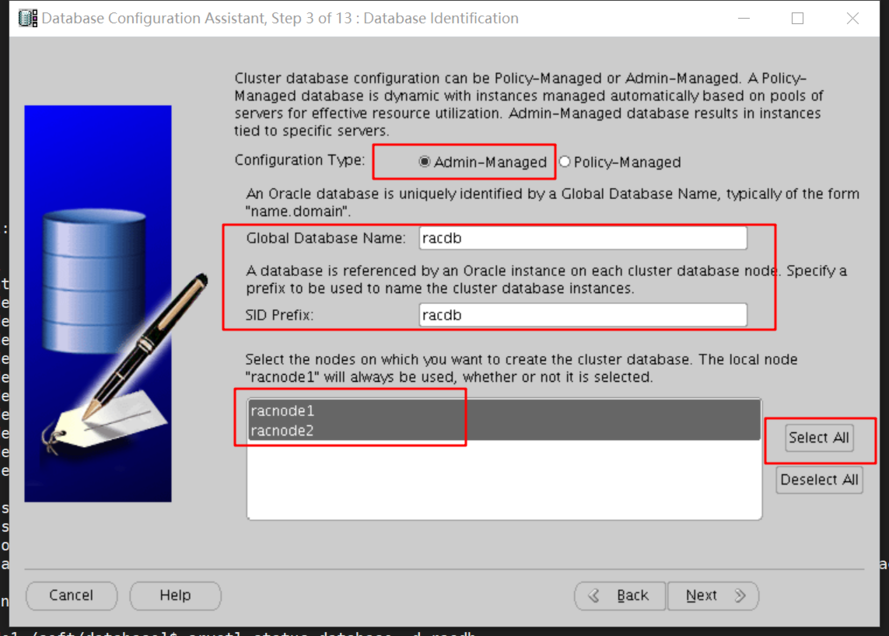
step4:

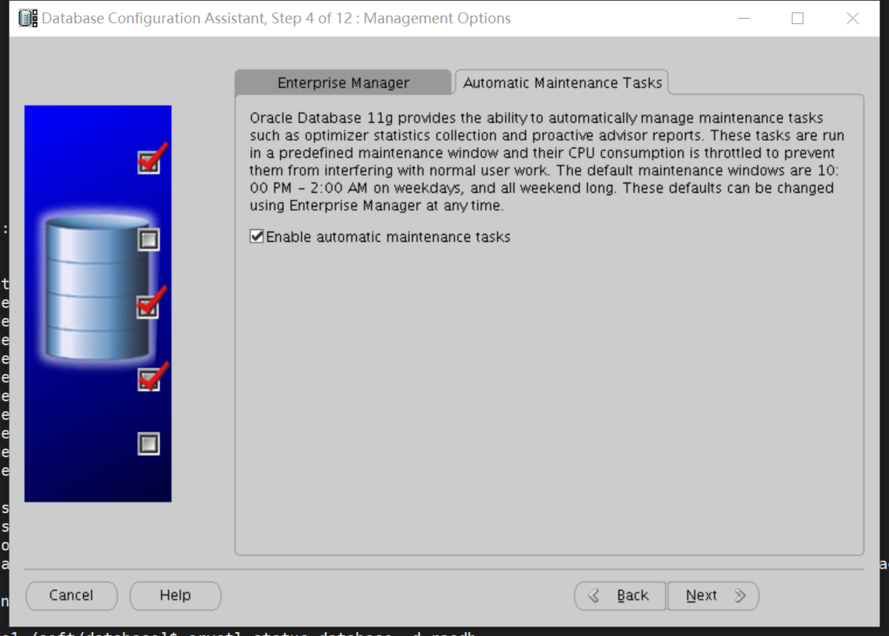
step5:
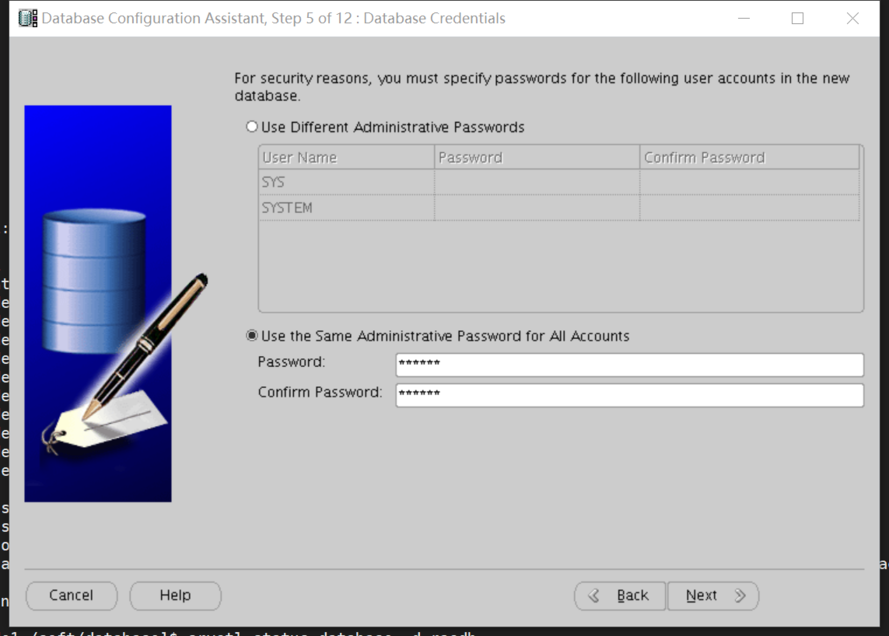

step6:

step7:
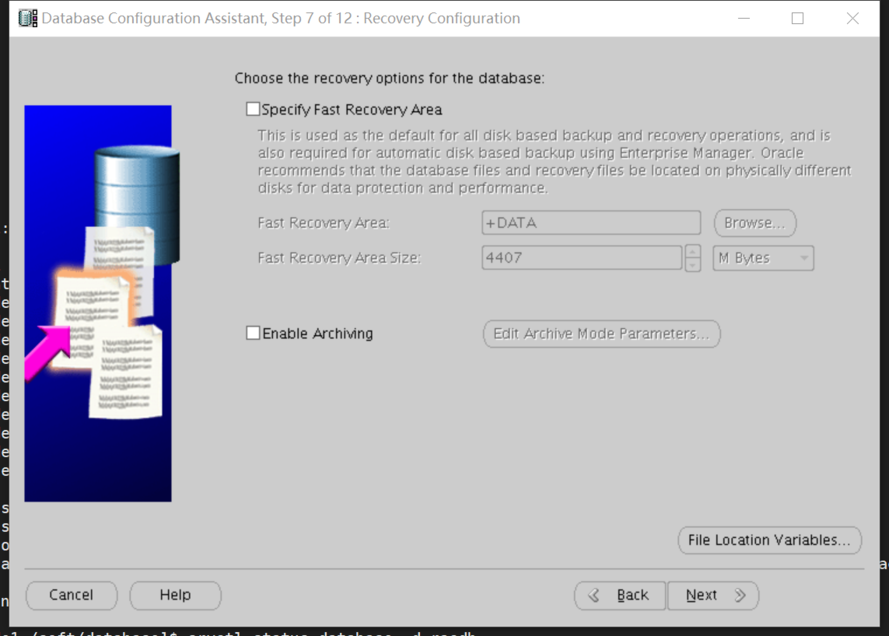
step8:
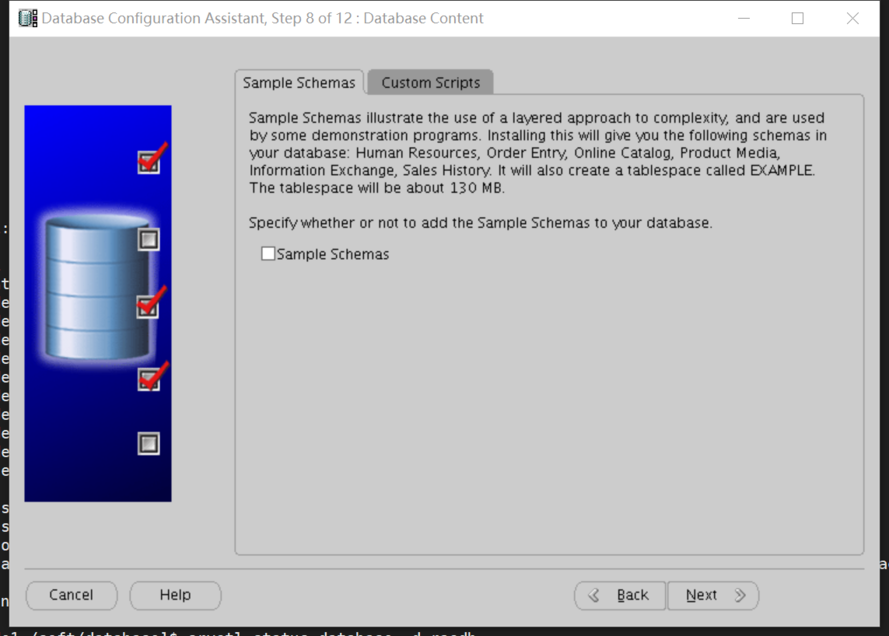
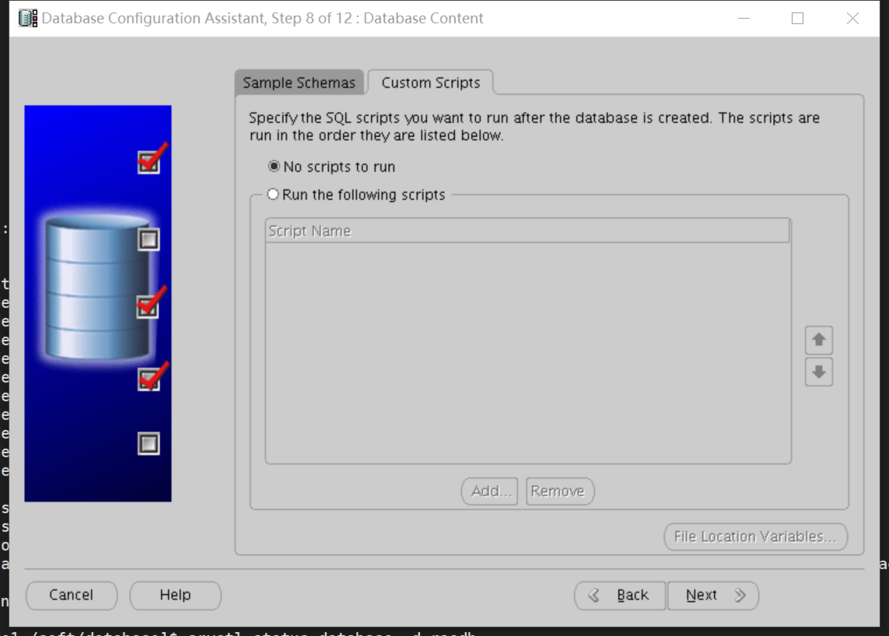
step9:

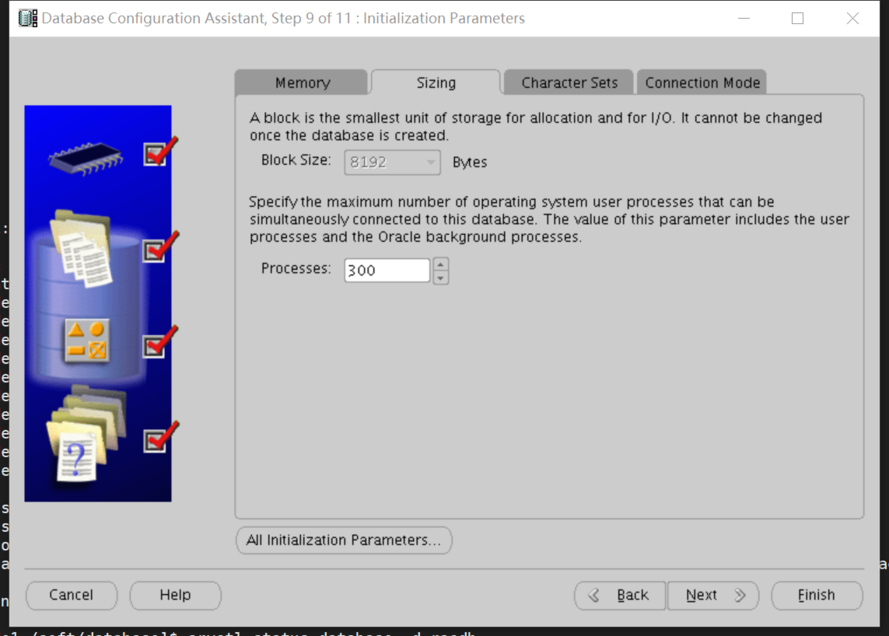


step10:
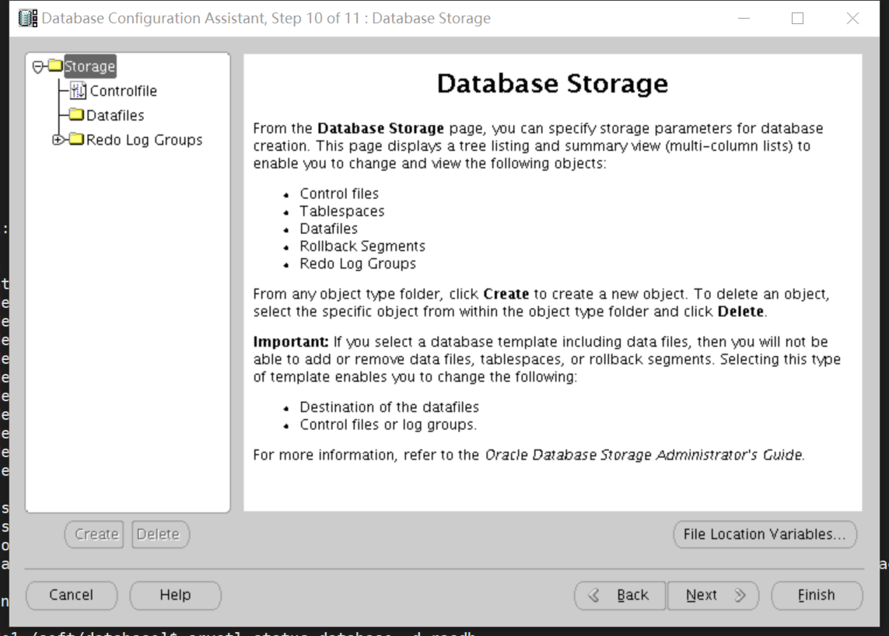
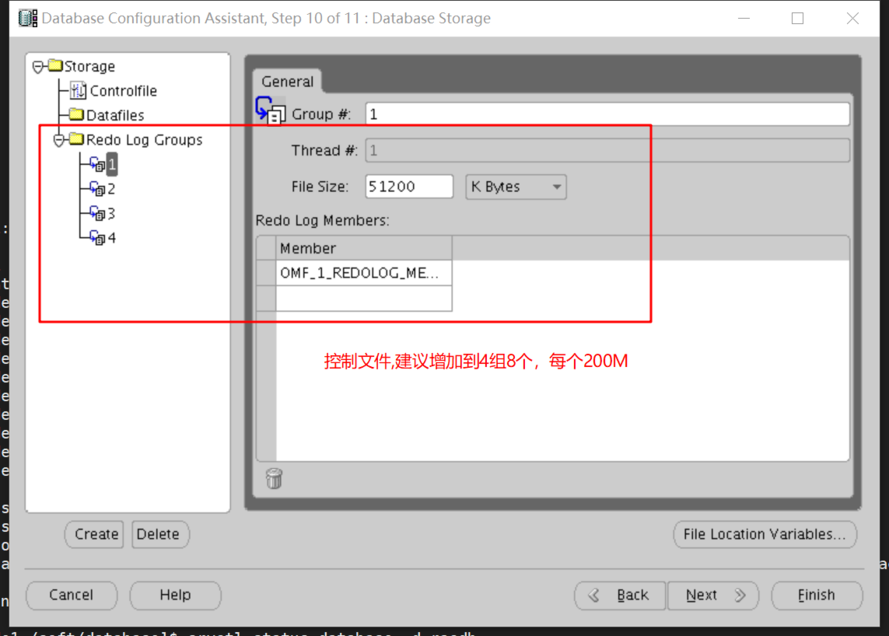

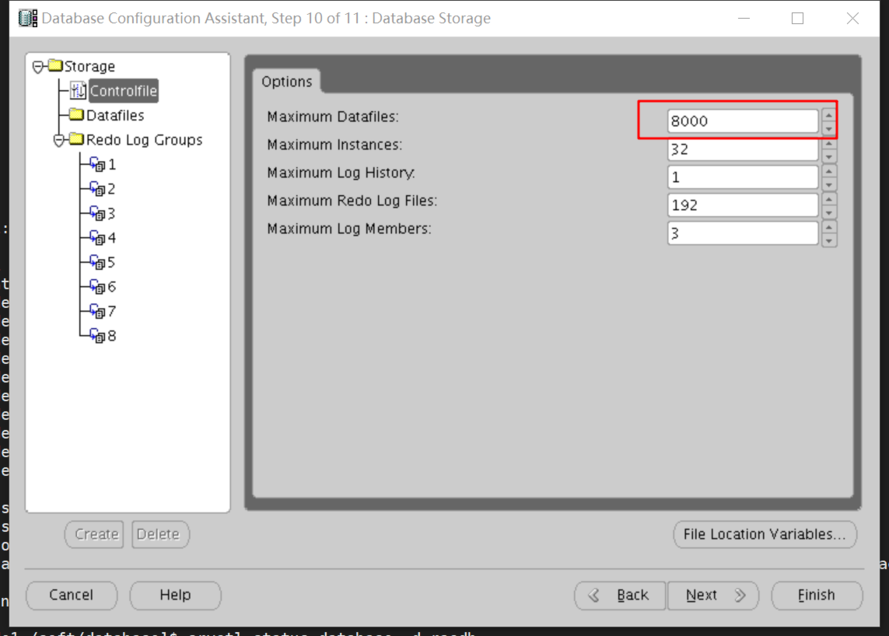
step11:

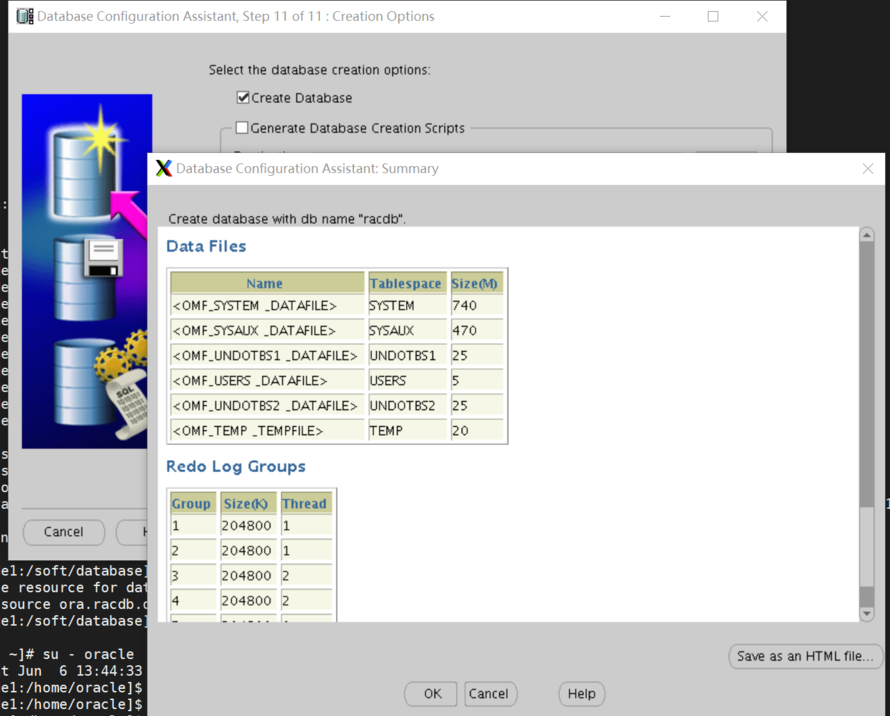

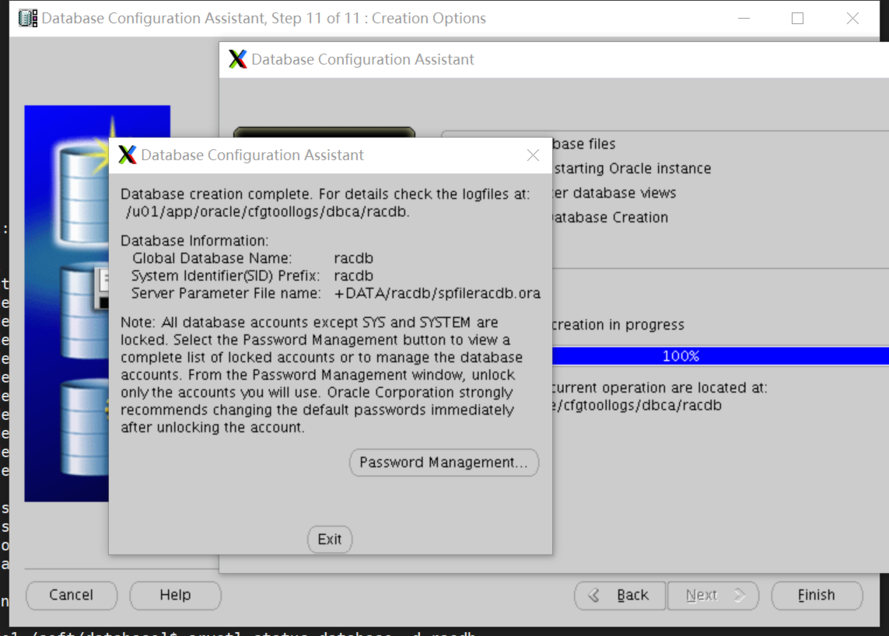
至此安装完毕,验证连通性

来自 “ ITPUB博客 ” ,链接:https://blog.itpub.net/15404498/viewspace-3173420/ ,如需转载,请注明出处,否则将追究法律责任。

最新文章
- oracle 26ai rac silent 安装
- DG Broker crete far_sync/prepare database
- Duplicate for Standby fails with RMAN-05535
- oracle adg手工搭建+dg broker
- Oracle 26ai 静默安装 单机
- suse11sp4 + oracle 11g rac + silent
- redhat6.5 + oracle 11g rac + silent:
- suse12sp5 + oracle 11g rac + silent
- oracle 19c rac静默安装
- 19c gateway for informix & msql
