单机部署
系统:centos7
ip:192.168.0.81kvm-ip:192.168.0.10
1:epel源配置
yum install wget -ywget-O /etc/yum.repos.d/CentOS-Base.repo http://mirrors.aliyun.com/repo/Centos-7.repoyum -y install epel-releaseyum clean allyum makecacheyum install net-tools vim lrzsz -y
2:安装依赖包
yum install git python-pip libvirt-python libxml2-python python-websockify supervisor nginx -y
3:从github获取代码
cd /var/wwwgit clone git://github.com/retspen/webvirtmgr.git
4:配置国内pip源
mkdir -pv ~/.pip/vim ~/.pip/pip.conf[global]timeout = 6000index-url = https://pypi.tuna.tsinghua.edu.cn/simpletrusted-host = pypi.tuna.tsinghua.edu.cn
5:安装
cd webvirtmgrpip install -r requirements.txt
6:初始化账号
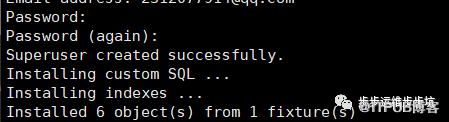
./manage.py syncdb
7:设置ssh
ssh-keygen -t rsassh-copy-id 192.168.0.81 (因为是单机部署,kvm宿主机和webvirtmgr 机器为同意主机,所以做本地信任)
8:nginx 配置
cat /etc/nginx.conf (注释默认server)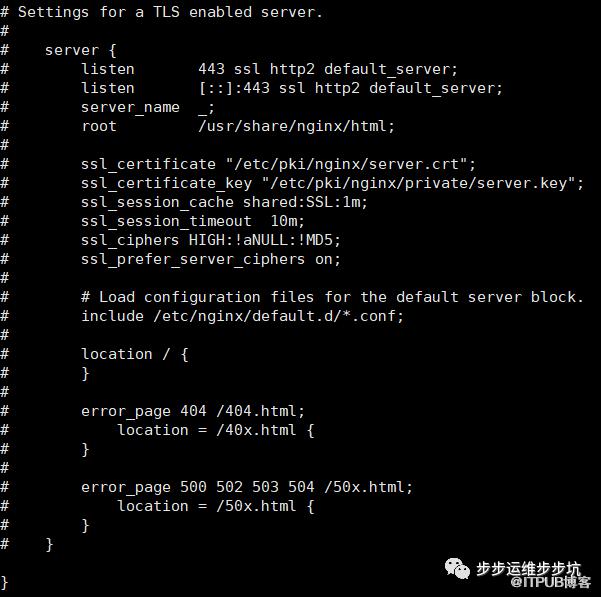
vim /etc/nginx/conf.d/webvirtmgr.conf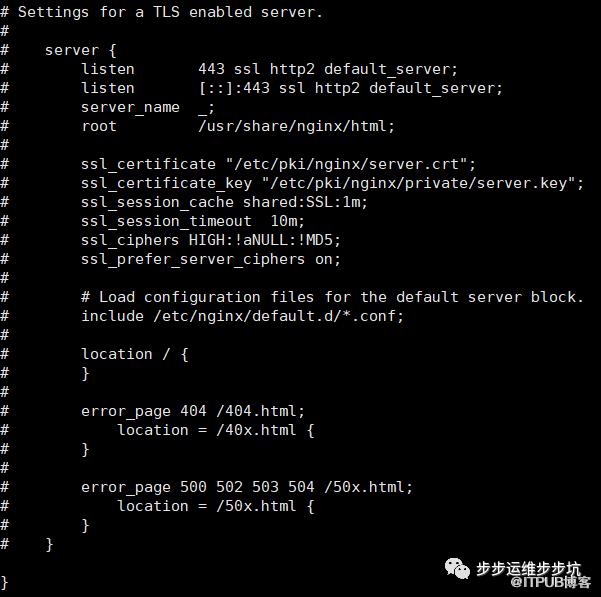
配置
server {listen 80 default_server;server_name $hostname;#access_log /var/log/nginx/webvirtmgr_access_log;location /static/ {root /var/www/webvirtmgr/webvirtmgr; # or /srv instead of /varexpires max;}location / {proxy_pass http://127.0.0.1:8000;proxy_set_header X-Real-IP $remote_addr;proxy_set_header X-Forwarded-for $proxy_add_x_forwarded_for;proxy_set_header Host $host:$server_port;proxy_set_header X-Forwarded-Proto $remote_addr;proxy_connect_timeout 600;proxy_read_timeout 600;proxy_send_timeout 600;client_max_body_size 1024M; # Set higher depending on your needs}}
9:为了防止后面网络ssh连接报错(这里是单机部署,所以可以不区分)
在webvirtmgr服务器上面创建nginx家目录
cd /home/mkdir nginxchown nginx.nginx nginx/chmod -R 700 nginx/
切换到nginx用户 创建公钥
su - nginx -s /bin/bashssh-keygen #期间输入yes后直接回车,回车touch ~/.ssh/configecho -e "StrictHostKeyChecking=no\nUserKnownHostsFile=/dev/null" ~/.ssh/configchmod 0600 ~/.ssh/config
将webvirtmgr 上面的nginx用户的公钥发送给kvm机器
su - nginx -s /bin/bashssh-copy-id root@192.168.0.81
在kvm机器上面配置ssh授权
vim /etc/polkit-1/localauthority/50-local.d/50-libvirt-remote-access.pkla[Remote libvirt SSH access]Identity=unix-user:root #注意这里采用的是root用户Action=org.libvirt.unix.manageResultAny=yesResultInactive=yesResultActive=yeschown -R root.root /etc/polkit-1/localauthority/50-local.d/50-libvirt-remote-access.pkla
重启服务
systemctl restart nginxsystemctl restart libvirtd
10:supervisor配置
vim /etc/supervisord.conf //在文件末尾添加,注意将默认的python改为python2,因为上面只有用这个版本执行才不报错![program:webvirtmgr]command=/usr/bin/python2 /var/www/webvirtmgr/manage.py run_gunicorn -c /var/www/webvirtmgr/conf/gunicorn.conf.py //启动8000端口directory=/var/www/webvirtmgrautostart=trueautorestart=truelogfile=/var/log/supervisor/webvirtmgr.loglog_stderr=trueuser=nginx[program:webvirtmgr-console]command=/usr/bin/python2 /var/www/webvirtmgr/console/webvirtmgr-console //启动6080端口(这是控制台vnc端口)directory=/var/www/webvirtmgrautostart=trueautorestart=truestdout_logfile=/var/log/supervisor/webvirtmgr-console.logredirect_stderr=trueuser=nginx
systemctl start supervisord
11:网页配置
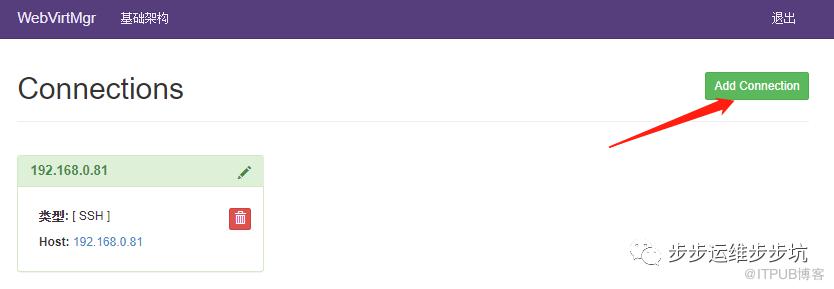


安装完成
------------------------------------------------------------------------ 使用方法
创建虚拟机:
创建存储池、网路池

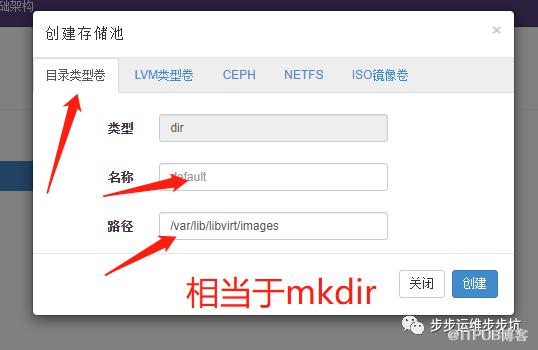

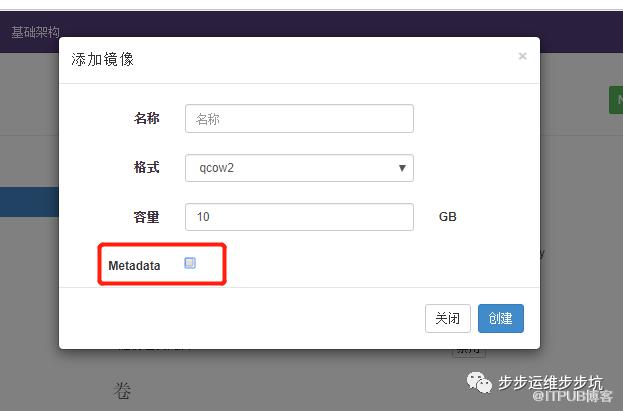
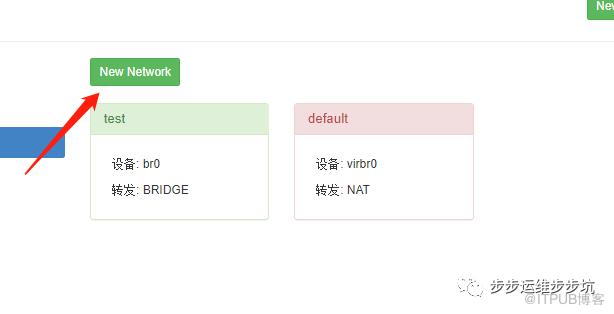
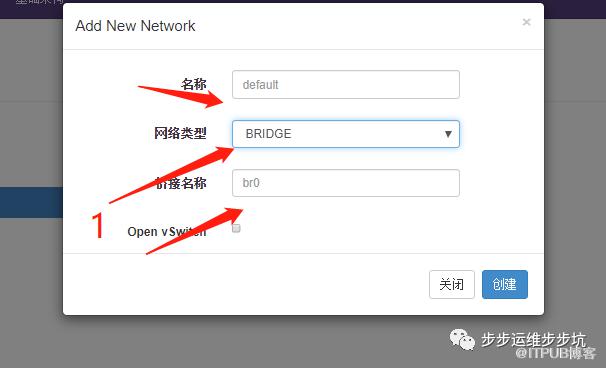
New instance ---> custom instance ---> 依次输入 名称 、磁盘镜像、网络池 ---> 创建
注:创建成功之后先别启动


启动之后 就可以使用自带的novnc连接了
快照 快照恢复
克隆注意:
需要先克隆镜像 然后在克隆模板机器 也可以从模板创建 选择镜像的时候不要勾选Metadata
原文作者:步步运维步步坑;如有侵权,请联系管理员删除。

请登录后发表评论
登录
全部评论
