oracle19c安装 单实例 系统centos7 非cdb
一.安装centos系统(此处 以centos7.9为例)略
二.配置本地yum源
http://blog.itpub.net/70004783/viewspace-2789438/
三、 数据库安装准备工作
|
Hostname |
dbserver |
|
版本 |
oracle19c |
|
Oracle_sid |
prod1 |
|
dbname |
prod |
|
home |
/home/oracle |
|
ORACLE_BASE |
/u01/app/oracle |
|
ORACLE_HOME |
/u01/app/oracle/product/19c/dbhome_1 |
1、安装需要的软件列表
yum install -y bc
yum install -y compat-libcap1*
yum install -y compat-libcap*
yum install -y binutils
yum install -y compat-libstdc++-33
yum install -y elfutils-libelf
yum install -y elfutils-libelf-devel
yum install -y gcc
yum install -y gcc-c++
yum install -y glibc-2.5
yum install -y glibc-common
yum install -y glibc-devel
yum install -y glibc-headers
yum install -y ksh libaio
yum install -y libaio-devel
yum install -y libgcc
yum install -y libstdc++
yum install -y libstdc++-devel
yum install -y make
yum install -y sysstat
yum install -y unixODBC
yum install -y unixODBC-devel
yum install -y binutils*
yum install -y compat-libstdc*
yum install -y elfutils-libelf*
yum install -y gcc*
yum install -y glibc*
yum install -y ksh*
yum install -y libaio*
yum install -y libgcc*
yum install -y libstdc*
yum install -y make*
yum install -y sysstat*
yum install -y libXp*
yum install -y glibc-kernheaders
yum install -y net-tools-*
2、修改主机名,更改hosts文件
[root@localhost ~]# hostnamectl set-hostname dbserver
[root@dbserver ~]# vi /etc/hosts
[root@dbserver ~]# cat /etc/hosts
127.0.0.1   localhost localhost.localdomain localhost4 localhost4.localdomain4
::1         localhost localhost.localdomain localhost6 localhost6.localdomain6
10.8.98.102 dbserver
[root@dbserver ~]#
3、 禁用SELINUX,关闭防火墙
[root@dbserver ~]
# cat /etc/selinux/config # This file controls the state of SELinux on the system.# SELINUX= can take one of these three values:# enforcing - SELinux security policy is enforced.# permissive - SELinux prints warnings instead of enforcing.# disabled - No SELinux policy is loaded.SELINUX=disabled# SELINUXTYPE= can take one of three values:# targeted - Targeted processes are protected,# minimum - Modification of targeted policy. Only selected processes are protected. # mls - Multi Level Security protection.SELINUXTYPE=targeted [root@dbserver ~]
#让SELINUX生效: setenforce 0
[root@dbserver ~]
# systemctl stop firewalld[root@dbserver ~]
# systemctl disable firewalld
4、修改LINUX的内核文件
[root@dbserver ~]# vi /etc/sysctl.conf
添加
#oracle setting add
kernel.shmmax = 277495689510912
kernel.shmmni = 4096
kernel.sem = 250 32000 100 128
net.core.rmem_default = 262144
net.core.rmem_max = 4194304
net.core.wmem_default = 262144
net.core.wmem_max = 1048586
fs.file-max = 6815744
kernel.shmall = 67747971072
net.ipv4.tcp_max_tw_buckets = 6000
net.ipv4.ip_local_port_range = 9000 65500
net.ipv4.tcp_tw_recycle = 0
net.ipv4.tcp_tw_reuse = 1
#net.core.somaxconn = 262144
net.core.netdev_max_backlog = 262144
net.ipv4.tcp_max_orphans = 262144
net.ipv4.tcp_max_syn_backlog = 262144
net.ipv4.tcp_synack_retries = 2
net.ipv4.tcp_syn_retries = 1
net.ipv4.tcp_fin_timeout = 1
net.ipv4.tcp_keepalive_time = 30
net.ipv4.tcp_keepalive_probes = 6
net.ipv4.tcp_keepalive_intvl = 5
net.ipv4.tcp_timestamps = 0
fs.aio-max-nr = 1048576
net.ipv4.conf.all.rp_filter = 2
net.ipv4.conf.default.rp_filter = 2
生成系统参数生效
[root@dbserver ~]# sysctl -p
5.添加下列参数到/etc/security/limits.conf
[root@dbserver ~]# vi /etc/security/limits.conf
添加以下
#oracle setting add
oracle   soft   nofile    1024
oracle   hard   nofile    65536
oracle   soft   nproc    16384
oracle   hard   nproc    16384
oracle   soft   stack    10240
oracle   hard   stack    32768
oracle   hard   memlock    134217728
oracle   soft   memlock    134217728
6、修改/etc/pam.d/login文件
[root@dbserver ~]# vim /etc/pam.d/login
添加以下
#oracle setting add
session required /lib/security/pam_limits.so
session required pam_limits.so
7、环境变量中添加下列语句
[root@dbserver ~]# vim /etc/profile
添加以下
#oracle setting  add
if [ $USER = "oracle" ]; then
   if [ $SHELL = "/bin/ksh" ]; then
      ulimit -p 16384
      ulimit -n 65536
      else
      ulimit -u 16384 -n 65536
   fi
fi
[root@dbserver ~]# source /etc/profile
8、创建文件目录和相应的用户
groupadd oinstall
groupadd dba
groupadd oper
useradd -g oinstall -G dba,oper oracle
mkdir -p /u01/app/oracle
mkdir -p /u01/oraInventory
chown -R oracle.oinstall /u01
chown -R oracle:oinstall /u01/app/oracle
chmod -R 775 /u01/app/oracle
mkdir -p /u01/app/oracle/product/19c/dbhome_1
chown -R oracle:oinstall /u01/app/oracle/product/
修改oracle用户密码
[root@dbserver ~]# passwd oracle
9、配置ORACLE用户的环境变量
[oracle@dbserver ~]$ vi .bash_profile
添加以下
#oracle setting add
export EDITOR=vi
export TMP=/tmp
export TMPDIR=$TMP
export ORACLE_SID=prod1
export ORACLE_BASE=/u01/app/oracle
export ORACLE_HOME=$ORACLE_BASE/product/19c/dbhome_1
export INVENTORY_LOCATION=/u01/oraInventory
export TNS_ADMIN=$ORACLE_HOME/network/admin
export LD_LIBRARY_PATH=$ORACLE_HOME/lib
export NLS_LANG="AMERICAN_AMERICA.ZHS16GBK"
export NLS_DATE_FORMAT="YYYY-MM-DD HH24:MI:SS"
export PATH=$ORACLE_HOME/bin:/bin:/usr/bin:/usr/sbin:/usr/local/bin:/usr/X11R6/bin:$PATH:$HOME/bin
umask 022
注意此处:
export ORACLE_SID=prod1                         ####我此处设置的oracle_id为prod1
export NLS_LANG="AMERICAN_AMERICA.ZHS16GBK"     ####我此处设置的字符集为ZHS16GBK
[oracle@dbserver ~]$ source .bash_profile
10、 上传oracle文件到/home/oracle 目录,注意权限问题,都给oracle用户权限
19C需要将压缩包里的内容解压到$ORACLE_HOME目录下,我们为了方便直接将安装包拷贝到$ORACLE_HOME目录解压即可。
[oracle@dbserver ~]$ cd $ORACLE_HOME
[oracle@dbserver dbhome_1]$ ls
[oracle@dbserver dbhome_1]$ pwd
/u01/app/oracle/product/19c/dbhome_1
[oracle@dbserver dbhome_1]$ ll
total 2987996
-rw-r--r--. 1 oracle oinstall 3059705302 Sep  1 16:59 LINUX.X64_193000_db_home.zip
[oracle@dbserver dbhome_1]$
解压
[oracle@dbserver dbhome_1]$ unzip LINUX.X64_193000_db_home.zip
重启以下系统
11、root安装vnc,oracle启动vnc
切换到root安装vnc,通过vnc安装oracle
[root@dbserver ~]# yum install *vnc*

 切换到oracle 启动vnc
[oracle@dbserver ~]$ vncserver
You will require a password to access your desktops.
Password:
Verify:
Would you like to enter a view-only password (y/n)? n
A view-only password is not used
New 'dbserver:1 (oracle)' desktop is dbserver:1
Creating default startup script /home/oracle/.vnc/xstartup
Creating default config /home/oracle/.vnc/config
Starting applications specified in /home/oracle/.vnc/xstartup
Log file is /home/oracle/.vnc/dbserver:1.log
[oracle@dbserver ~]$
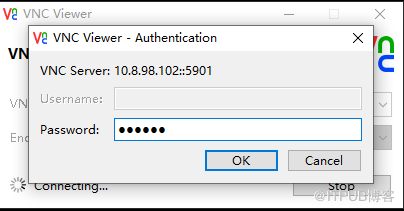
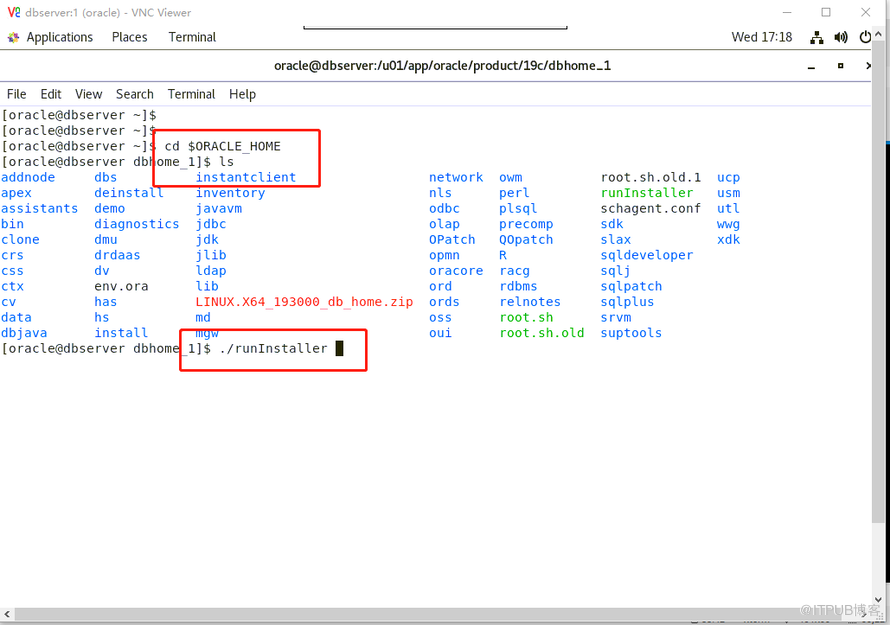
12、oracle用户 通过vnc客户端连接图形界面,进入相应目录,准备开始安装数据库
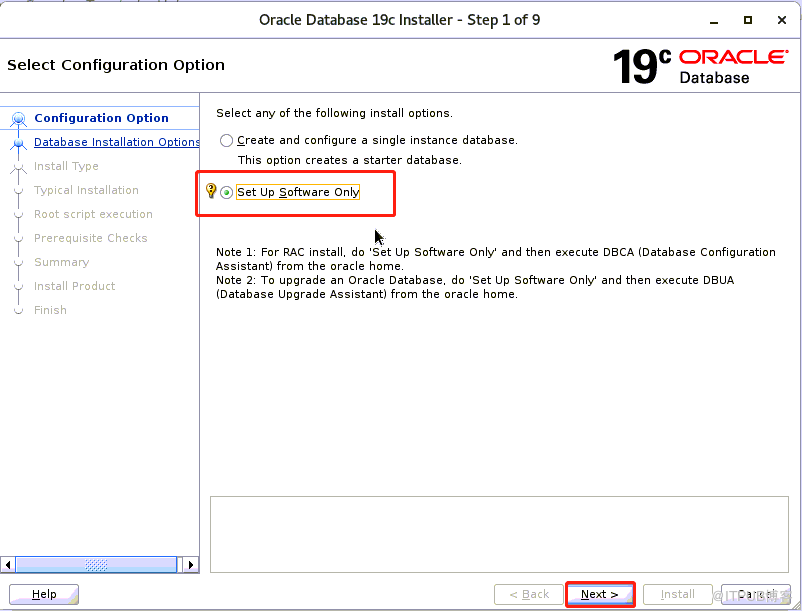
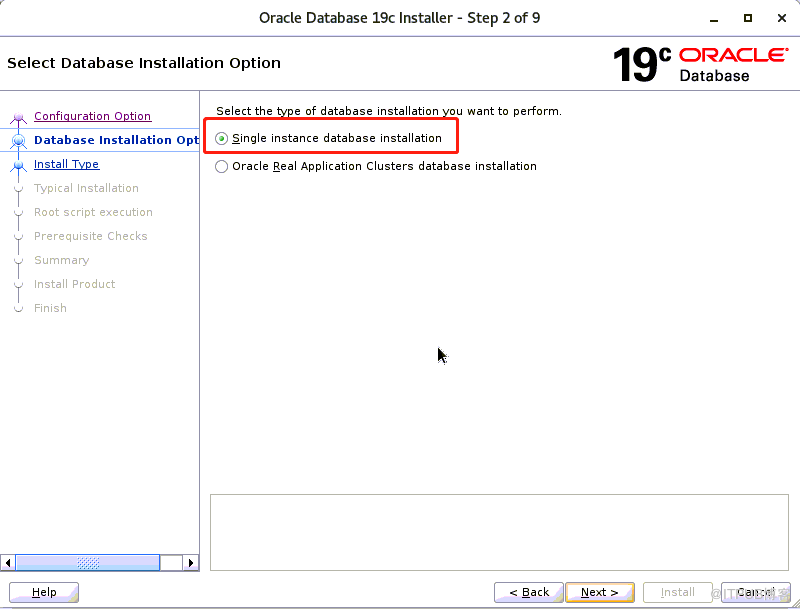
四、仅安装数据库软件
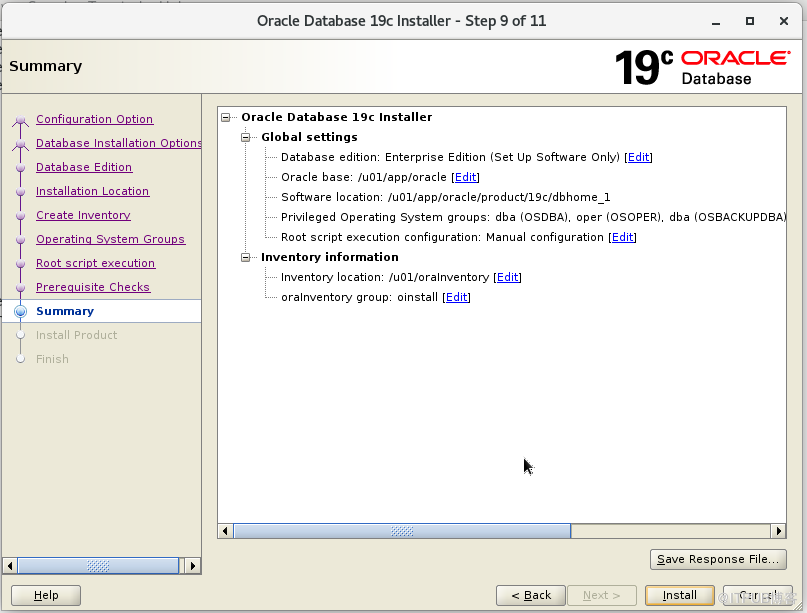
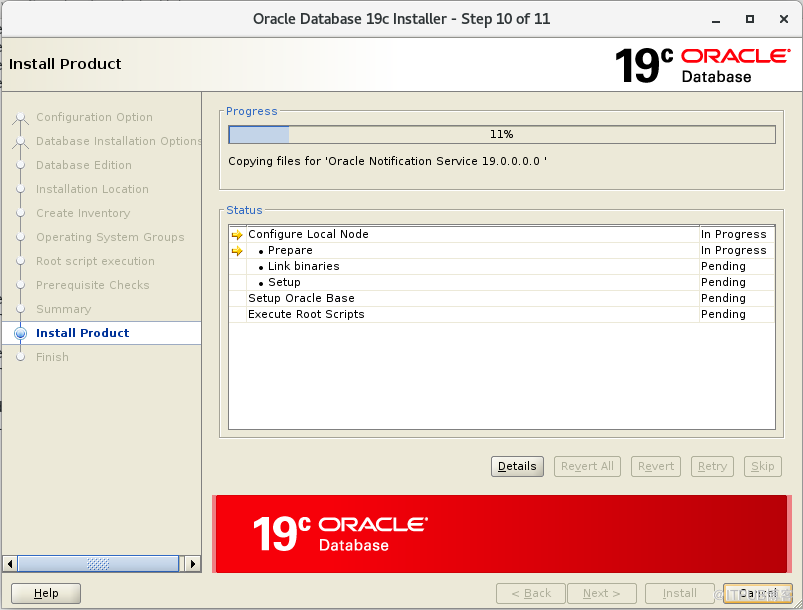
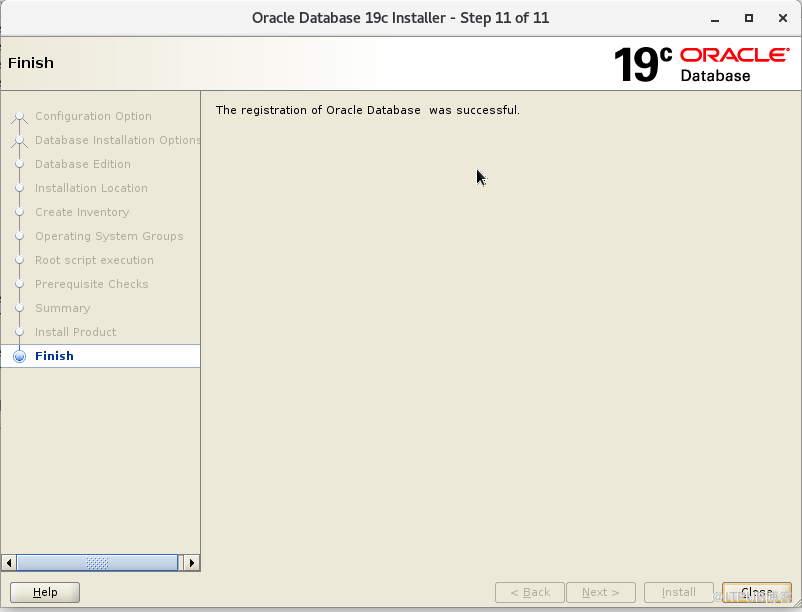
一步一步如下图所示
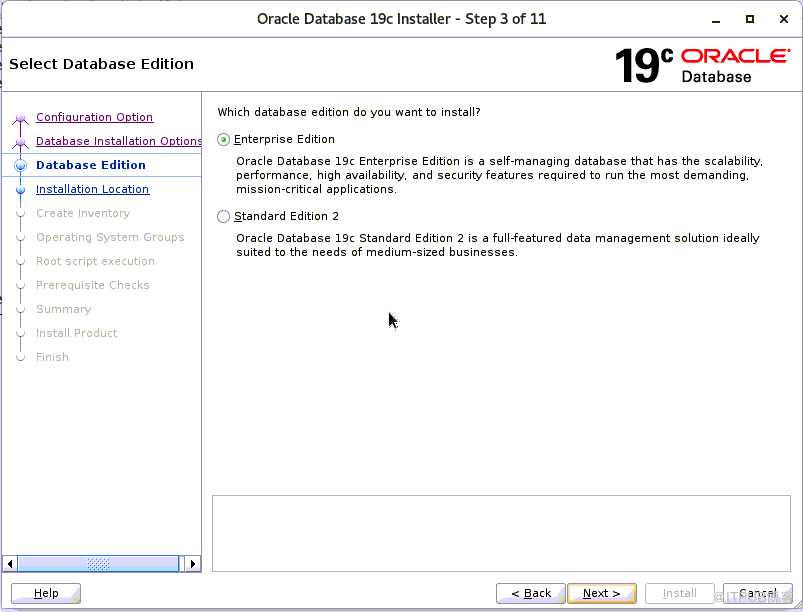
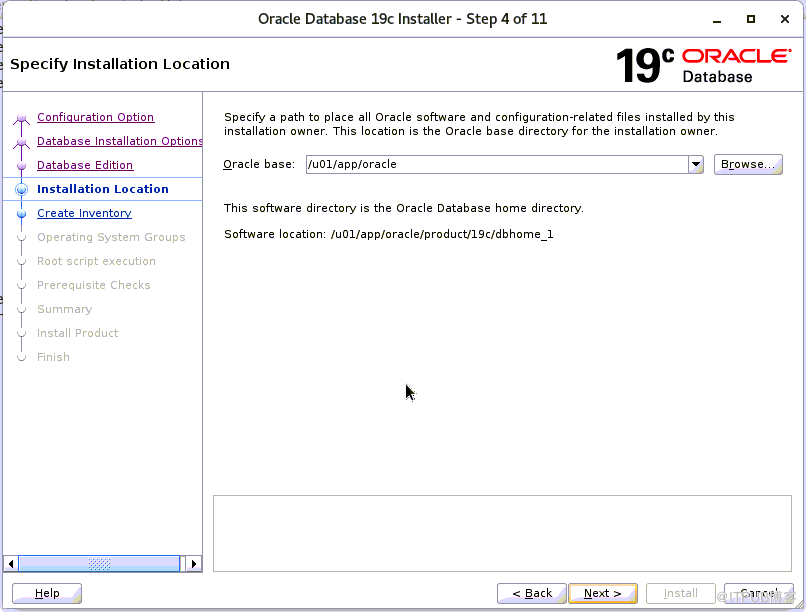
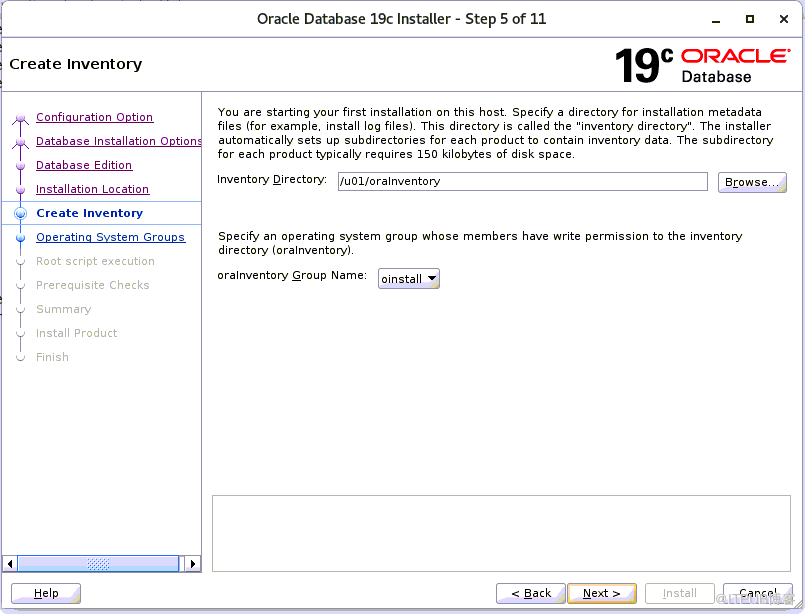
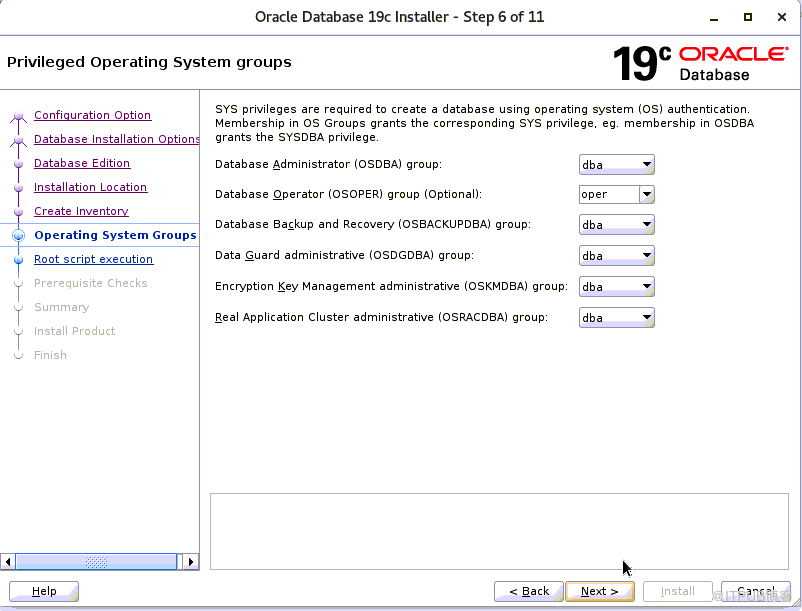
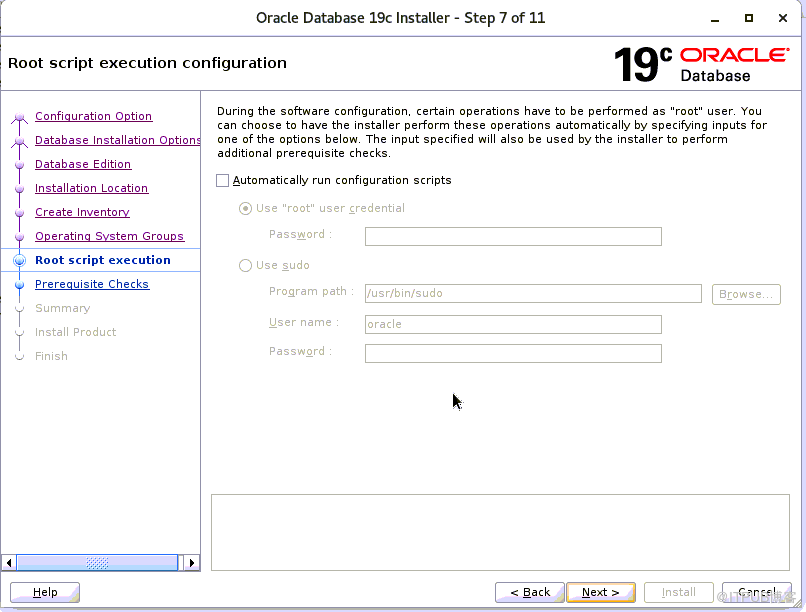
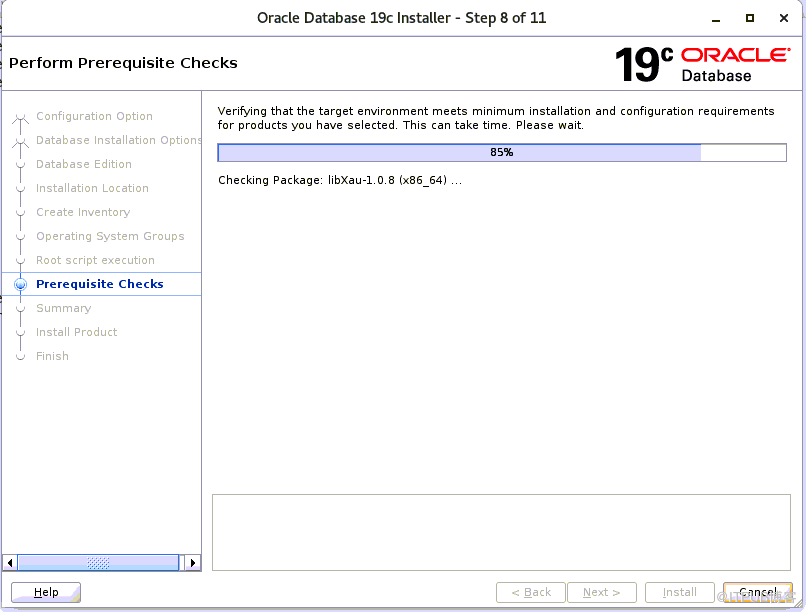
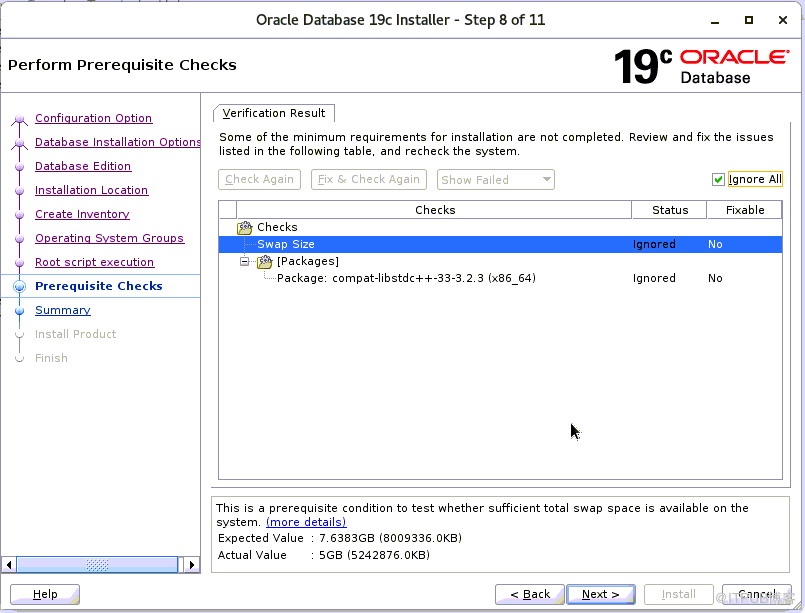
通过yum尝试安装缺失的软件包,如果没有,则忽略继续
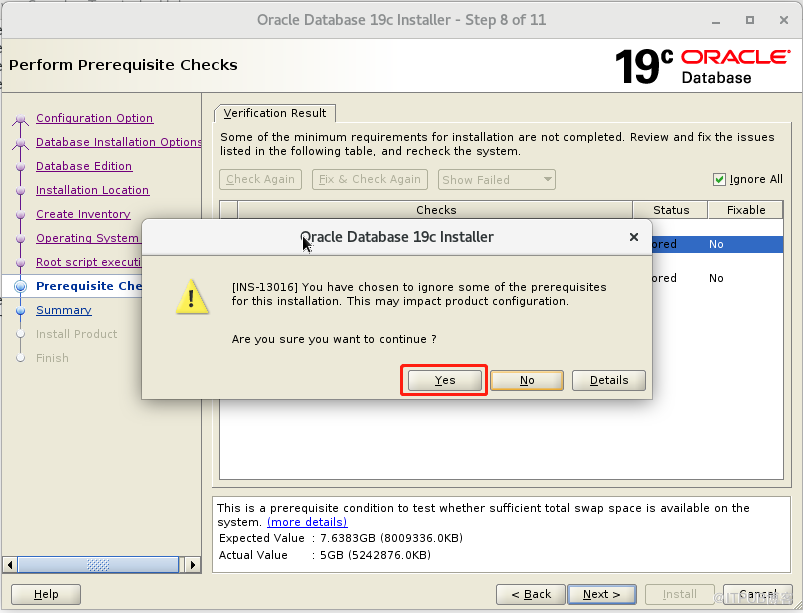
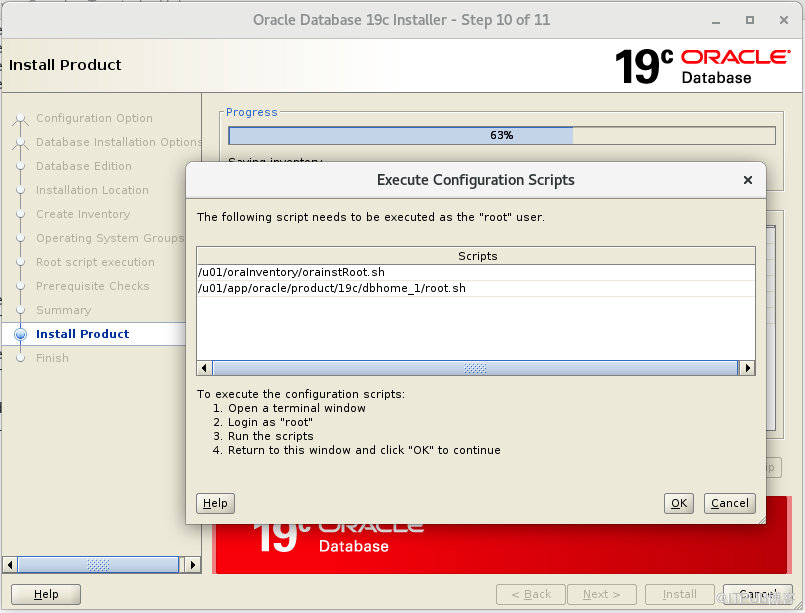
root 账户执行这两个脚本 ,执行完再点击上图的ok
[root@dbserver /]
# /u01/app/oraInventory/orainstRoot.shChanging permissions of
/u01/app/oraInventory
.Adding
read
,write permissions
for
group.Removing
read
,write,execute permissions
for
world.
Changing groupname of
/u01/app/oraInventory
to oinstall.The execution of the script is complete.[root@dbserver /]
# /u01/app/oracle/product/19c/dbhome_1/root.shPerforming root user operation
for
Oracle 19c
The following environment variables are
set
as:
ORACLE_OWNER= oracle
ORACLE_HOME=
/u01/app/oracle/product/19c
/dbhome_1
Enter the full pathname of the
local
bin directory: [
/usr/local/bin
]:
Copying dbhome to
/usr/local/bin
...
Copying oraenv to
/usr/local/bin
...
Copying coraenv to
/usr/local/bin
...
Creating
/etc/oratab
file
...Entries will be added to the
/etc/oratab
file
as needed byDatabase Configuration Assistant when a database is createdFinished running generic part of root script.Now product-specific root actions will be performed.Finished product-specific root actions.[root@dbserver /]
#
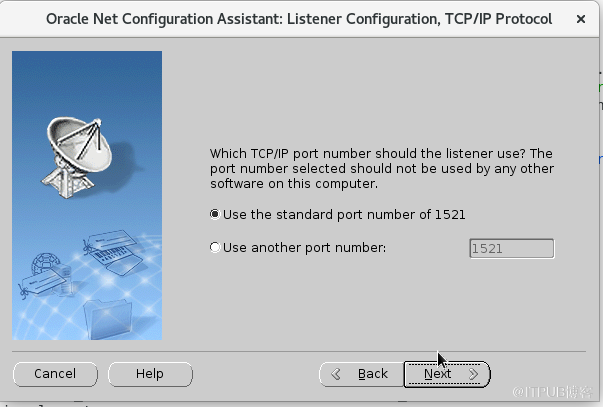
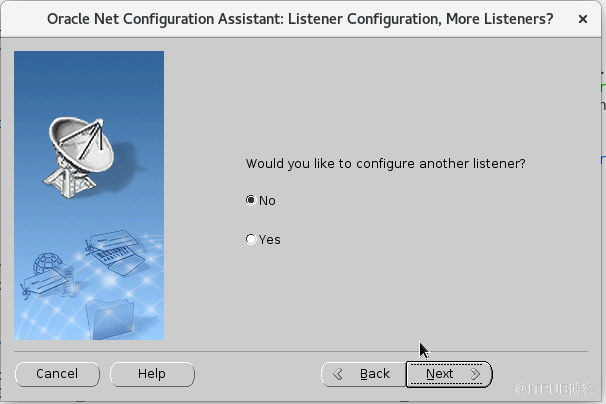
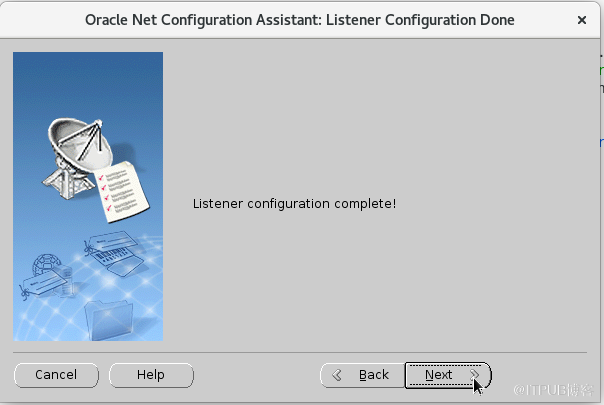
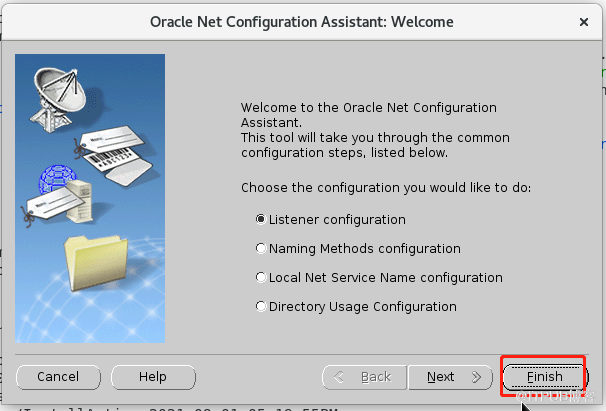
五、netca调出图形界面创建监听
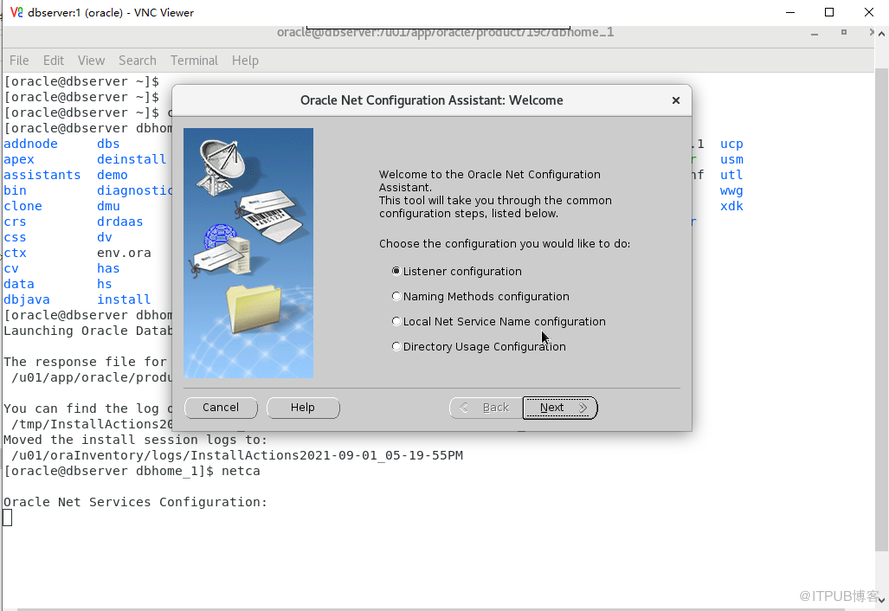
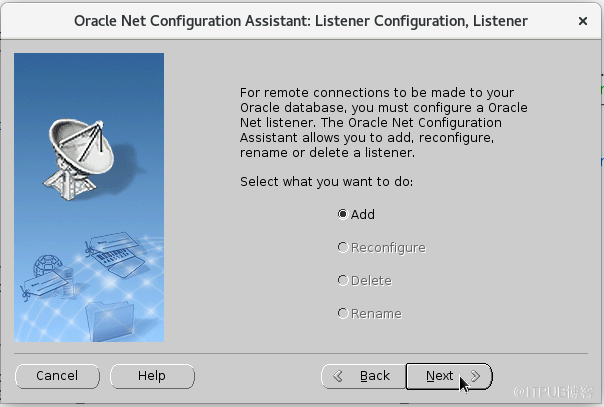
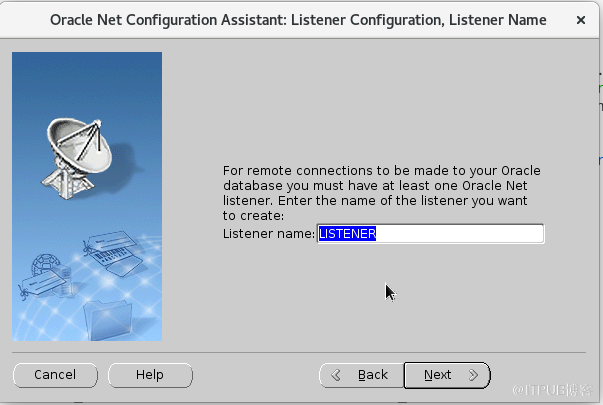
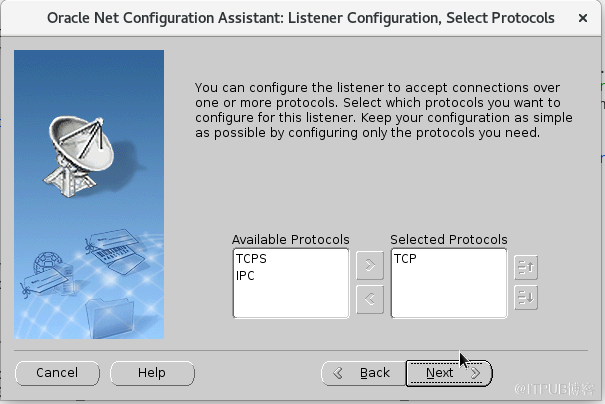
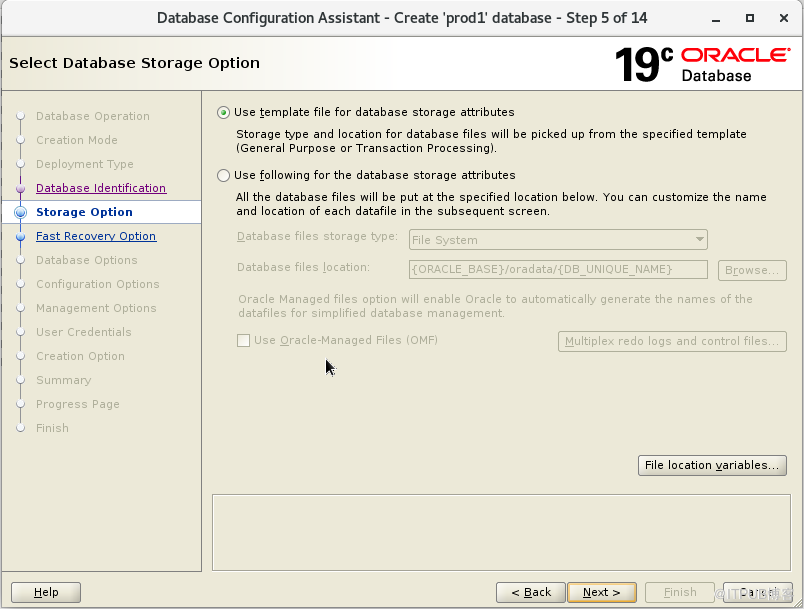
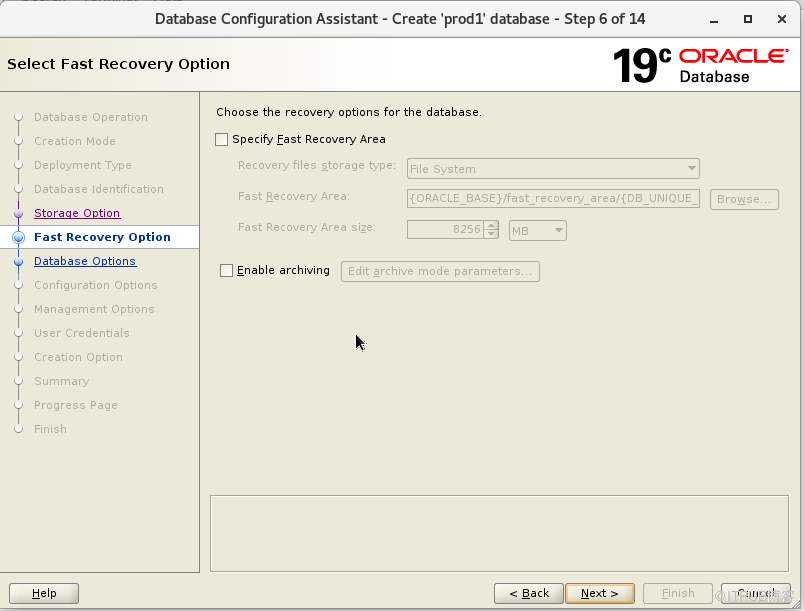
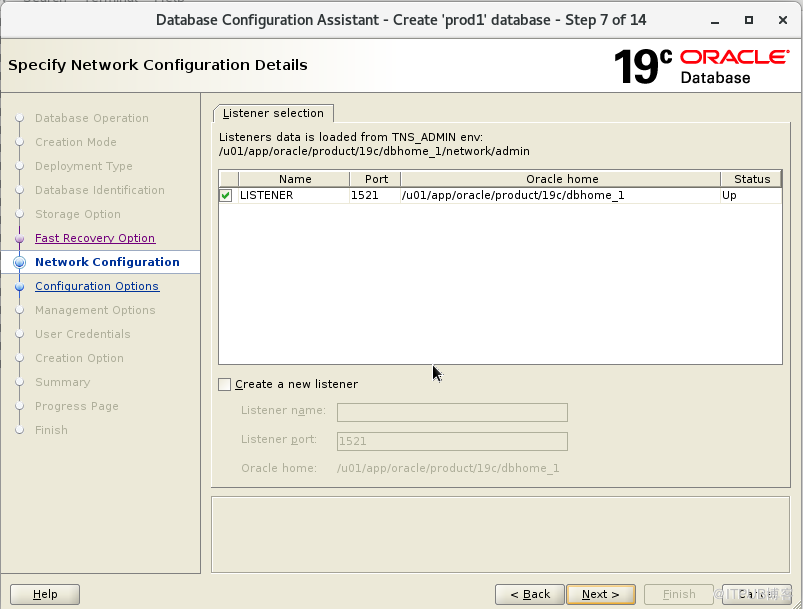
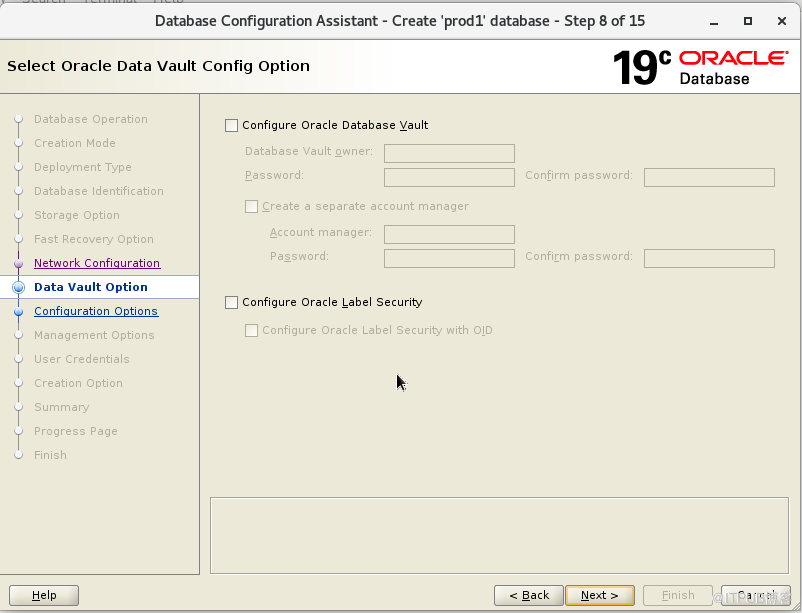
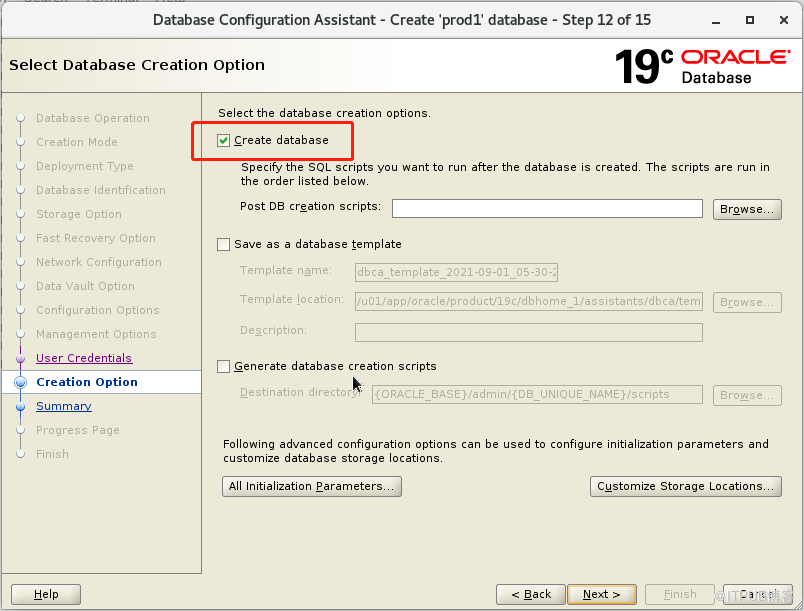
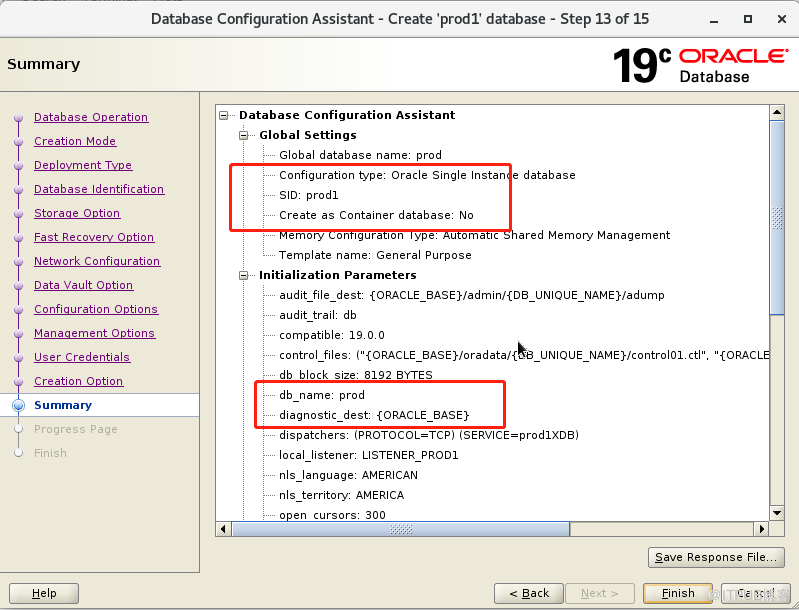
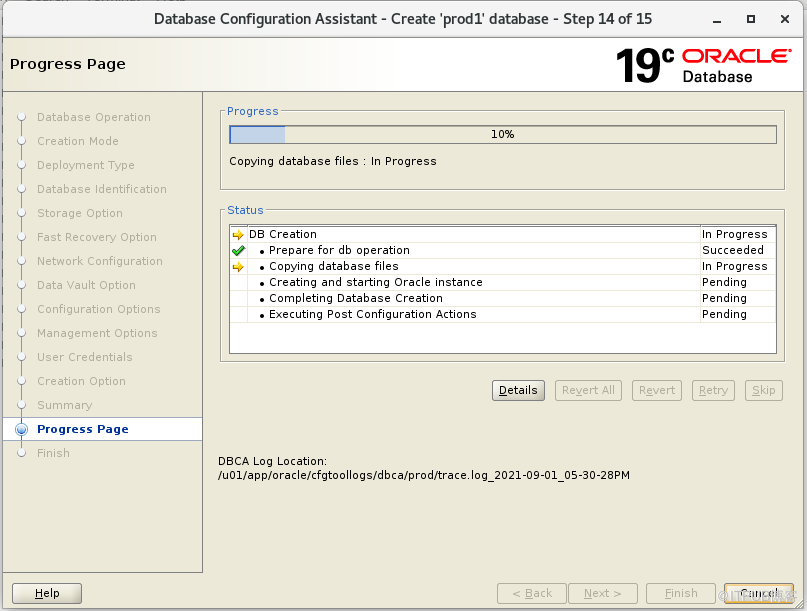
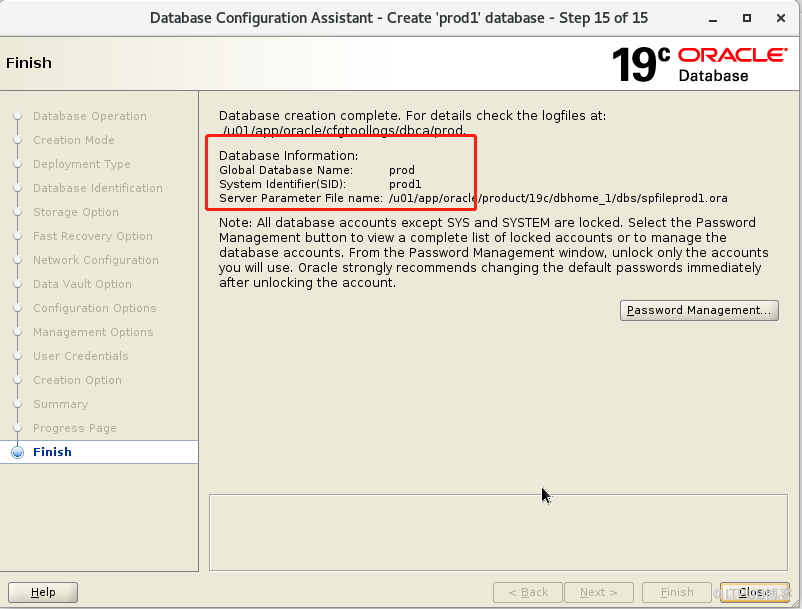
六、dbca创建数据库如下
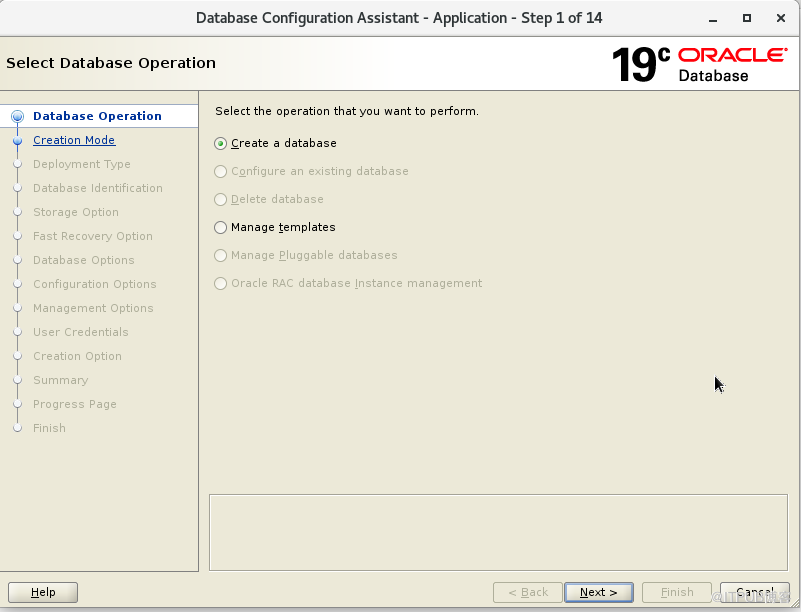
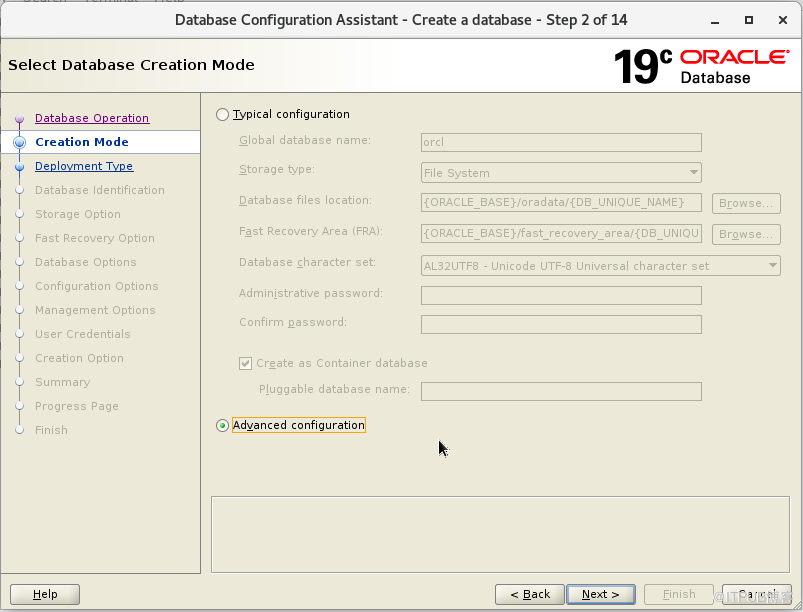
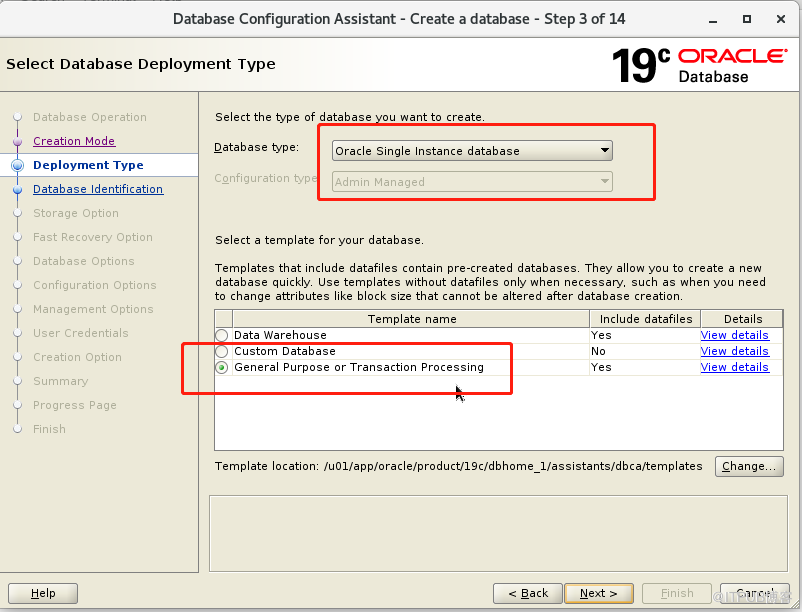
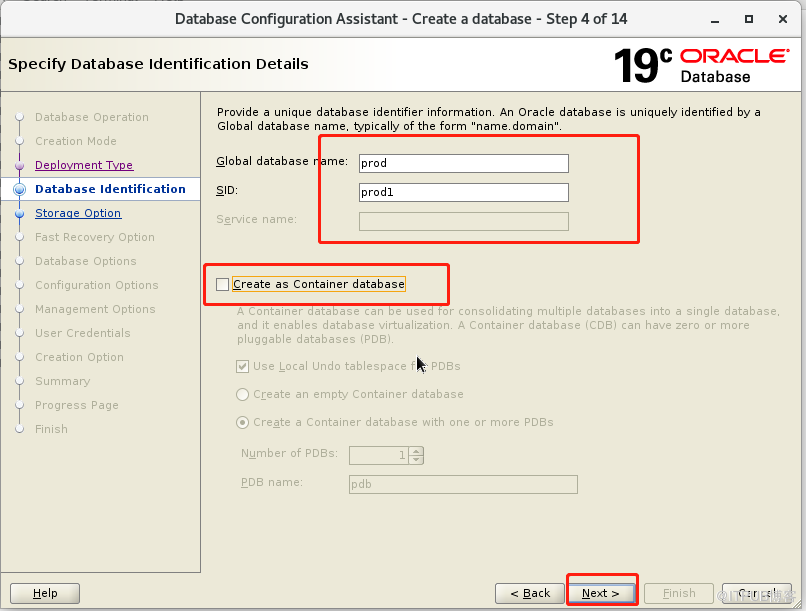
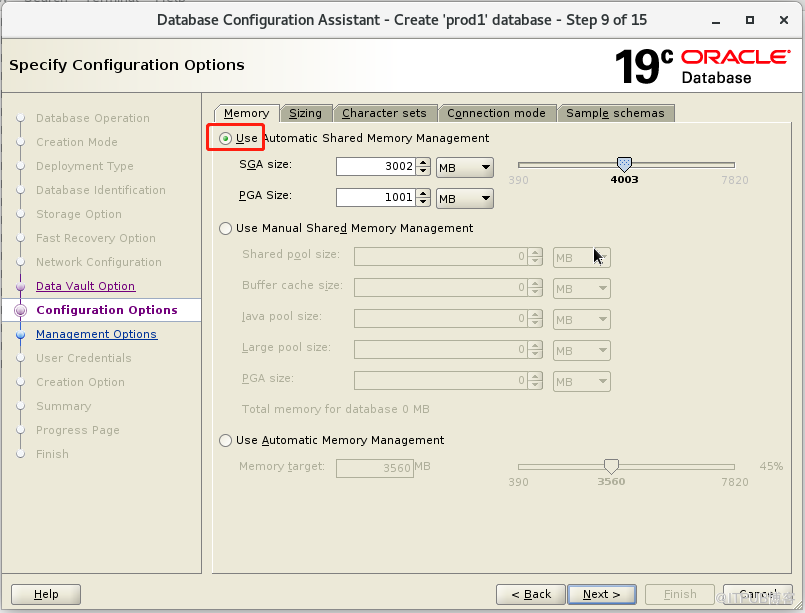
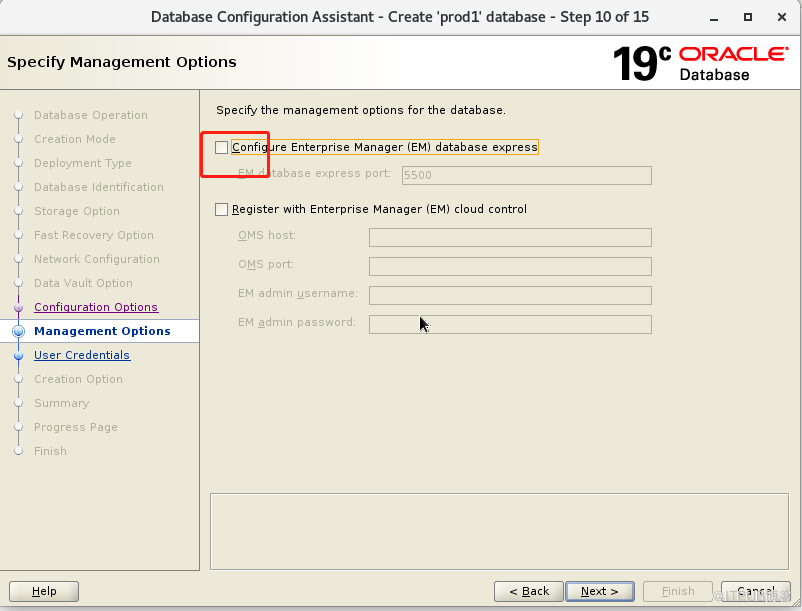
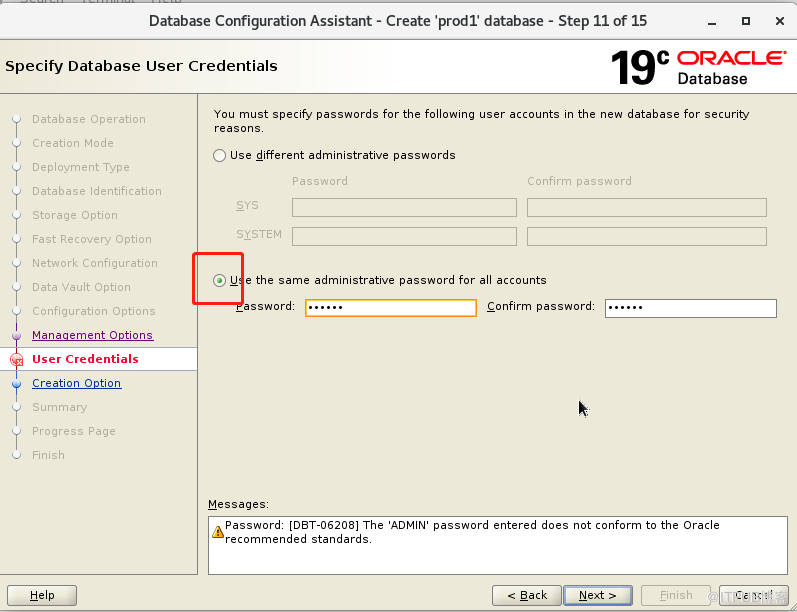
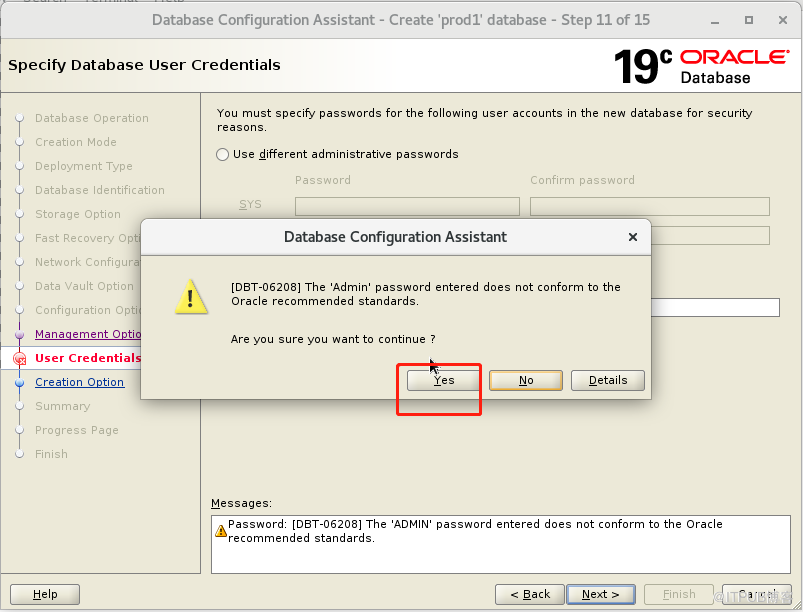
七、登陆数据库查看是否正常
SQL> select name from v$datafile;
NAME
--------------------------------------------------------------------------------
/u01/app/oracle/oradata/PROD/system01.dbf
/u01/app/oracle/oradata/PROD/sysaux01.dbf
/u01/app/oracle/oradata/PROD/undotbs01.dbf
/u01/app/oracle/oradata/PROD/users01.dbf
SQL>
来自 “ ITPUB博客 ” ,链接:https://blog.itpub.net/70004783/viewspace-2789887/ ,如需转载,请注明出处,否则将追究法律责任。

