一 环境配置
1. 编译环境
Window 环境: Windows7 64 位 + Visual Studio 2019 +
clientsdk_3.0.0_1_93e040_WIN2003_x86_64 .exe
数据库环境:CentOS7 64 位 + GBase8sV8.8_TL_3.0.0_1_93e040_RHEL6_x86_64
CSDK 版本分为 32 位和 64 位,按照需求进行安装。注意:同一个操作系统中不可同时安装 32 位和 64 CSKD 。
注意:安装CSDK 后重启电脑。
本文以64 位为例,进行示例。
2. 配置CSDK
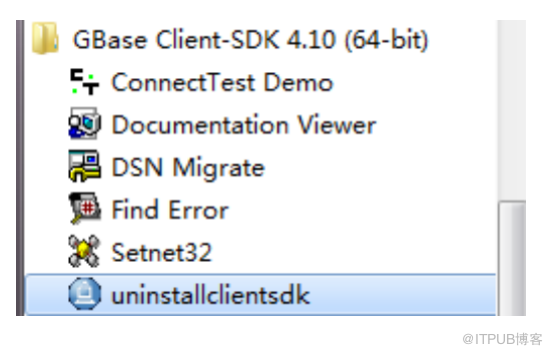
找到GBase Client-SDK 安装目录,打开 Setnet32 进行数据源信息配置
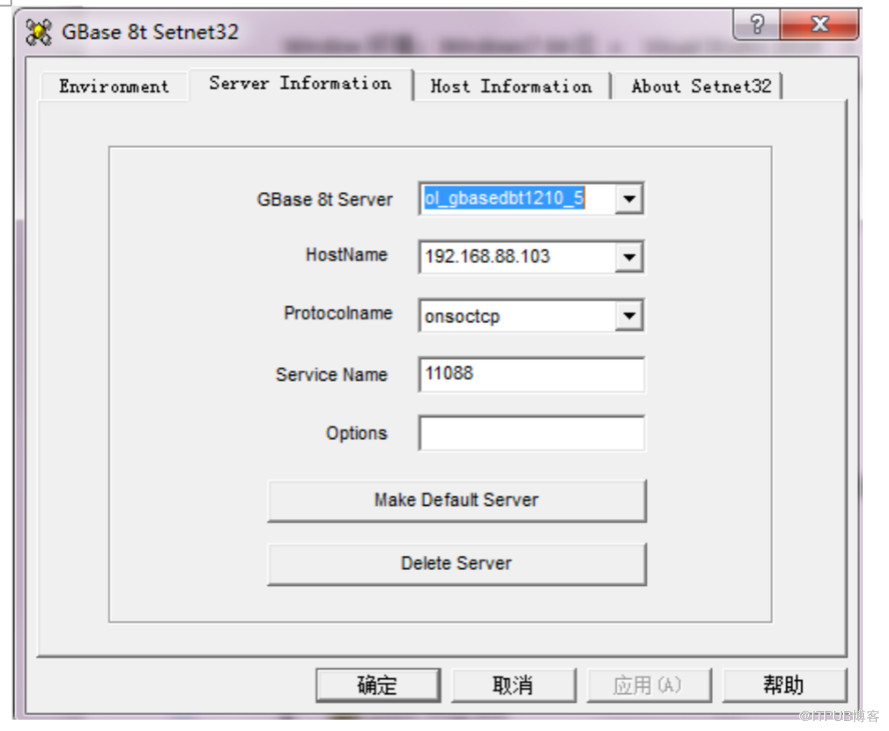
server Information 页签设置项
|
Server |
需要连接的数据库实例名称 |
|
HostName |
数据库 ip 地址 |
|
Protocolname |
连接方式 |
|
Service Name |
端口号 |
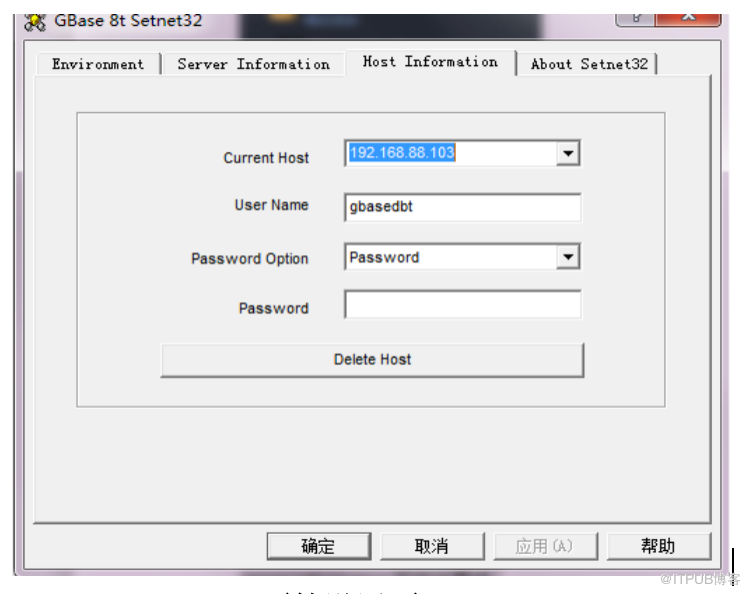
Host Information 页签设置项
|
Current Host |
选择刚才设定的 server |
|
User Name |
用户名 |
|
Password |
密码 |
二 示例
1. 创建EFCore 工程
新建项目---.NET Core 项目 -- 输入项目名称,点击创建
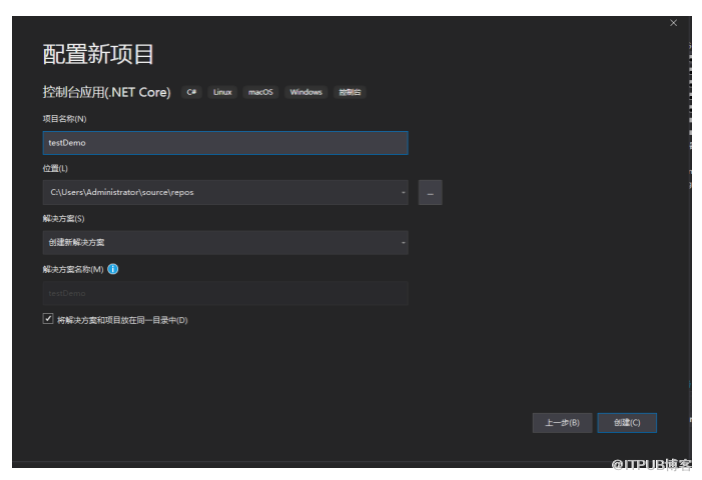
2. 安装GeneralData.EntityFrameworkCore.GBase.1.0.7.1.nupkg 包
两种方式:
1) 使用VS 中的 Package Manager Console 工具
在命令行输入 install-package 安装包全路径 + 名称
2) 在工程右键--- 管理 NuGet 程序包
添加程序包源,设置到安装包的路径。
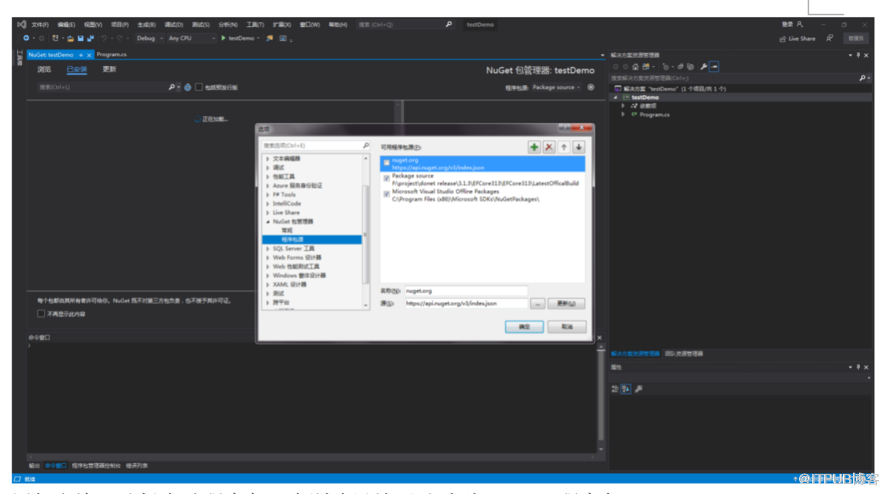
添加完毕,选择本地程序包,在浏览里就可以看到 GBase 程序包了
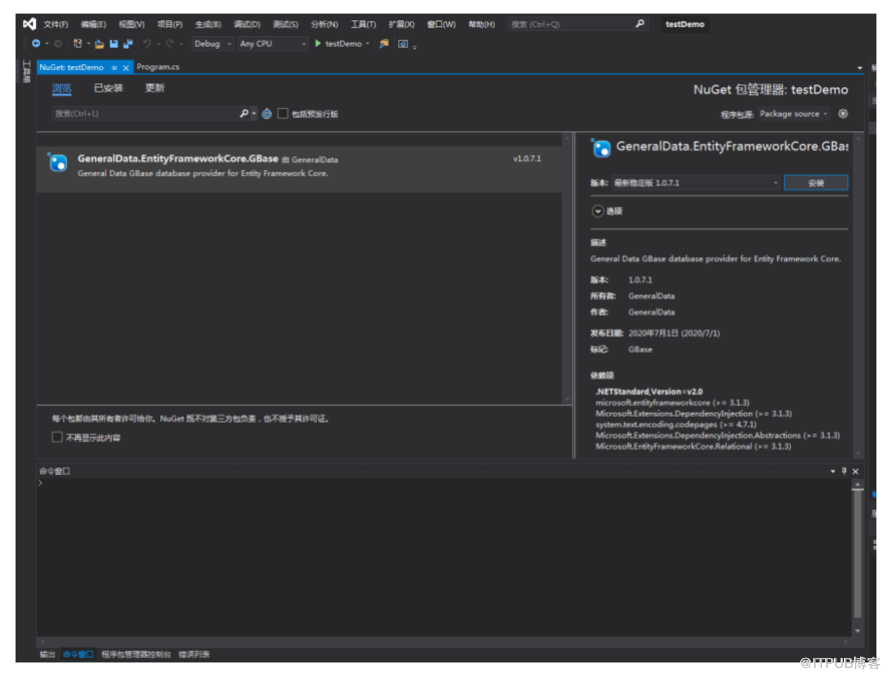
单击,选择安装。
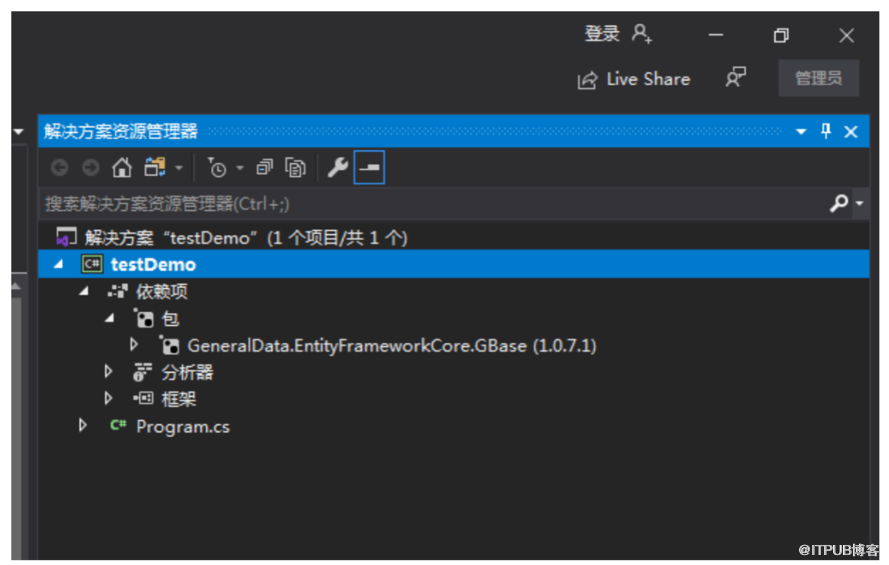
安装完毕后,会在项目的依赖项中出现包的引用
3. 编写简单的查询测试程序
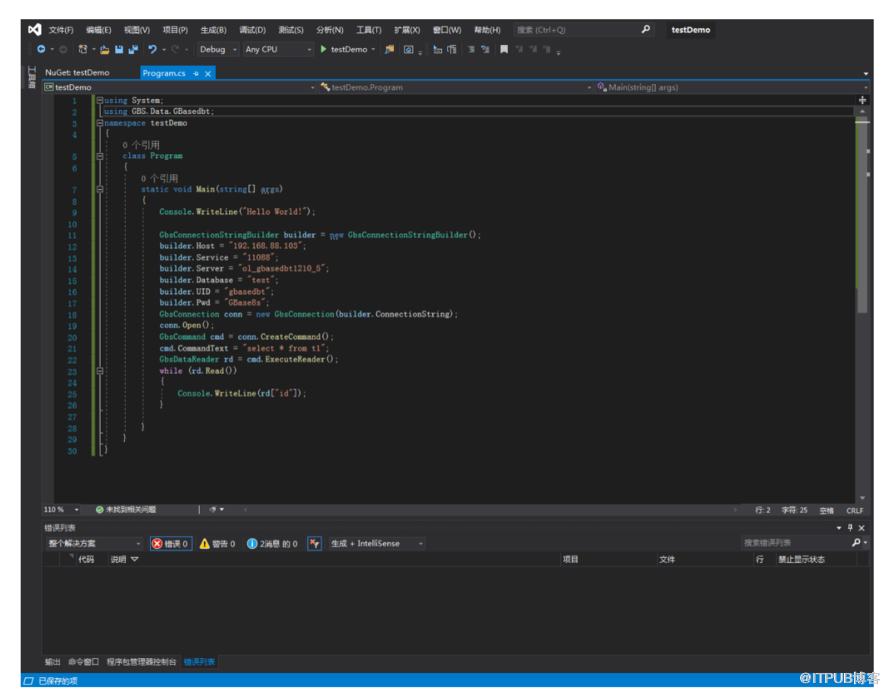
using System;
using GBS.Data.GBasedbt;
namespace testDemo
{
class Program
{
static void Main( string [] args)
{
Console.WriteLine( "Hello World!" );
GbsConnectionStringBuilder builder = new GbsConnectionStringBuilder();
builder.Host = "192.168.88.103" ;
builder.Service = "11088" ;
builder.Server = "ol_gbasedbt1210_5" ;
builder.Database = "test" ;
builder.UID = "gbasedbt" ;
builder.Pwd = "GBase8s" ;
GbsConnection conn = new GbsConnection(builder.ConnectionString);
conn.Open();
GbsCommand cmd = conn.CreateCommand();
cmd.CommandText = "select * from t1" ;
GbsDataReader rd = cmd.ExecuteReader();
while (rd.Read())
{
Console.WriteLine(rd[ "id" ]);
}
}
}
}
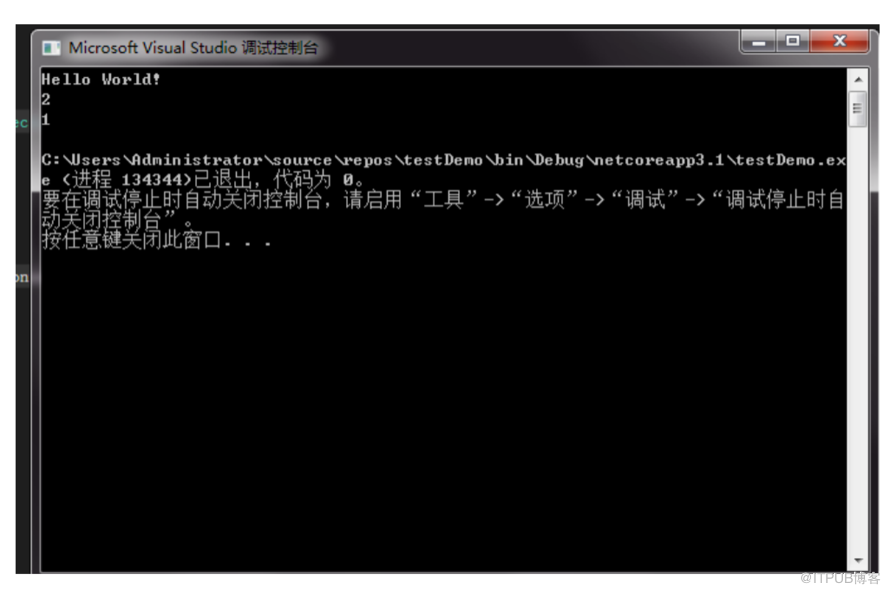
4. 运行结果
来自 “ ITPUB博客 ” ,链接:https://blog.itpub.net/69993860/viewspace-2839125/ ,如需转载,请注明出处,否则将追究法律责任。

最新文章
- EF6使用ADO.NET连接GBase8s数据库示例
- 如何通过配置hibernate方言包+GBase8s jdbc实现GBase8s数据库操作
- GBase RTSync实时同步之设置按组同步
- 通过EFCore调用GBase8s数据库存储过程
- 通过配置hibernate方言包+GBase8s jdbc实现clob、blob、text、byte大对象数据类型操作
- Springboot + Openjpa 整合 GBase8s 实践
- Ado.net如何开启GBase8s事务并指定事务隔离级别
- EF6连接GBase8s数据库示例
- 如何通过mybatis+GBase8s jdbc实现GBase8s数据库操作
- mybatis整合8s数据库
