AlmaLinux 9(RHEL9)下安装部署漏洞扫描系统Nessus-10.6.0
AlmaLinux 9(RHEL9)下安装部署漏洞扫描系统Nessus-10.6.0
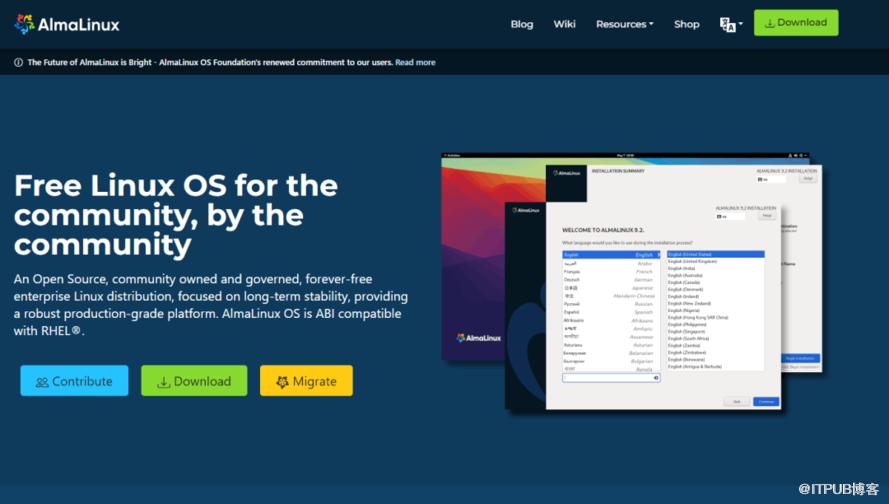
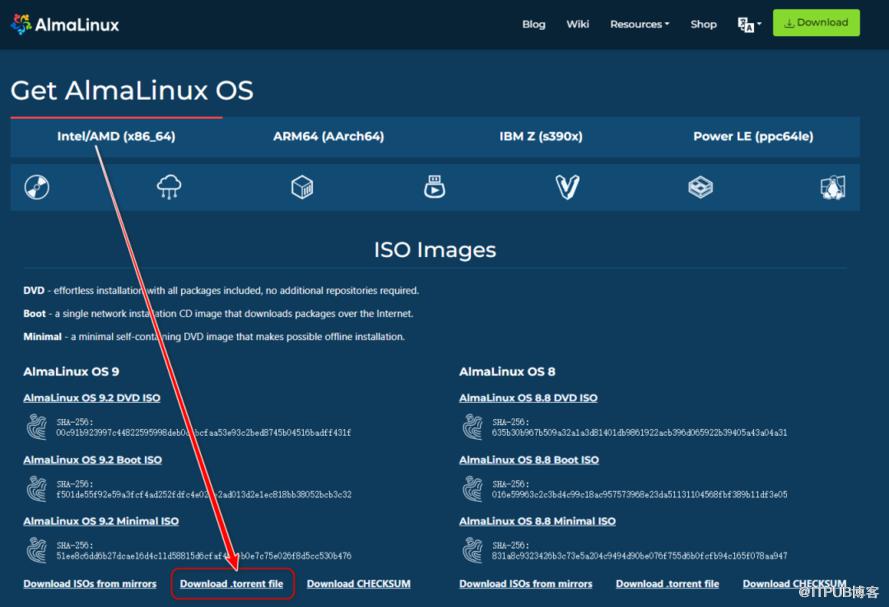
1、获取AlmaLinux 9的ISO镜像
https://almalinux.org/get-almalinux/
建议使用种子链接下载
https://repo.almalinux.org/almalinux/9.2/isos/x86_64/AlmaLinux-9.2-x86_64.torrent
(图片点击放大查看)
(图片点击放大查看)
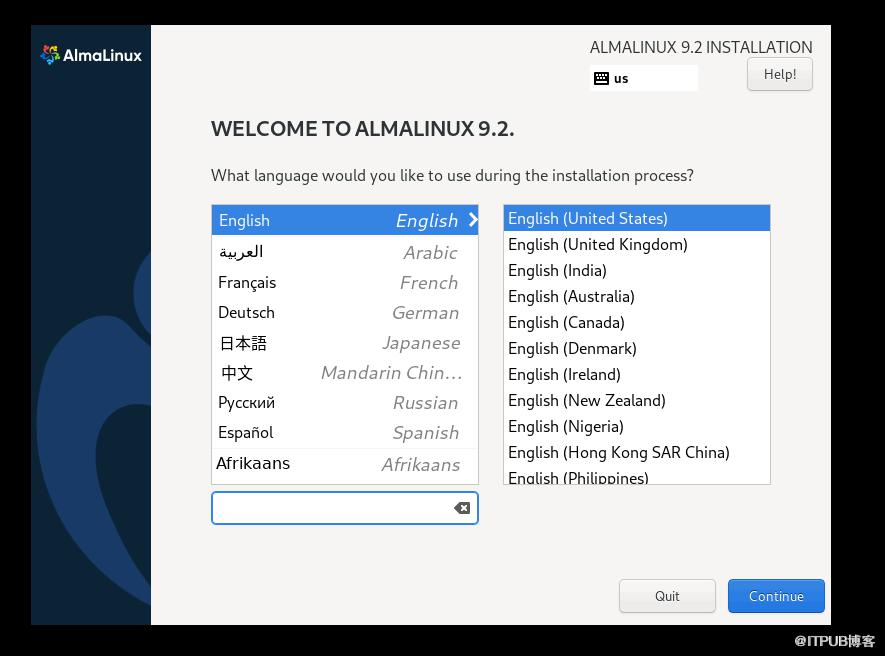
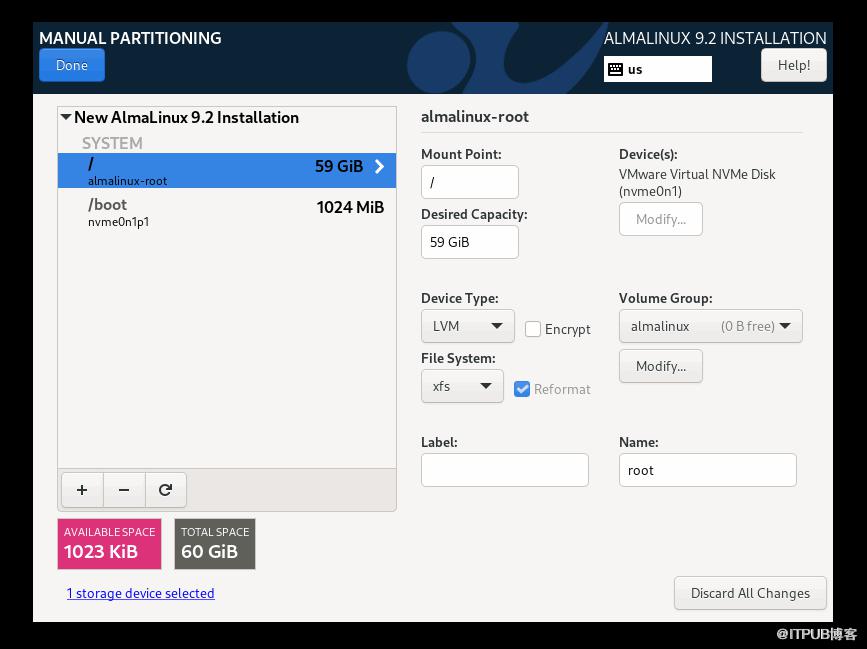
2、安装AlmaLinux 9
步骤截图如下

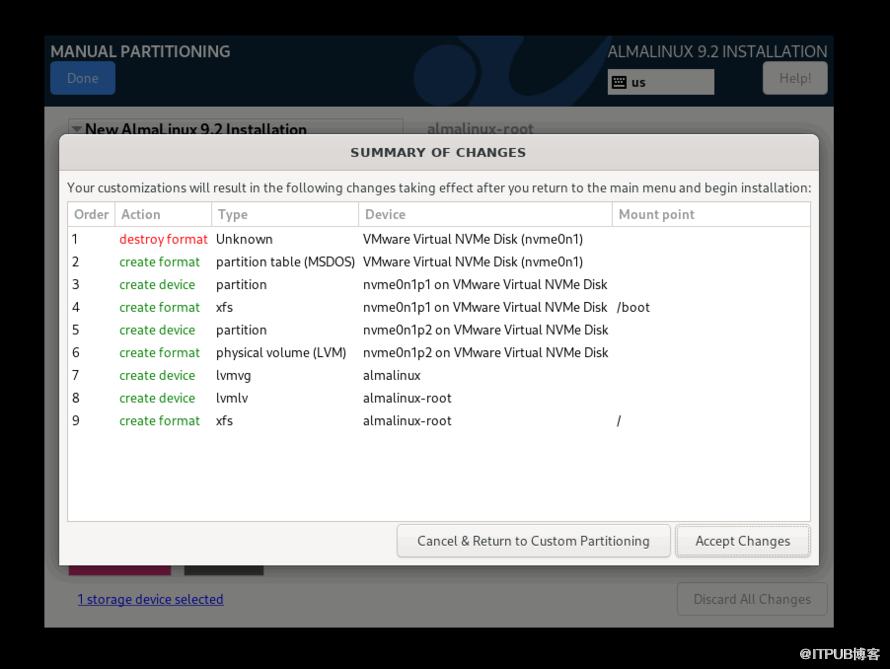
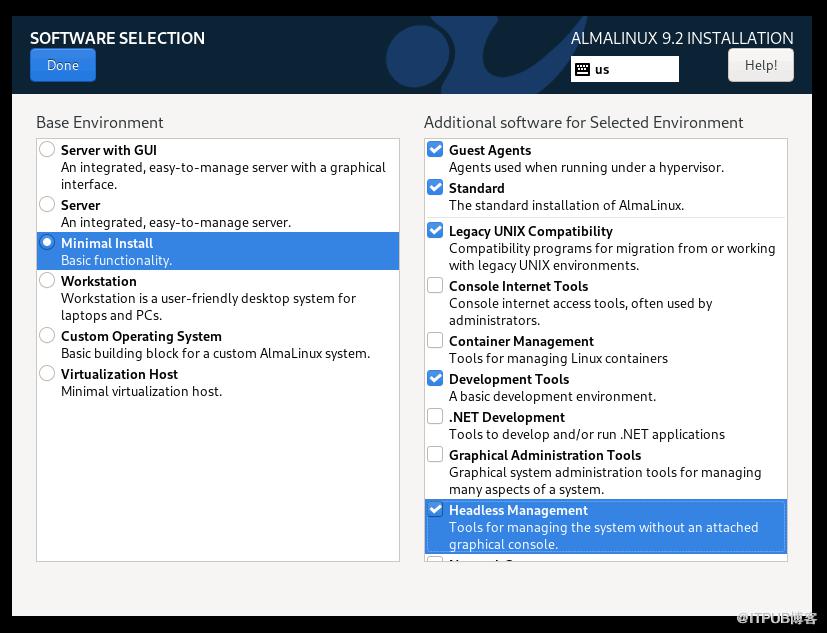
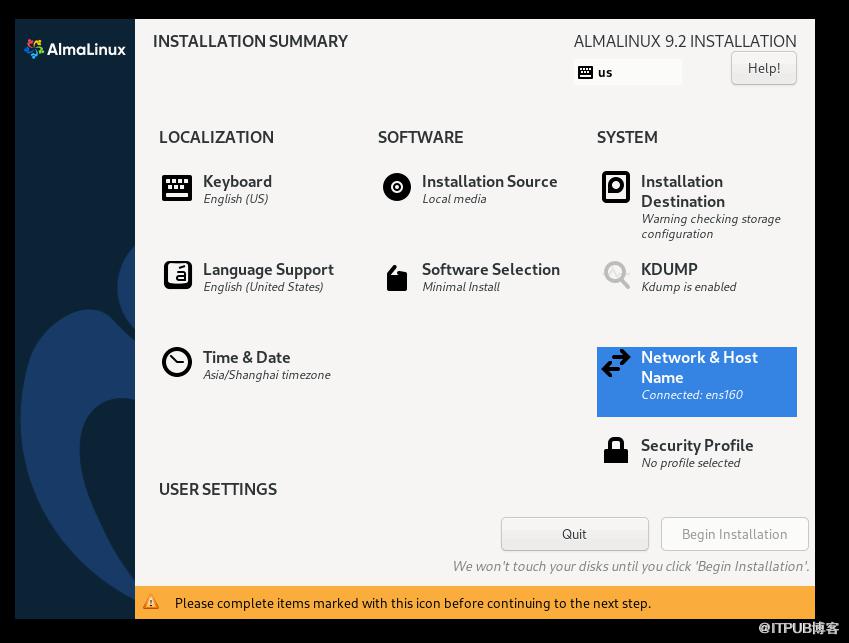
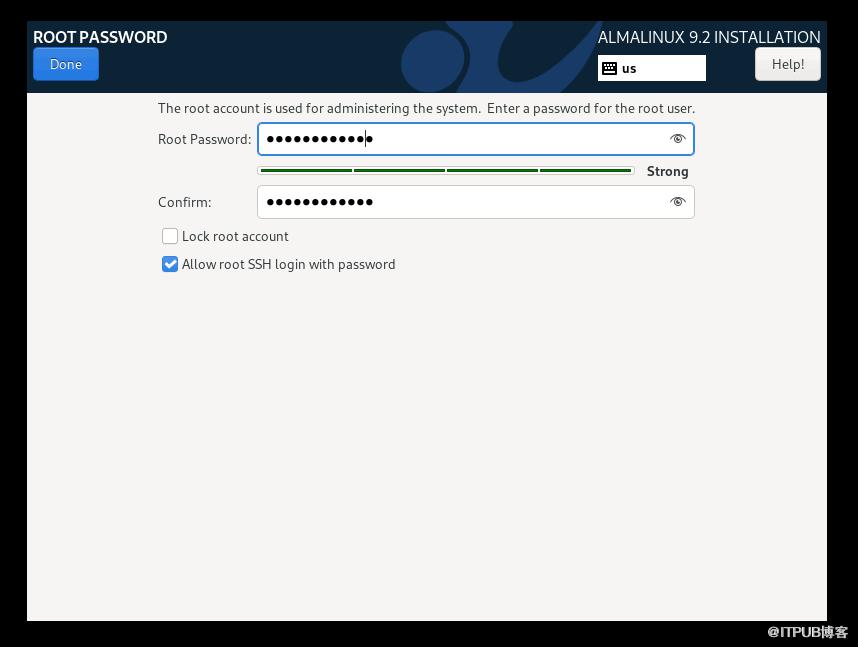
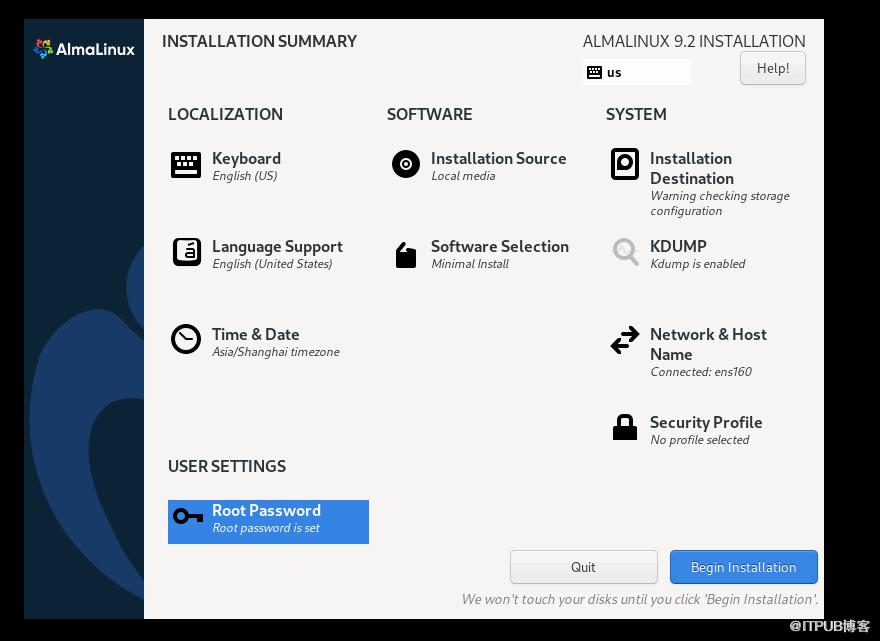
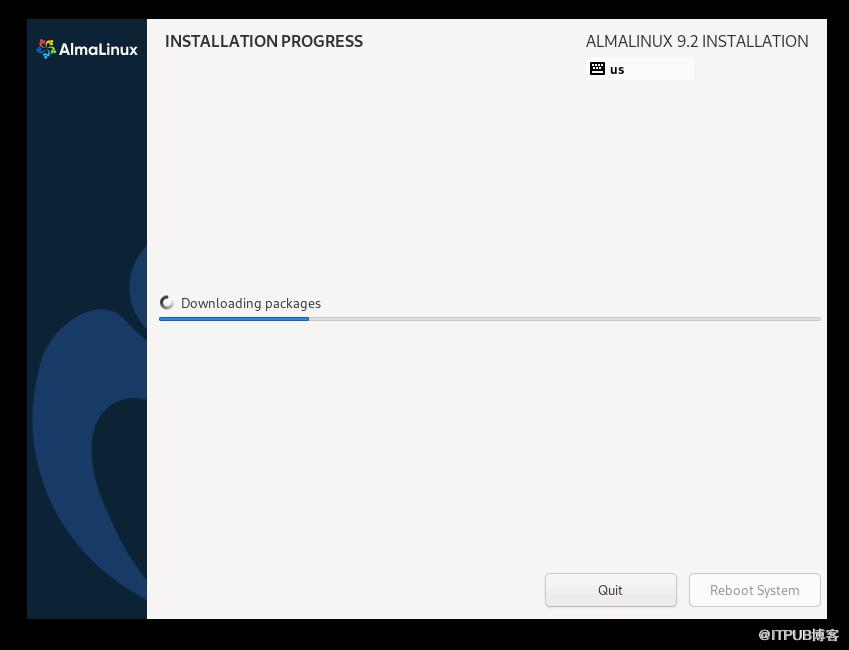
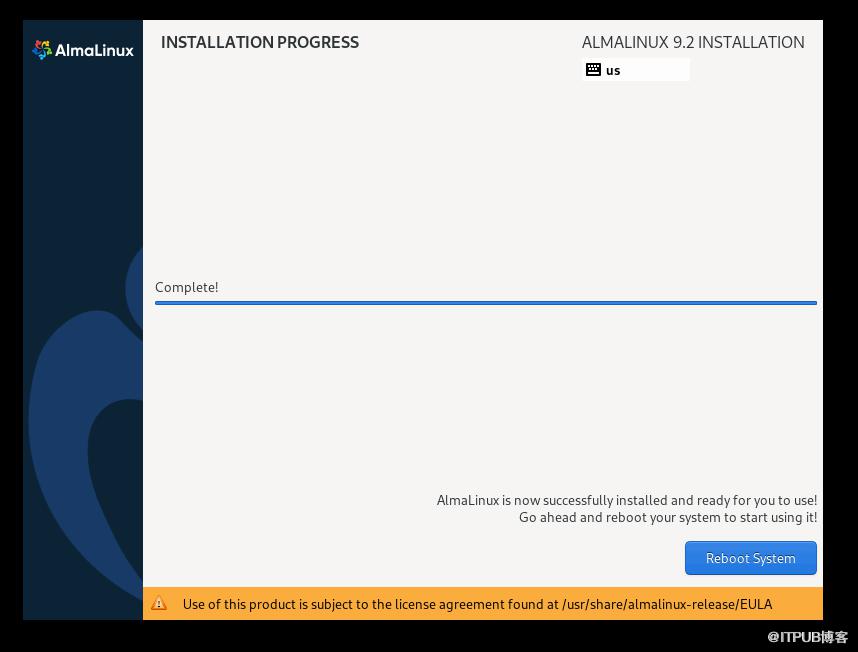
3、安装Nessus-10.6.0
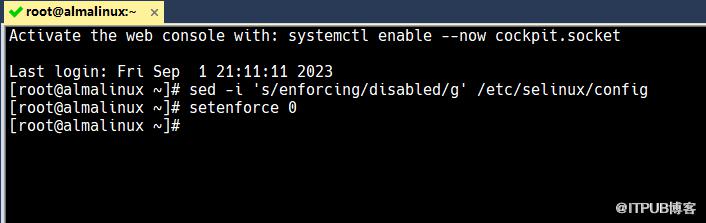
1)、先关闭SELINUX
[root@almalinux ~]# sed -i 's/enforcing/disabled/g' /etc/selinux/config
[root@almalinux ~]# setenforce 0
[root@almalinux ~]# reboot
(图片点击放大查看)
2)、SFTP上传Nessus-10.6.0-es9版本安装包
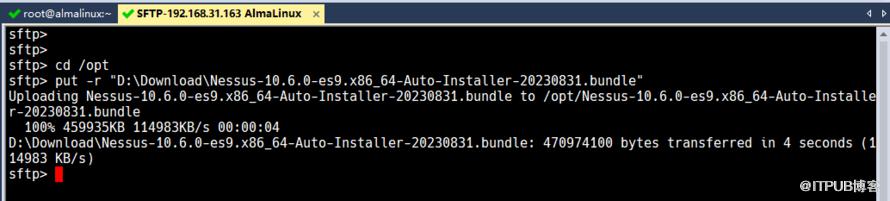
(图片点击放大查看)
3)、一键安装Nessus-10.6.0
Activate the web console with: systemctl enable --now cockpit.socket

Last login: Fri Sep  1 21:11:46 2023 from 192.168.31.100
[root@almalinux ~]# cd /opt/
[root@almalinux opt]# ls -al
total 459936
drwxr-xr-x.  2 root root        69 Sep  1 21:13 .
dr-xr-xr-x. 18 root root       255 Sep  1 21:12 ..
-rw-r--r--   1 root root 470974100 Sep  1 20:49 Nessus-10.6.0-es9.x86_64-Auto-Installer-20230831.bundle
[root@almalinux opt]# chmod 777 Nessus-10.6.0-es9.x86_64-Auto-Installer-20230831.bundle
[root@almalinux opt]# ./Nessus-10.6.0-es9.x86_64-Auto-Installer-20230831.bundle
Unpacking...
Nessus 10.6 for RHEL 9 Installer
=====================================
Powered by XXXXXXX
Please enter the number to continue:
1 = Install
2 = Uninstall
3 = Exit
*cmd menu*:1
===============================================================
Nessus 10.6.0 DOWNLOAD, INSTALL, and UPDATE
A simple way to try this great tool --
===============================================================
==> Installing system requirements components...
==> Stopping old nessusd if already installed...
==> Start installing Nessus...
==> Starting service once FIRST TIME INITIALIZATION...
==> Let's wait for nessus to initialize, which takes about 20 seconds...
    🍺
==> Stopping the Nessus service...
==> Changing Nessus settings...
    listen port: 10443
    safe checks: off
    logs:        performance
    updates:     off
    telemetry:   off
==> Adding a user you can change this later (u=admin, p=XXXXXXX)...
==> Installing plugins...
==> Building plugin feed...
==> Copy files...
==> Starting service...
==> It will take a long time to start because the plugins needs to be loaded.
    🍺
==> Following status updates every 10 seconds until 100%.

 Problem: Nessus server unreachable? Trying again...
    "engine_status":"progress":100
    🍻🍻🍻 Done!

    Access your Nessus: https://localhost:10443/ (or your VM IP)
                        username: admin
                        password: XXXXXXX
                        you can change this any time.

Press enter to continue.
All Done.
Powered by XXXXXXX
[root@almalinux opt]# firewall-cmd --permanent --zone=public --add-port=10443/tcp
success
[root@almalinux opt]# firewall-cmd --reload
success
[root@almalinux opt]#
4、登录Nessus WEB界面并使用Nessus进行漏洞扫描
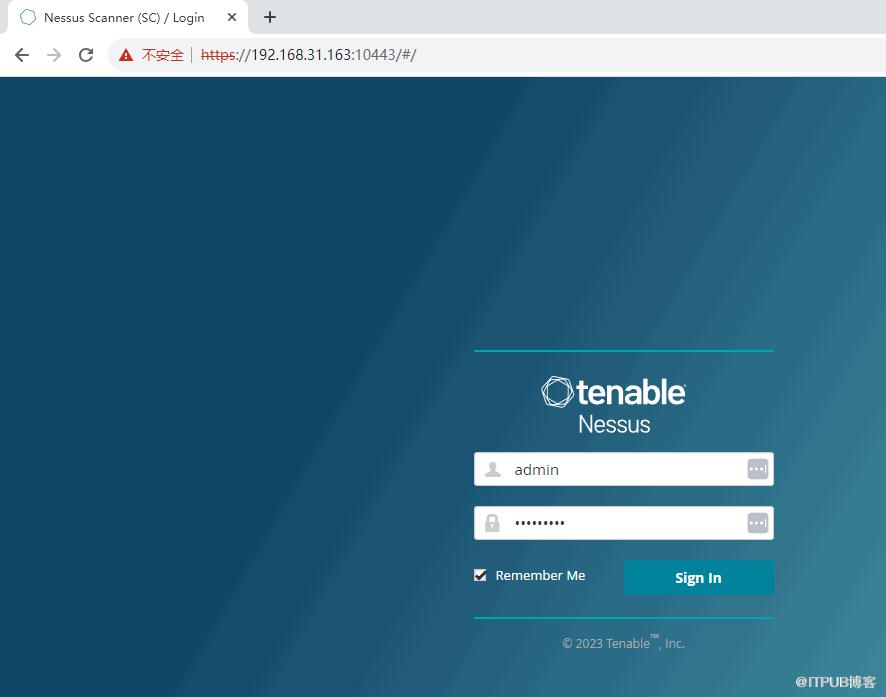
(图片点击放大查看)
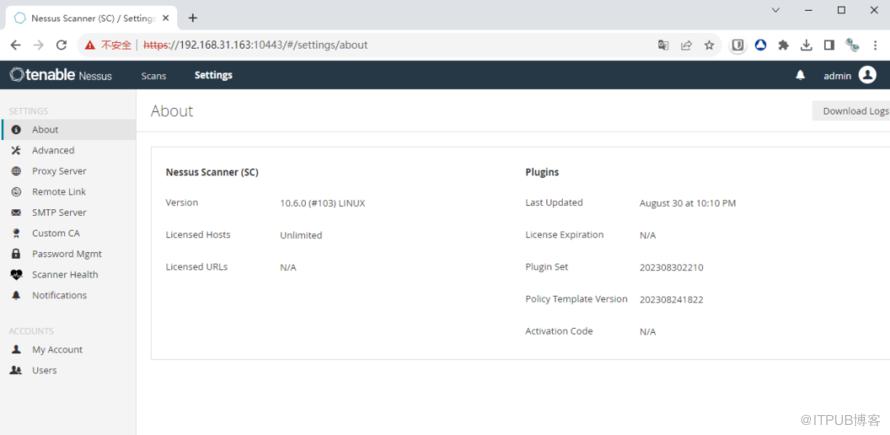
(图片点击放大查看)
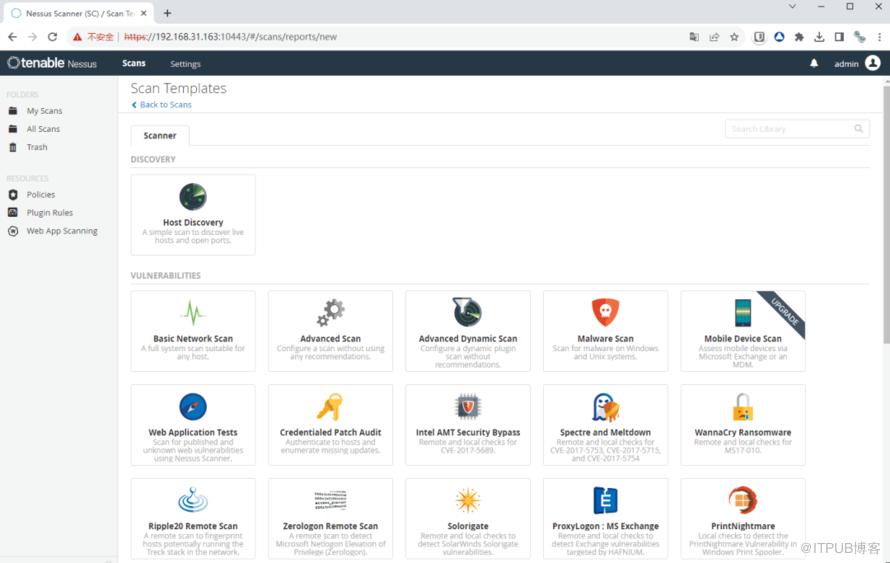
(图片点击放大查看)
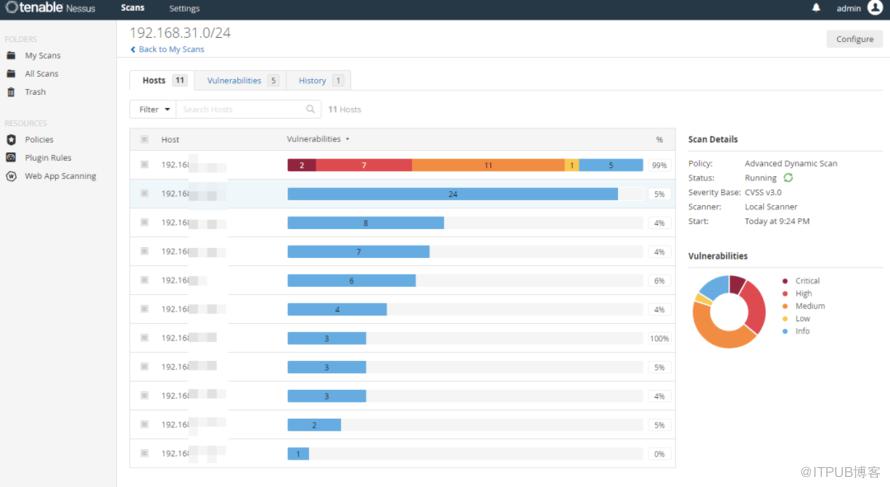
(图片点击放大查看)
原文作者:WalkingCloud;如有侵权,请联系管理员删除。

请登录后发表评论
登录
全部评论
最新文章
- GrayLog常见问题收录-FAQ篇
- 使用GraylogDataNode作为内置OpenSearch日志存储的GrayLog6.1.2一键安装脚本
- 开源日志平台GrayLog最新版本6.1.0的一键安装脚本
- GrayLog6.0.X通过yum方式升级到最新版本
- 专业强大好用的SSH终端/SFTP客户端工具-Xshell8+XFTP8免费版
- GrayLog对接DLP并实现数据安全告警单独发送给员工主管
- 国产免费NAS系统-飞牛私有云fnOS安装初体验
- 使用RR(Redpill Recovery)引导安装最新群晖NAS系统DSM7.2.1
- 开源日志平台GrayLog最新稳定版本6.0.5的一键安装脚本
- shell脚本+webhook实现联动一键联动删除异常大小的文件
