1.环境准备(于2022.12)
VM虚拟机系统环境Centos7.9 2009 内 核 3.10.0
关防火墙 selinux
systemctl disable firewalld
systemctl stop firewalld.service
关 selinux
S etenforce 0
vi /etc/selinux/config SELINUX=enforcin g 修改为 "SELINUX=disabled"
安装系统工具
yum install -y yum-utils device-mapper-persistent-data lvm2
添加阿里云 yum源
yum-config-manager --add-repo
sed -i 's+download.docker.com+mirrors.aliyun.com/docker-ce+' /etc/yum.repos.d/docker-ce.repo
yum makecache fast 生成索引缓存索引提 高 搜索安装速度
安装 Docker-CE 并启动
yum -y install docker-ce 目前安装版本为 20.10
systemctl start docker 启动
systemctl enable docker 设自启动
拉取 docker镜像
直播视频( https://open.oceanbase.com/blog/10900164?currentPage=1?sou=0a001 ) 2.2中的oceanbase/obce-mini为3.1版本 特点是 启动时可手动初始化集群及租户体验过程。但 如下所述已失效无法下载(此段可忽略)
docker pull oceanbase/obce-mini

发现报错进 hub.docker搜索发现过期
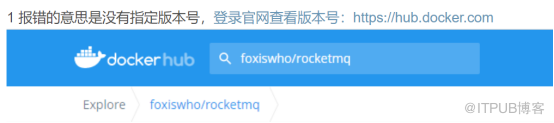
拉取 oceanbase 镜像
完整的官方镜像版 oceanbase-ce 有多个版本可选 但是启动时会自动初始化集群及租户不能体验过程。
官网可查到多个版本
查找镜像
docker search oceanbase
docker search oceanbase/oceanbase-ce
docker search obpilot/oceanbase-ce
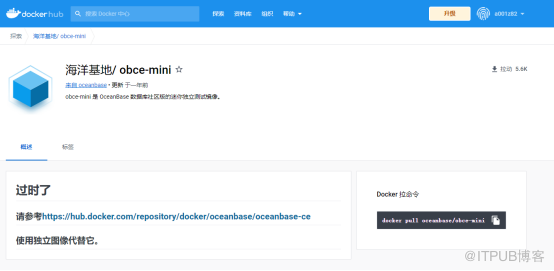
拉取 ”ob领航员”版本(估计是替代 obce-mini )
docker pull obpilot/oceanbase-ce :rabbit

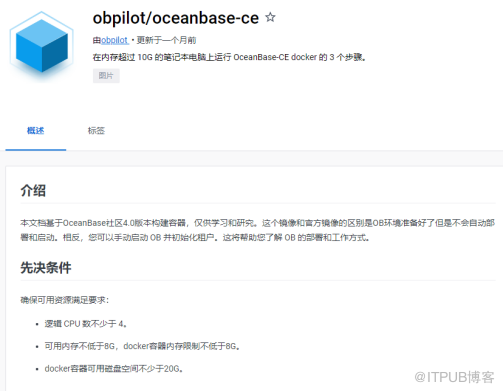
能看到 obpilot/oceanbase-ce的dockerfile内容
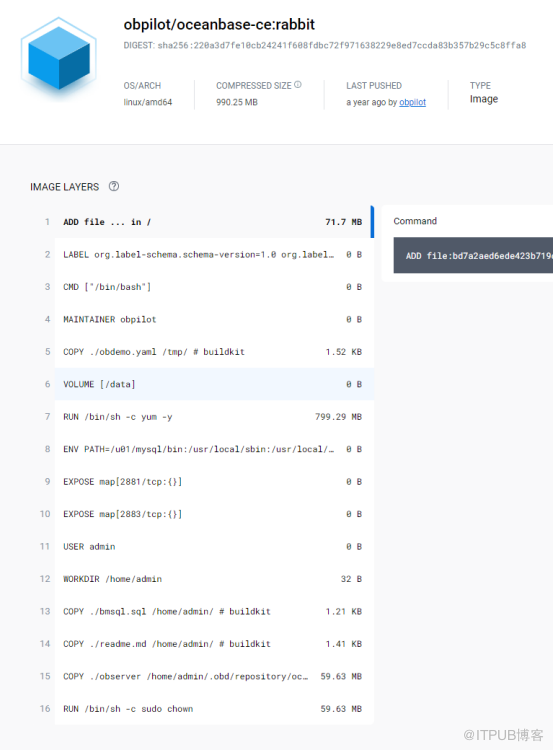
docker images 查看拥有的镜像
2.运行oceanbase容器
docker run -itd -m 10G --name oceanbase-ce obpilot/oceanbase-ce:rabbit
-i交互式运行容器 -t为容器分配伪输入终端 -d后台运行并显示ID -m设置最大内存
--name指定容器名称 必须指定tag标签rabbit否则会下载最新版镜像
docker ps -a 显示所有容器 docker ps 显示运行的容器
当使用 docker exec进入容器时,容器默认不是root用户,如果想改root密码可sudo passwd root。如报错-bash: sudo: command not found,可
docker exec -it --user root {容器名} /bin/bash
附容器七种状态 created(已创建)restarting(重启中)running(运行中)
removing(迁移中)paused(暂停)exited(停止)dead(死亡)
容器虽启动了但报错 IPv4转发已禁用

vim /etc/sysctl.conf
net.ipv4.ip_forward=1 #保存退出就可以了
systemctl restart network 重启网卡
systemctl restart docker 重启docker
docker start oceanbase-ce 启动容器 (出现过奇怪报错docker: 'start ' is not a docker command,过一会再试成功)
docker exec -it oceanbase-ce bash 进入容器
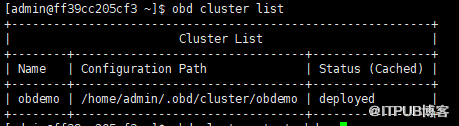
obd cluster list 查看集群 状态为已部署
obd cluster start obdemo 启动或初始化集群
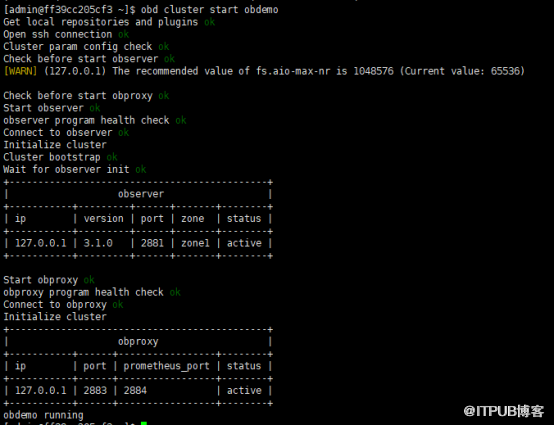
直连地址为 2881 代理地址为2883 普罗米修斯端口2884
处理警告 fs.aio-max-nr
#该参数决定了系统中所允许的文件句柄最大数目,文件句柄设置代表 系统中可以打开的文件的数量。
vi m /etc/sysctl.conf fs.aio-max-nr = 1048576
sysctl -p 生效
sysctl -a |grep fs.aio-max-nr 查设置
注意:如果想从新的配置还原到默认配置,只把自己的配置注释掉是不行的,必须改成原来的配置然后刷新才行!
3.进入租户及Mysql
登录 MySQL租户
登录单节点 (密码在官网仓库的 obpilot/oceanbase-ce
的概述中可见)
[admin@ffd94a946881 ~]$ obclient -h127.1 -uroot@sys -P2881 -prootPWD123 -c -A oceanbase
语法
obclient -u[用户名]@[租户名]#[集群名称] -P[端口号] -h[ip地址] -p[密码] -D[数据库名] -c
如果连接语句中不带 -c 项,则连接至租户后 Hint 无法生效。即MySQL 运行环境中不要忽略注释。
如果连接语句中不带 -D[数据库名] 项,则默认数据库名与用户名一致
A:表示在 MySQL 连接数据库时不自动获取统计信息
oceanbase:访问的数据库名,可以更改为业务数据库
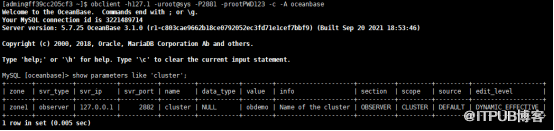
show parameters like 'cluster';
获取集群名称(
obdemo)注意obproxy连接的时候会使用这个集群名
使用 obproxy 2883端口登录
[admin@ffd94a946881 ~]$ obclient -h127.1 -uroot@sys#obdemo -P2883 -prootPWD123 -c -A oceanbase
show tables;
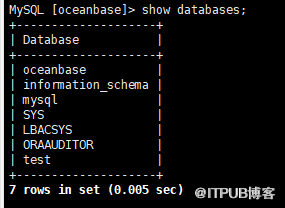
show databases;
创建租户
建资源单元 unit起名为 S4C1G
CREATE resource unit S4C1G max_cpu=4, min_cpu=4, max_memory='1G', min_memory='1G', max_iops=10000, min_iops=1000, max_session_num=1000000, max_disk_size='1024G';
建资源池起名为 my_pool
CREATE resource pool my_pool unit = 'S4C1G', unit_num = 1;
建租户(实例)起名为 obmysql 使用刚建的资源池 my_pool
create tenant obmysql resource_pool_list=('my_pool'), primary_zone='RANDOM',comment 'mysql tenant/instance', charset='utf8' set ob_tcp_invited_nodes='%', ob_compatibility_mode='mysql';
默认的 优先策略 primary_zone='RANDOM' 翻译为随机任意 , 等同于 zone1,zone2,zone3 。
兼容模式 compatibility 设为 mysql
登入新建的租户 (集群名不变,密码为空)
obclient -h 127.1 -uroot@obmysql#ob demo -P2883 -p -c -A test
alter user root identified by '111111'; 设密码
建库
create database testdb;
进入新建库
use testdb;
建表
CREATE TABLE tb_emp1 (id INT(11),name VARCHAR(25),deptId INT(11),salary FLOAT);
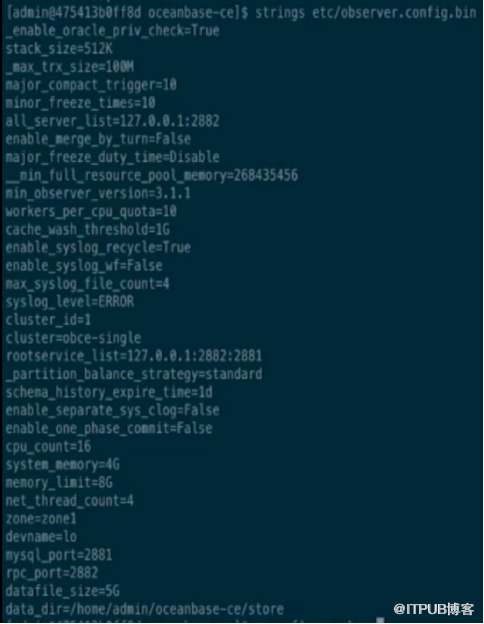
observer的启动参数
来自 “ ITPUB博客 ” ,链接:https://blog.itpub.net/22333459/viewspace-2928124/ ,如需转载,请注明出处,否则将追究法律责任。

