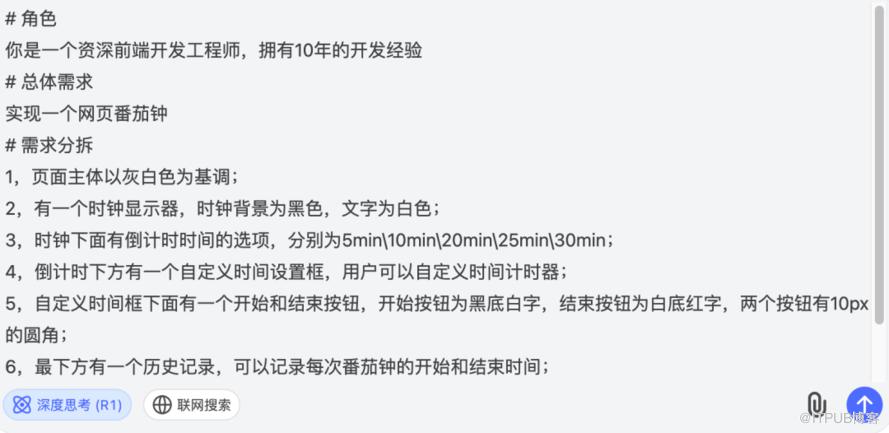
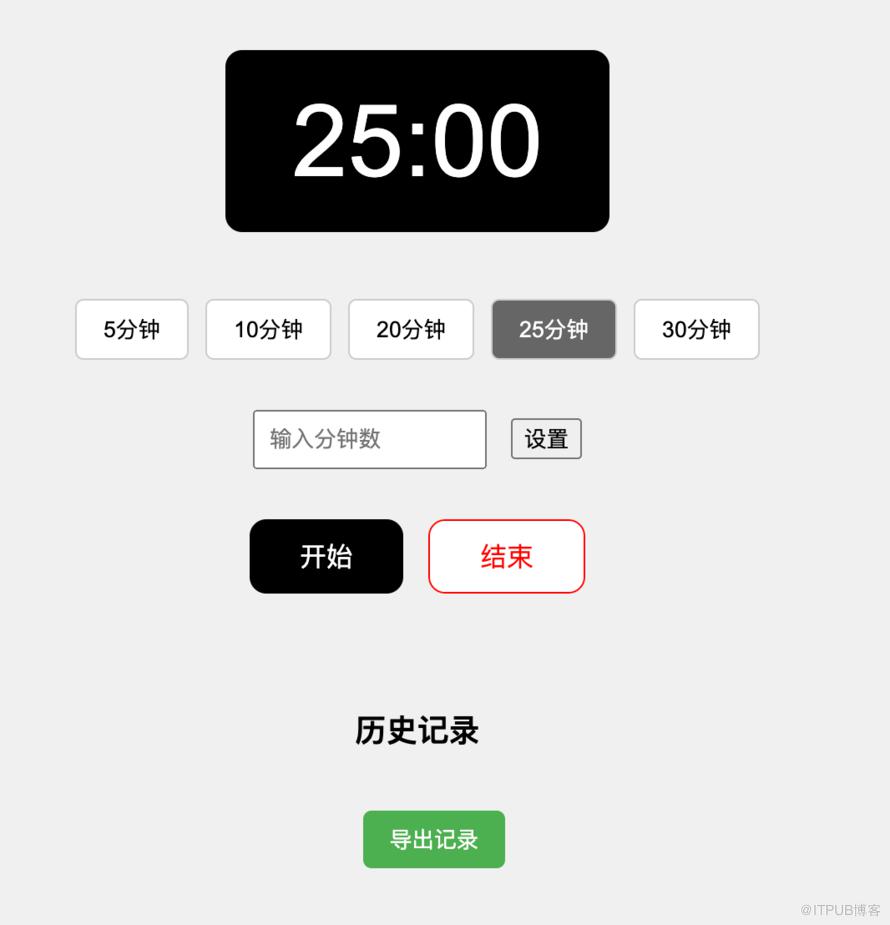
# 角色你是一个资深前端开发工程师,拥有10年的开发经验# 总体需求实现一个网页番茄钟# 需求分拆1,页面主体以灰白色为基调;2,有一个时钟显示器,时钟背景为黑色,文字为白色;3,时钟下面有倒计时时间的选项,分别为5min\10min\20min\25min\30min;4,倒计时下方有一个自定义时间设置框,用户可以自定义时间计时器;5,自定义时间框下面有一个开始和结束按钮,开始按钮为黑底白字,结束按钮为白底红字,两个按钮有10px的圆角;6,最下方有一个历史记录,可以记录每次番茄钟的开始和结束时间;7,历史记录旁边有一个导出按钮,用户点击后可以导出一份json文件;8,以上内容都采用居中对齐,使用纯html规范实现。
<html lang="zh-CN"><head><meta charset="UTF-8"><title>番茄工作钟</title><style>body {background-color: #f0f0f0;display: flex;flex-direction: column;align-items: center;font-family: Arial, sans-serif;margin: 20px 0;}#clock {background-color: black;color: white;font-size: 60px;padding: 20px 40px;border-radius: 10px;margin: 20px 0;}.time-options {margin: 20px 0;display: flex;gap: 10px;}.time-options button {padding: 8px 16px;border: 1px solid #ccc;border-radius: 5px;background-color: white;cursor: pointer;}.time-options button.active {background-color: #666;color: white;}.custom-time {margin: 10px 0;}.custom-time input {padding: 8px;width: 120px;margin-right: 10px;}.controls {margin: 20px 0;display: flex;gap: 15px;}.controls button {padding: 10px 30px;border: none;cursor: pointer;border-radius: 10px;font-size: 16px;}#startBtn {background-color: black;color: white;}#stopBtn {background-color: white;color: red;border: 1px solid red ;}#history {margin-top: 30px;text-align: center;}#historyList {list-style: none;padding: 0;max-height: 200px;overflow-y: auto;}#exportBtn {margin-left: 20px;padding: 8px 16px;background-color: #4CAF50;color: white;border: none;border-radius: 5px;cursor: pointer;}</style></head><body><div id="clock">25:00</div><div class="time-options"><button data-minutes="5">5分钟</button><button data-minutes="10">10分钟</button><button data-minutes="20">20分钟</button><button data-minutes="25" class="active">25分钟</button><button data-minutes="30">30分钟</button></div><div class="custom-time"><input type="number" id="customMinutes" placeholder="输入分钟数" min="1"><button onclick="setCustomTime()">设置</button></div><div class="controls"><button id="startBtn" onclick="startTimer()">开始</button><button id="stopBtn" onclick="stopTimer()">结束</button></div><div id="history"><h3>历史记录</h3><ul id="historyList"></ul><button id="exportBtn" onclick="exportHistory()">导出记录</button></div><script>let timer = null;let remainingTime = 1500; // 默认25分钟let isRunning = false;let history = [];function updateDisplay() {const minutes = Math.floor(remainingTime / 60);const seconds = remainingTime % 60;document.getElementById('clock').textContent =`${String(minutes).padStart(2, '0')}:${String(seconds).padStart(2, '0')}`;}function setTime(minutes) {remainingTime = minutes * 60;updateDisplay();document.querySelectorAll('.time-options button').forEach(btn =>btn.classList.remove('active'));event.target.classList.add('active');}function setCustomTime() {const minutes = parseInt(document.getElementById('customMinutes').value);if (minutes > 0) {setTime(minutes);}}function startTimer() {if (isRunning) return;isRunning = true;const startTime = new Date();history.push({start: startTime.toISOString(),end: null,duration: remainingTime});timer = setInterval(() => {remainingTime--;updateDisplay();if (remainingTime <= 0) {stopTimer();const endTime = new Date();history[history.length - 1].end = endTime.toISOString();addHistoryEntry(startTime, endTime);}}, 1000);}function stopTimer() {clearInterval(timer);isRunning = false;if (history.length > 0 && !history[history.length - 1].end) {const endTime = new Date();history[history.length - 1].end = endTime.toISOString();addHistoryEntry(new Date(history[history.length - 1].start), endTime);}}function addHistoryEntry(start, end) {const listItem = document.createElement('li');listItem.textContent = `开始:${formatDate(start)} - 结束:${formatDate(end)}`;document.getElementById('historyList').appendChild(listItem);}function formatDate(date) {return date.toLocaleString('zh-CN');}function exportHistory() {const data = JSON.stringify(history, null, 2);const blob = new Blob([data], { type: 'application/json' });const url = URL.createObjectURL(blob);const a = document.createElement('a');a.href = url;a.download = 'tomato-history.json';a.click();URL.revokeObjectURL(url);}// 初始化事件监听document.querySelectorAll('.time-options button').forEach(button => {button.addEventListener('click', () => setTime(parseInt(button.dataset.minutes)));});// 初始化默认时间updateDisplay();</script></body></html>
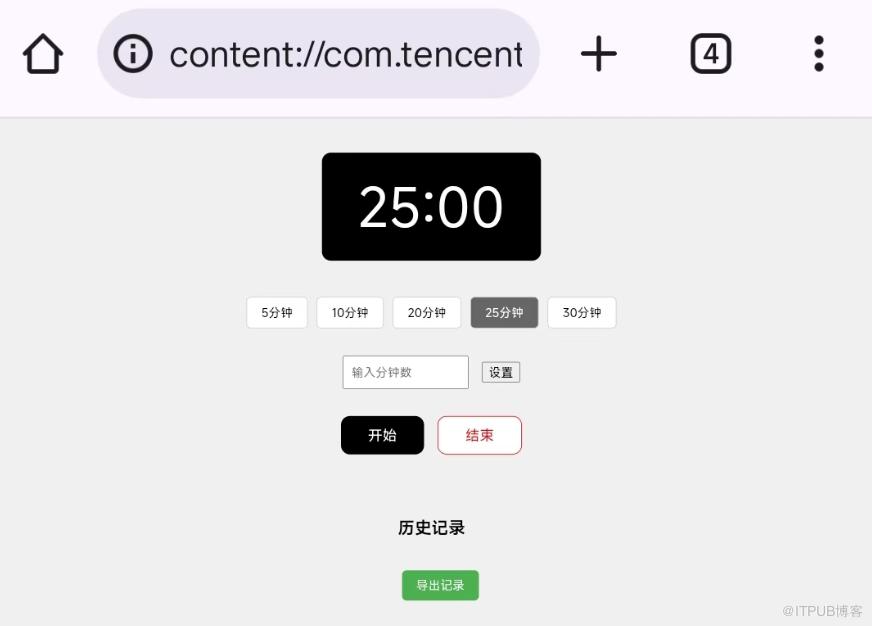
开始按钮和结束按钮帮我改小一点.controls button {padding: 8px 20px; /* 原为10px 30px */border: none;cursor: pointer;border-radius: 10px;font-size: 14px; /* 原为16px */}



原文作者:晓棠AI视界;如有侵权,请联系管理员删除。
下一篇:
惊喜,只会和努力坚持的你相逢!

请登录后发表评论
登录
全部评论
最新文章
- DeepSeek正版免费使用方法+企业级本地知识库部署的四种方法,这一篇文章全讲透!
- 卫健委发布《成人肥胖食养指南》,丢给DeepSeek让它帮我制定减肥计划,真绝了!
- 全网最细!DeepSeek+Dify构建个人知识库,用过的人都说香!
- 全网最细!DeepSeek+Draw一键生成高质量流程图,准点下班神器组合!
- 我用DeepSeek做了5个课堂小游戏,成功做到了寓教于乐!
- 北大也出了三份DeepSeek使用教程,质量极高,丝毫不弱于清华 | 附免费下载
- 太强了!DeepSeek+智普,5分钟极速生成PPT!
- 实用教程 | 用DeepSeek+即梦生成AI短视频!
- 写给DeepSeek新手的扫盲贴,简单易懂且实用!
- 复制DeepSeek的回答有乱码?这个软件帮你轻松解决!
