从0到1:服务器大牛教你一步步源码安装Nginx的终极攻略
在网络运维的世界里,Nginx是一款被广泛使用且高效的Web服务器和反向代理服务器。安装源码版的Nginx可以让我们更加灵活地对服务器进行优化和定制化配置。下面,我将以一名资深网络运维工程师的身份,带你一起走进源码版Nginx的安装之旅。
实验要求:源码安装nginx,并进行访问
nginx的安装包:
源码包下载:http://nginx.org/en/download.html (mainline:开发版 stable:稳定版)
rpm包的yum源:http://nginx.org/packages/centos/7/x86_64/
1.安装前提软件环境
yum -y install gcc gcc-c++ make libtool zlib zlib-devel pcre pcre-devel openssl openssl-devel

2.复制nginx和缓存包到/usr/src,解压
useradd -s /sbin/nologin nginxcd /usr/srctar xf nginx-goodies-nginx-sticky-module-ng-08a395c66e42.tar.gz (谷歌第三方工具:绑定后台服务器)tar xf ngx_cache_purge-2.3.tar.gz (缓存刷新模块)tar xf nginx-1.12.0.tar.gz
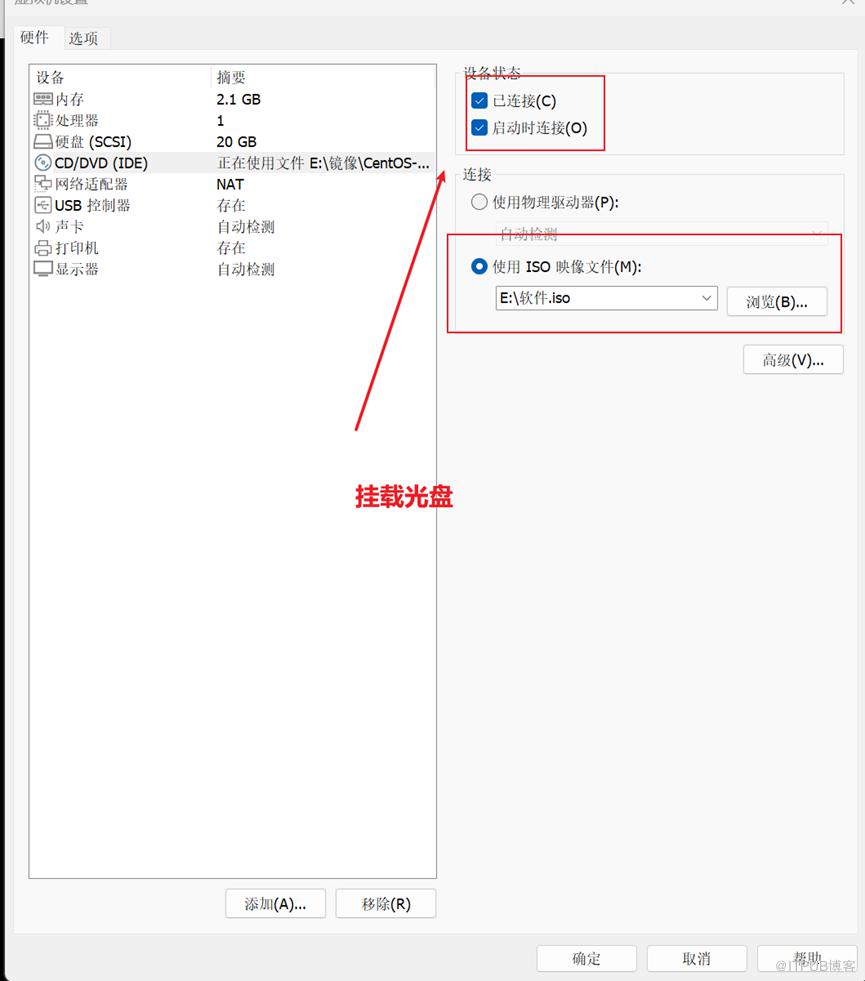
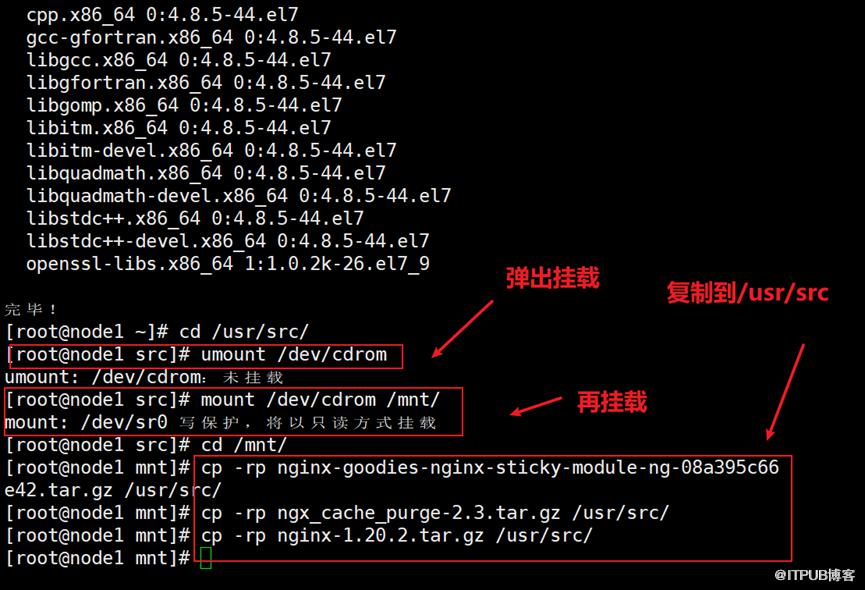
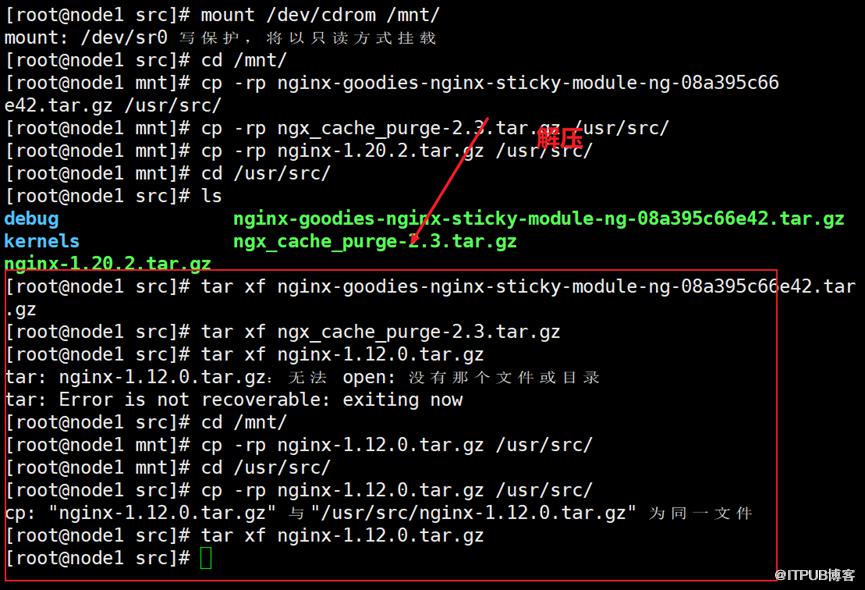
编译安装nginx
cd /usr/src/nginx-1.12.0./configure --prefix=/usr/local/nginx --user=nginx --group=nginx \--with-http_stub_status_module --with-http_realip_module --with-http_ssl_module \--with-http_gzip_static_module --http-client-body-temp-path=/var/tmp/nginx/client \--http-proxy-temp-path=/var/tmp/nginx/proxy --http-fastcgi-temp-path=/var/tmp/nginx/fcgi \--with-pcre --add-module=../ngx_cache_purge-2.3 --with-http_flv_module \--add-module=../nginx-goodies-nginx-sticky-module-ng-08a395c66e42 \&& make && make install

ln -s /usr/local/nginx/sbin/nginx /usr/local/sbin/mkdir -p /var/tmp/nginx/clientchown -R nginx:nginx /var/tmp/nginx
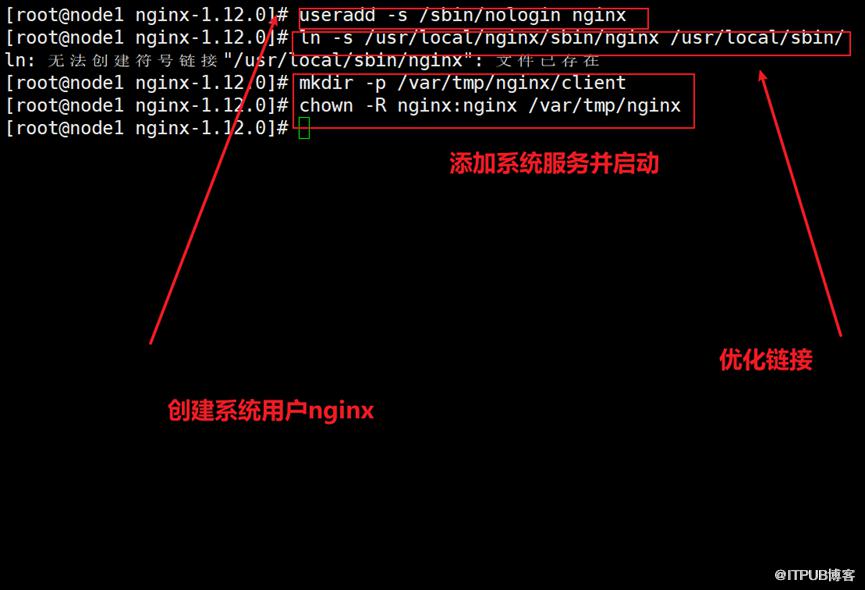
# chkconfig: 2345 99 20# description: Nginx Service Control ScriptPROG="/usr/local/nginx/sbin/nginx"PIDF="/usr/local/nginx/logs/nginx.pid"case "$1" instart)netstat -anplt |grep ":80" &> /dev/null && pgrep "nginx" &> /dev/nullif [ $? -eq 0 ]thenecho "Nginx service already running."else$PROG -t &> /dev/nullif [ $? -eq 0 ] ; then$PROGecho "Nginx service start success."else$PROG -tfifi;;stop)netstat -anplt |grep ":80" &> /dev/null && pgrep "nginx" &> /dev/nullif [ $? -eq 0 ]thenkill -s QUIT $(cat $PIDF)echo "Nginx service stop success."elseecho "Nginx service already stop"fi;;restart)$0 stop$0 start;;status)netstat -anplt |grep ":80" &> /dev/null && pgrep "nginx" &> /dev/nullif [ $? -eq 0 ]thenecho "Nginx service is running."elseecho "Nginx is stop."fi;;reload)netstat -anplt |grep ":80" &> /dev/null && pgrep "nginx" &> /dev/nullif [ $? -eq 0 ]then$PROG -t &> /dev/nullif [ $? -eq 0 ] ; thenkill -s HUP $(cat $PIDF)echo "reload Nginx config success."else$PROG -tfielseecho "Nginx service is not run."fi;;*)echo "Usage: $0 {start|stop|restart|reload}"exit 1esac
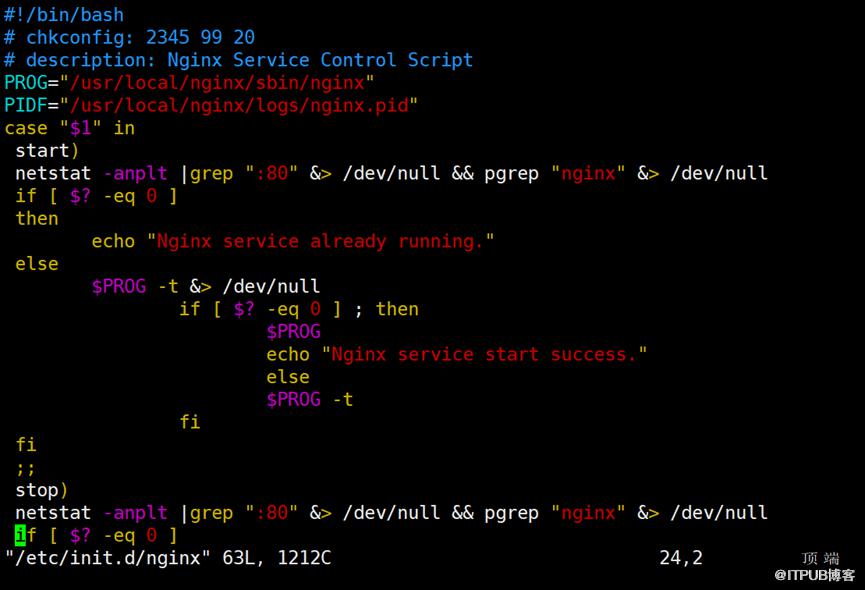
chmod +x /etc/init.d/nginxchkconfig --add nginxchkconfig nginx onservice nginx start


以上就是源码版Nginx的安装全过程。虽然步骤看似简单,但每一步都体现了网络运维工作的专业性和精确性。希望通过这篇教程,能够帮助你在网络运维的道路上更进一步。





原文作者:网络豆云计算学堂;如有侵权,请联系管理员删除。
上一篇:
优化网站性能:深入了解NGINX模块
下一篇:
成功五步走:揭秘你的项目启动到收尾之道

请登录后发表评论
登录
全部评论
