上一节,我们介绍了有关Splunk的产品分类,组件以及常见的部署方式,那这一节,我们就来介绍一下如何部署Splunk,说部署有点儿高端了,其实就是安装。而且是单机安装(部署)模式。
虽然你看到的Splunk是基于web的,但是这个服务还是需要你来安装部署的。想要安装Splunk,首先你得需要什么?对,安装包啊得要!所以,还得劳烦各位客官移步去Splunk官网去先下载好安装包,我们才能继续。对了,记得先注册账号,否则无法在官网下载。
Splunk下载链接:
https://www.splunk.com/en_us/download.html
Linux下安装部署:
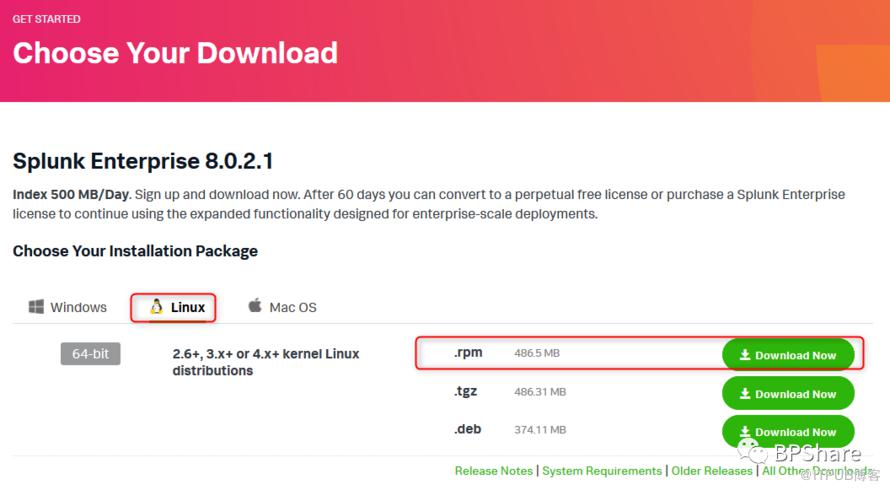
打开上面Splunk下载链接,登录你的Splunk账号,点击Linux图标,然后点击“Download Now”,我下载的是.rpm格式的包。
我的Linux是CentOS,具体什么版本不记得了,来看一下。
[root@localhost ~]# cat /etc/redhat-releaseCentOS Linux release 7.6.1810 (Core)
然后看一下Splunk的安装包
[root@localhost ~]# lltotal 498184-rw-------. 1 root root 1398 Jun 20 2019 anaconda-ks.cfg-rw-r--r-- 1 root root 510134434 Mar 30 13:45 splunk-8.0.2.1-f002026bad55-linux-2.6-x86_64.rpm
注意一下当前的路径是/root
[root@localhost ~]# pwd/root
老司机说如果安装软件的话,最好安装到/opt这个文件夹下,那我们用下面的命令,把Splunk的安装包移过去,然后进入/opt查看一下:
[root@localhost ~]# mv splunk-8.0.2.1-f002026bad55-linux-2.6-x86_64.rpm /opt/[root@localhost ~]# cd /opt/[root@localhost opt]# lltotal 498180-rw-r--r-- 1 root root 510134434 Mar 30 13:45 splunk-8.0.2.1-f002026bad55-linux-2.6-x86_64.rpm[root@localhost opt]#
现在运行下面的命令开始安装了:
[root@localhost opt]# rpm -ivh splunk-8.0.2.1-f002026bad55-linux-2.6-x86_64.rpmwarning: splunk-8.0.2.1-f002026bad55-linux-2.6-x86_64.rpm: Header V4 RSA/SHA256 Signature, key ID b3cd4420: NOKEYPreparing... ################################# [100%]Updating / installing...1:splunk-8.0.2.1-f002026bad55 ################################# [100%]complete
安装完成之后,/opt下面会多出来一个文件夹:splunk
[root@localhost ~]# ll /opt/total 498180drwx------ 8 splunk splunk 280 Mar 30 13:55 splunk-rw-r--r-- 1 root root 510134434 Mar 30 13:45 splunk-8.0.2.1-f002026bad55-linux-2.6-x86_64.rpm[root@localhost ~]#
我们来看一下/opt/splunk这个文件夹下有哪些东西:
[root@localhost ~]# ll /opt/splunktotal 2900drwxr-xr-x 4 splunk splunk 4096 Mar 30 13:54 bin-r--r--r-- 1 splunk splunk 57 Mar 5 01:36 copyright.txtdrwxr-xr-x 15 splunk splunk 4096 Mar 30 13:55 etc-rw-r--r-- 1 splunk splunk 441 Mar 30 13:55 ftrdrwxr-xr-x 4 splunk splunk 62 Mar 30 13:54 includedrwxr-xr-x 8 splunk splunk 4096 Mar 30 13:55 lib-r--r--r-- 1 splunk splunk 56043 Mar 5 01:36 license-eula.txtdrwxr-xr-x 3 splunk splunk 58 Mar 30 13:55 openssl-r--r--r-- 1 splunk splunk 844 Mar 5 01:41 README-splunk.txtdrwxr-xr-x 4 splunk splunk 108 Mar 30 13:55 share-r--r--r-- 1 splunk splunk 2881069 Mar 5 01:59 splunk-8.0.2.1-f002026bad55-linux-2.6-x86_64-manifest
这一节,你只需要知道,如果想运行splunk服务,是要进入bin这个文件夹就行了,以后再具体讲一下splunk的文件结构。OK,让我们启动Splunk:
[root@localhost ~]# /opt/splunk/bin/splunk startSPLUNK SOFTWARE LICENSE AGREEMENTThis Splunk Software License Agreement ("Agreement") governs your use ofSplunk software. By downloading and using Splunk software: (a) you areindicating that you have read and understand this Agreement, and agree to belegally bound by it on your behalf or on behalf of the entity for which youare acting; and (b) you represent and warrant that you have the authority toact on behalf of and bind this entity (if any). You, and the entity for whichyou work (if any), acknowledge that by submitting an order for the Splunksoftware, you and this entity (if any) have agreed to be bound by thisagreement.As used in this Agreement, "Splunk," refers to Splunk Inc., a Delawarecorporation, with its principal place of business at 270 Brannan Street, SanFrancisco, California 94107, U.S.A.; and "Customer" refers to the company,government, or other entity on whose behalf you have entered into thisAgreement or, if there is no such entity, you as an individual.1. DEFINITIONS. Capitalized terms used but not otherwise defined in thisAgreement are defined in Exhibit A.2. LICENSE TERMS.--More-- (43%)
WTF, 哦,原来是许可信息,如果你不想看,直接按回车键或者空格键加快显示完许可信息,最后会问你是否同意他们的许可。废话,当然得同意了。
.......Splunk Software License Agreement 10.21.2019Do you agree with this license? [y/n]:
不过还是推荐大家直接使用下面的命令跳过许可信息:
[root@localhost ~]# /opt/splunk/bin/splunk start --accept-license然后你会看到下面的账号配置信息了:
配置管理员用户名,在这里我设置的是admin
配置管理员用户密码,然后确认密码。
注意:Linux下输入密码时是没有回显的,尽管输入就是了。
This appears to be your first time running this version of Splunk.Splunk software must create an administrator account during startup. Otherwise, you cannot log in.Create credentials for the administrator account.Characters do not appear on the screen when you type in credentials.Please enter an administrator username: adminPassword must contain at least:* 8 total printable ASCII character(s).Please enter a new password:Please confirm new password:
确认密码之后,回车,然后Splunk就开始启动了,下面都是一些启动信息:
Copying '/opt/splunk/etc/openldap/ldap.conf.default' to '/opt/splunk/etc/openldap/ldap.conf'.Generating RSA private key, 2048 bit long modulus......+++++...+++++e is 65537 (0x10001)writing RSA keyGenerating RSA private key, 2048 bit long modulus........+++++.........................................................+++++e is 65537 (0x10001)writing RSA keyMoving '/opt/splunk/share/splunk/search_mrsparkle/modules.new' to '/opt/splunk/share/splunk/search_mrsparkle/modules'.See your world. Maybe wish you hadn't.Checking prerequisites...Checking http port [8000]: openChecking mgmt port [8089]: openChecking appserver port [127.0.0.1:8065]: openChecking kvstore port [8191]: openChecking configuration... Done.Creating: /opt/splunk/var/lib/splunkCreating: /opt/splunk/var/run/splunkCreating: /opt/splunk/var/run/splunk/appserver/i18nCreating: /opt/splunk/var/run/splunk/appserver/modules/static/cssCreating: /opt/splunk/var/run/splunk/uploadCreating: /opt/splunk/var/run/splunk/search_telemetryCreating: /opt/splunk/var/spool/splunkCreating: /opt/splunk/var/spool/dirmoncacheCreating: /opt/splunk/var/lib/splunk/authDbCreating: /opt/splunk/var/lib/splunk/hashDbNew certs have been generated in '/opt/splunk/etc/auth'.Checking critical directories... DoneChecking indexes...Validated: _audit _internal _introspection _metrics _telemetry _thefishbucket history main summaryDoneChecking filesystem compatibility... DoneChecking conf files for problems...DoneChecking default conf files for edits...Validating installed files against hashes from '/opt/splunk/splunk-8.0.2.1-f002026bad55-linux-2.6-x86_64-manifest'All installed files intact.DoneAll preliminary checks passed.Starting splunk server daemon (splunkd)...Generating a RSA private key...............................................................................................................................................................................+++++......................................................+++++writing new private key to 'privKeySecure.pem'-----Signature oksubject=/CN=localhost.localdomain/O=SplunkUserGetting CA Private Keywriting RSA keyDoneOK ]Waiting for web server at http://127.0.0.1:8000 to be available...... DoneIf you get stuck, we're here to help.Look for answers here: http://docs.splunk.comThe Splunk web interface is at http://127.0.0.1:8000
好了,恭喜你,你的Splunk已经启动了,看到最后一行的显示信息了麽?复制一下这个地址,用浏览器打开,你将看到下面的Splunk登录页面。

接下来,用你启动Splunk服务时配置的用户名和密码进行登录。由于是第一次登录,你会看到下面这两个弹出框,直接点掉就行。
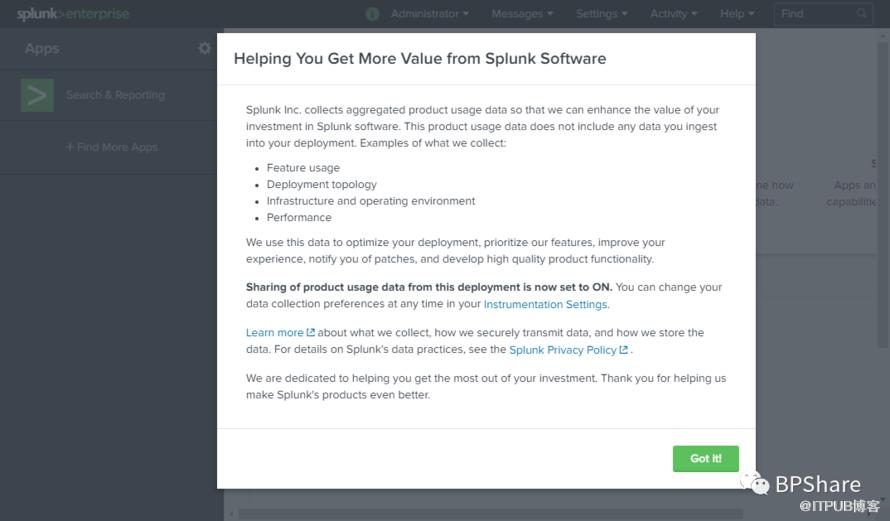
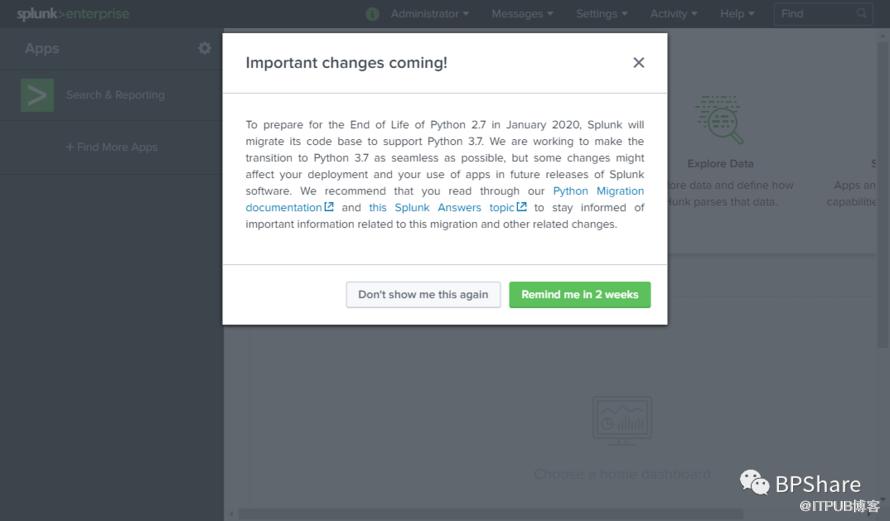
OK,这就是在Linux系统上安装以及初始化Splunk的基本步骤了。还是很简单的,对吧!
扫码关注微信公众号,都是干货哦!

~daling!点个赞呗!~
原文作者:BPShare;如有侵权,请联系管理员删除。

