支持基于 URL 的请求授权
基于方法访问的授权
基于对象访问的授权
基于内存模型实现授权
基于默认数据库模型实现授权
基于自定义数据库模型实现授权
@RestController
@RequestMapping("/admin")
public class AdminController {

    @GetMapping("/hello")
    public String hello() {

        return "hello, admin";
    }

}
@RestController
@RequestMapping("/user")
public class UserController {

    @GetMapping("hello")
    public String hello() {

        return "hello, user";
    }

}
@RestController
@RequestMapping("/visitor")
public class VisitorController {

    @GetMapping("/hello")
    public String hello() {

        return "hello, visitor";
    }

}
/visitor/hello 任何人都可以访问;
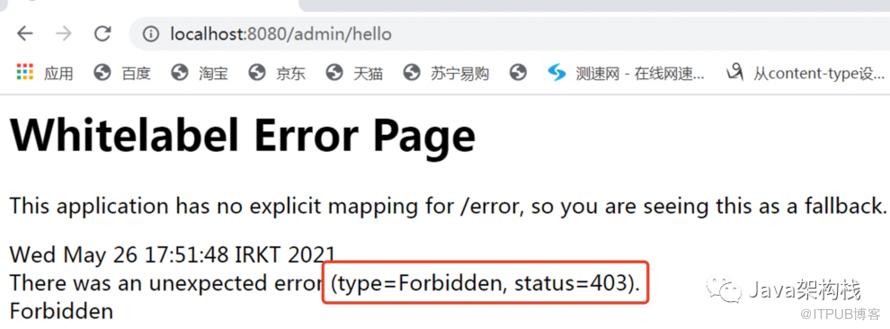
/admin/hello 具有 admin 角色的人才能访问;
/user/hello 具有 user 角色的人才能访问;
所有 user 角色能够访问的接口资源,admin 角色也都能够访问。
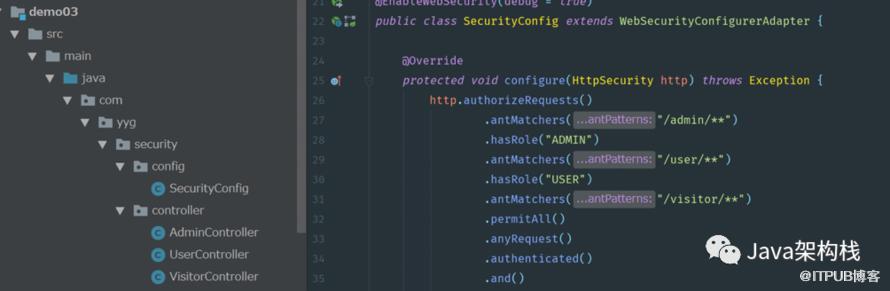
2. 配置资源访问权限
@EnableWebSecurity(debug = true)
public class SecurityConfig extends WebSecurityConfigurerAdapter {

    @Override
    protected void configure(HttpSecurity http) throws Exception {
        http.authorizeRequests()
                .antMatchers("/admin/**")
                .hasRole("ADMIN")
                .antMatchers("/user/**")
                .hasAnyRole("USER","ADMIN")
                .antMatchers("/visitor/**")
                .permitAll()
                .anyRequest()
                .authenticated()
                .and()
                .formLogin()
                .permitAll();
    }
}如果请求的路径是 "/admin/**" 开头的接口,用户需要具有 admin 角色;
如果请求的路径是 "/user/**" 开头的接口,用户需要具有 user 或 admin 角色;
如果请求的路径是 "/visitor/**" 开头的接口,哪个用户都可以随便访问;
剩余的其他格式的请求路径,必须认证(登录)后才可以访问。

在configure(AuthenticationManagerBuilder auth)方法中定义;
创建UserDetailsService对象。
在上面创建的SecurityConfig类中,我们添加一个新的configure()方法,创建用户,并给该用户分配用户名、密码、角色权限等信息,并对该用户的密码采用不加密
@EnableWebSecurity(debug = true)
public class SecurityConfig extends WebSecurityConfigurerAdapter {

    ......

    @Override
    protected void configure(AuthenticationManagerBuilder auth) throws Exception {
        auth.inMemoryAuthentication()
            .withUser(User.withUsername("admin").password("123").roles("ADMIN", "USER").build())
            .withUser(User.withUsername("user").password("123").roles("USER").build())
            //设置密码编码器
            .passwordEncoder(NoOpPasswordEncoder.getInstance());
    }

   ......
}@EnableWebSecurity(debug = true)
public class SecurityConfig extends WebSecurityConfigurerAdapter {
.......
/**
* 内存中创建多个用户角色的方式2:
* 基于内存的多用户支持.在内存中创建多个用户与角色.
*/
@Bean
public UserDetailsService createUserDetailService() {
InMemoryUserDetailsManager manager = new InMemoryUserDetailsManager();
//在内存中创建admin与user用户
manager.createUser(User.withUsername("admin").password("123").roles("ADMIN", "USER").build());
manager.createUser(User.withUsername("user").password("123").roles("USER").build());
return manager;
}
/**
* 由于5.x版本之后默认启用了委派密码编码器,因而按照以往的方式设置内存密码将会读取异常,所在需要暂时将密码编码器设置为NoOpPasswordEncoder.
* 后面我们可以修改成BCryptPasswordEncoder.
* 这里必须设置一个密码编码器,否则无法通过对用户名和密码的验证.
*/
@Bean
public PasswordEncoder passwordEncoder() {
//return new BCryptPasswordEncoder();
return NoOpPasswordEncoder.getInstance();
}
.......
}
8. InMemoryUserDetailsManager类结构
InMemoryUserDetailsManager是UserDetailsService接口中的一个实现类,InMemoryUserDetailsManager的类结构图如下:

往期精彩
Spring Security系列教程之实现HTTP基本认证(2)
Spring Security系列教程之实现Form表单认证(3)
Spring Security系列之实现HTTP摘要认证(4)
Spring Security系列之前后端分离时的安全处理方案(5)
文末福利
留言评论,今天的内容你学会了吗?
点赞最多的同学获得水杯一个!

关注公众号,回复【SS】获取专栏大纲脑图
点击【阅读全文】,从零开始学Java
原文作者:Java架构栈;如有侵权,请联系管理员删除。

