放大镜可以说是前端人必须学会的程序之一 , 今天 的案例 为大家展示一下怎么实现放大镜的效果!
效果图展示
整个效果就是当鼠标放到展示图上的时候,会出现一个遮罩层以及弹出来一个框展示一个详情图,并且鼠标移动的时候详情图跟着移动,鼠标离开详情图消失。
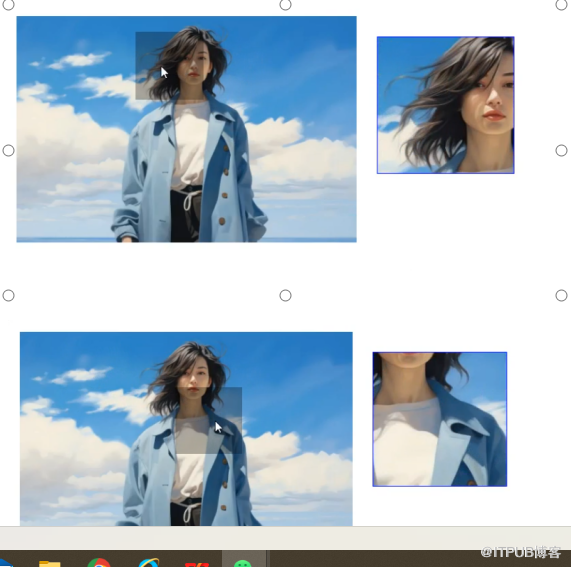
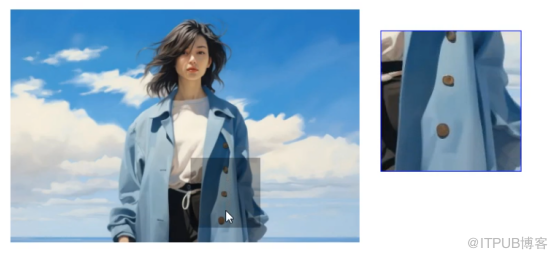
HTML代码:
<html>
<head>
<style>
#small{
width: 500px;
height: 312px;
position: absolute;
left: 20px;
top: 20px;
}
#pic1{
position: absolute;
left: 0px;
top: 0px;
}
#pic1 img{
width: 100%;
height: 100%;
}
#big{
width: 200px;
height: 200px;
position: absolute;
left: 550px;
top: 50px;
border: 1px solid blue;
overflow: hidden;
}
#pic2{
width: 1000px;
height: 625px;
position: absolute;
left: 0;
top: 0;
}
#pic2 img{
width: 100%;
height: 100%;
}
#mask{
width: 100px;
height: 100px;
background: black;
opacity: 0.3;/*让遮罩层看起来透明*/
filter: alpha(opacity = 30);/*兼容不同的浏览器*/
position: absolute;
display: none;
}
</style>
<script>
window.>
//当鼠标移入小图片,显示遮罩层和放大的区域
$('small').>
$('mask').style.display = 'block';
$('big').style.display='block';
}
//鼠标移出时,隐藏遮罩层和放大的区域
$('small').>
$('mask').style.display='none';
$('big').style.display="none";
}
//鼠标移动
$('small').>
var e = ev || window.event;
//计算鼠标的位置,并让鼠标显示在遮罩层的中间
var l = e.clientX - $('small').offsetLeft - 50;
var t = e.clientY - $('small').offsetTop -50;
//别让遮罩层移出图片
if(l <= 0){
l = 0;
来自 “ ITPUB博客 ” ,链接:https://blog.itpub.net/70031268/viewspace-2996991/ ,如需转载,请注明出处,否则将追究法律责任。

