
1. 部署Redis
上传编译好的Redis二级制安装包,使用redis用户启动redis即可
具体编译安装过程可参考
https://mp.weixin.qq.com/s/RaWy0sqRxcAti1qbv-GbZQ
2. 部署logstash
wget https://artifacts.elastic.co/downloads/logstash/logstash-6.2.2.tar.gztar -zxvf logstash-6.2.2.tar.gzvim config/redis_es.confinput {redis {data_type => "list"host => "192.168.122.36"db => "0"port => "6379"password => "Test.205"key => "smstest"}}output {elasticsearch {hosts => ["127.0.0.1:9200"]index => "sms"}}
ES索引名为sms
启动logstash
bin/logstash -f config/redis_es.conf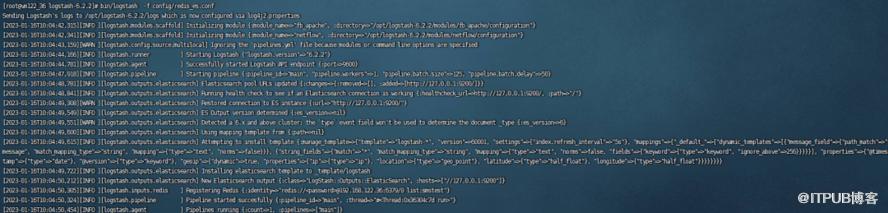
3. 部署ElasticSearch
本次使用ElasticSearch,且不使用认证,部署过程如
下载ElasticSearch并上传,解压

部署jdk
 使用elasticsearch用户启动(ES默认不能使用root账号启动,启动时会提升)
chown -R elasticsearch /usr/local/elasticsearch-6.2.2/useradd elasticsearchsu - elasticsearchcd /usr/local/elasticsearch-6.2.2/bin/elasticsearch -d
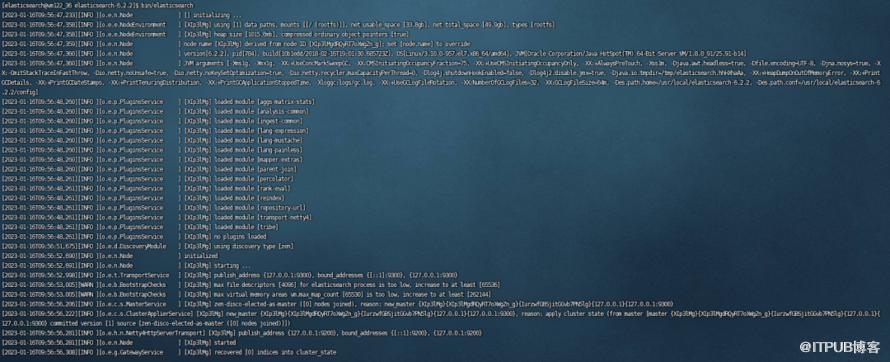
至此ElasticSearch部署并启动完成
4. 测试同步情况
在ES中创建索引
curl -X PUT "127.0.0.1:9200/sms?pretty"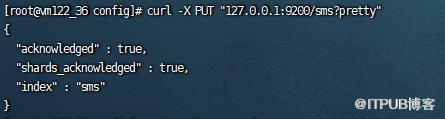 在Redis中创建key并添加数据
lpush smstest '{"test":"aa"}'
curl -H "Content-Type:application/json" -X POST http://127.0.0.1:9200/sms/_search?pretty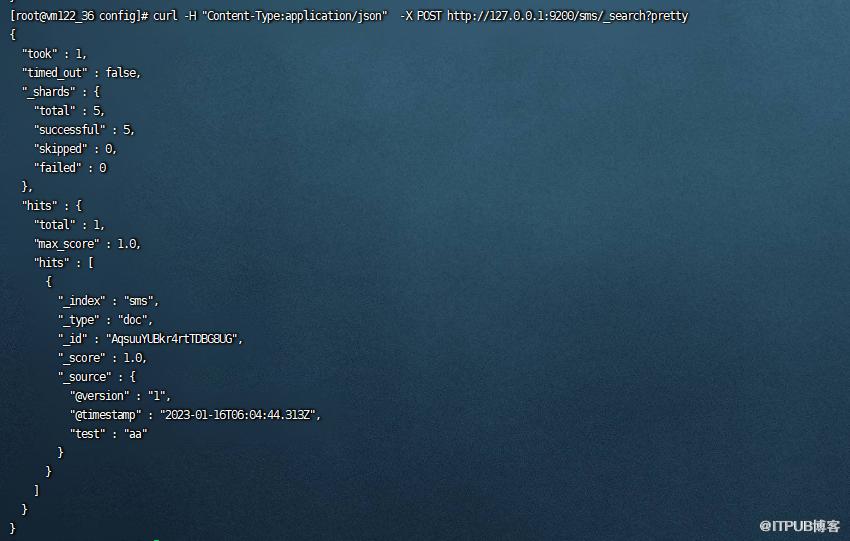

2. mysql8.0新增用户及加密规则修改的那些事
3. 比hive快10倍的大数据查询利器-- presto
4. 监控利器出鞘:Prometheus+Grafana监控MySQL、Redis数据库
5. PostgreSQL主从复制--物理复制
6. MySQL传统点位复制在线转为GTID模式复制




原文作者:数据库干货铺;如有侵权,请联系管理员删除。
上一篇:
Python获取指定歌手音乐
下一篇:
MySQL如何查看未提交的事务SQL

请登录后发表评论
登录
全部评论
