#vim /etc/selinux/config   #将SELINUX=enforcing改为SELINUX=disabled
#或使用:
#sed -i 's/SELINUX=enforcing/SELINUX=disabled/' /etc/selinux/config
#getenforce    #Disabled 为关闭(临时关闭)
#setenforce 0  #设置SELinux 成为enforcing模式(永久关闭)
#systemctl stop firewalld.service 停止防火墙
#systemctl disable firewalld.service禁止firewall开机启动
#yum install wget -y
#rm -rf /etc/yum.repos.d/*
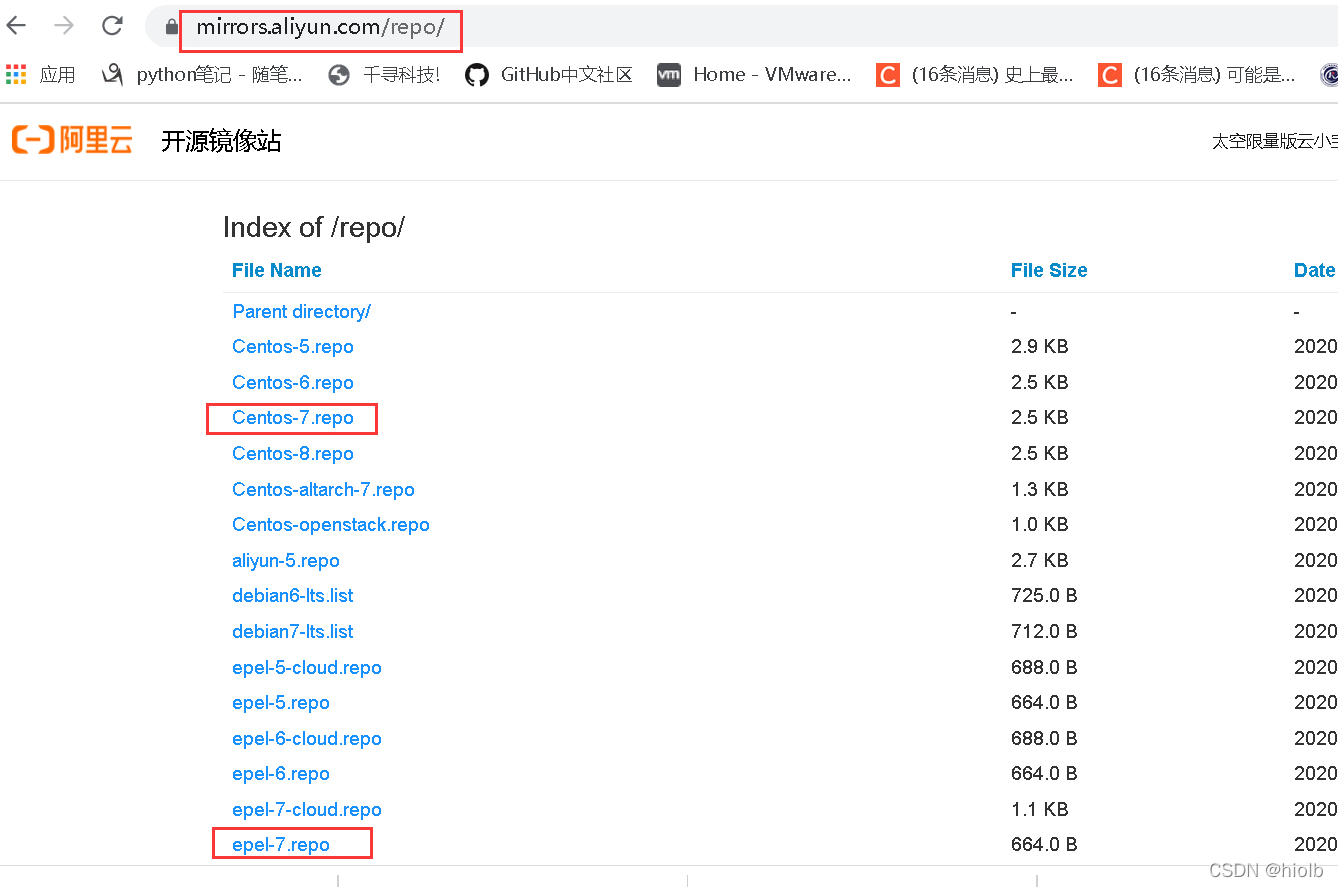
#wget -O /etc/yum.repos.d/Centos_Base.repo https://mirrors.aliyun.com/repo/Centos-7.repo
#wget -O /etc/yum.repos.d/epel-7 https://mirrors.aliyun.com/repo/epel-7.repo
#yum clean all  清空缓存
#yum makecache   生成缓存
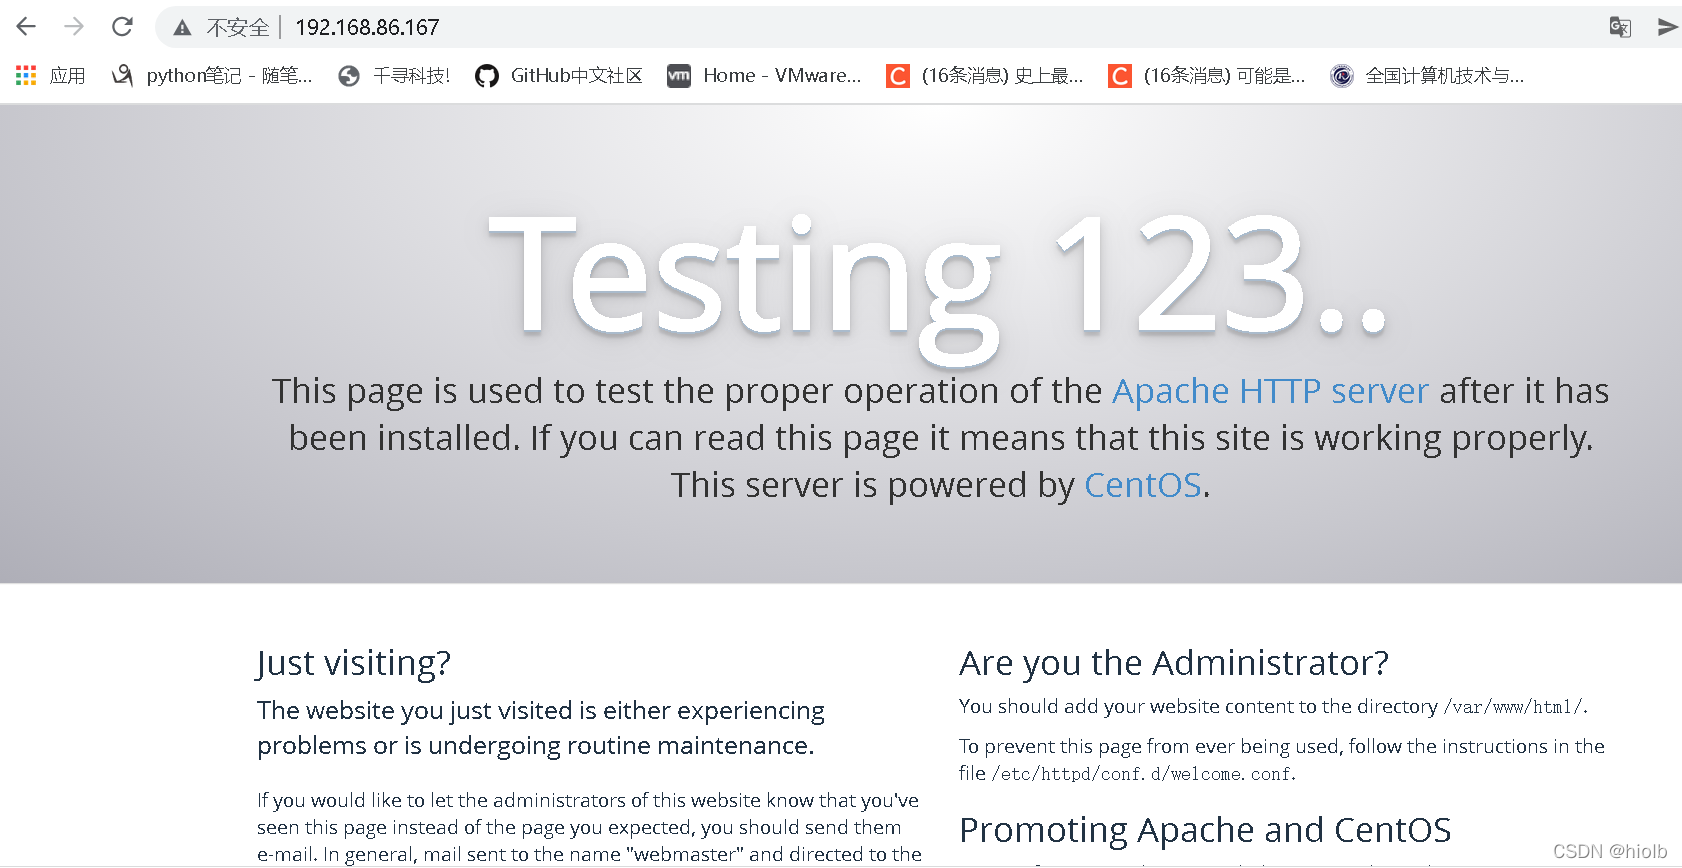
#yum install httpd -y
#systemctl start httpd
#systemctl  status httpd
#systemctl enable httpd
#yum install php -y  重启apache服务
#systemctl restart httpd
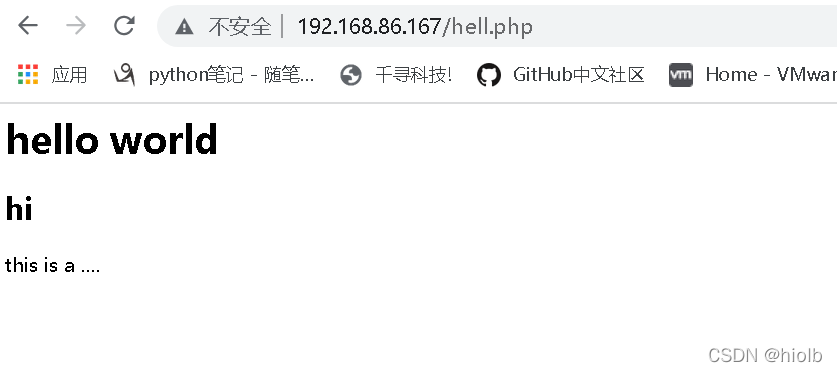
#vim /var/www/html/hell.php  查看php是否安装成功
 < h1>hello world</h1>
 < h1>hi</h1>
 this is a....
#rpm -qa|grep mysql  查看之前安装的mysq
#rpm -e xxxx  卸载所有mysql服务
#yum list installed | grep mysql  也可尝试使用yum命令卸载旧版本
#yum remove mysql
#find / -name mysql  查看残留mysql文件
#rm -rf 文件
#wget https://repo.mysql.com//mysql80-community-release-el7-4.noarch.rpm --no-check-certificate 下载到当前路径,下载完成可以在当前目录查看到
#rpm -ivh mysql80-community-release-el7-4.noarch.rpm
#yum repolist enable|grep mysql 查看mysql的yum源是否安装成功
#yum install mysql-server -y
#systemctl start mysqld
#systemctl status mysqld
#systemctl enable mysqld


mysql>alter user user() identified by 'abCD@1234';

#yum -y  install php-mysql   将php和mysql关联
#yum -y install php-gd php-ldap php-odbc php-pear php-xml php-xmlrpc php-mbstring php-snmp php-soap curl curl-devel  安装常用的php模块
#systemctl restart httpd  重启apache服务
#rpm -Uvh https://mirrors.tuna.tsinghua.edu.cn/zabbix/zabbix/5.0/rhel/7/x86_64/zabbix-release-5.0-1.el7.noarch.rpm
[root@localhost ~]# ls /etc/yum.repos.d/
Centos-L.repo.bak      CentOS-x86_64-kernel.repo
CentOS-Media.repo.bak  zabbix.repo
[root@localhost ~]# cat /etc/yum.repos.d/zabbix.repo
[zabbix]
name=Zabbix Official Repository - $basearch
baseurl=http://repo.zabbix.com/zabbix/5.0/rhel/7/$basearch/
enabled=1
gpgcheck=1
gpgkey=file:///etc/pki/rpm-gpg/RPM-GPG-KEY-ZABBIX-A14FE591
[root@localhost ~]# sed -i 's#http://repo.zabbix.com#https://mirrors.tuna.tsinghua.edu.cn/zabbix#' /etc/yum.repos.d/zabbix.repo
#yum clean all
#yum makecache
[root@localhost ~]# yum -y install zabbix-server-mysql zabbix-agent
[root@localhost ~]# vim /etc/yum.repos.d/zabbix.repo

[root@localhost ~]# yum -y install centos-release-scl
[root@localhost ~]# yum -y install zabbix-web-mysql-scl zabbix-apache-conf-scl
mysql> create database zabbix character set utf8 collate utf8_bin;
mysql> create user zabbix@localhost identified by 'abCD@1234';
mysql> grant all privileges on zabbix.* to zabbix@localhost;
mysql> flush privileges;
mysql>exit
[root@localhost ~]# zcat /usr/share/doc/zabbix-server-mysql-*/create.sql.gz | mysql -uzabbix -p zabbix
Enter password:输入数据库root密码
[root@localhost ~]# mysql -uroot -pabCD@1234
mysql>  use zabbix;
mysql> show tables;  #查看库内的表
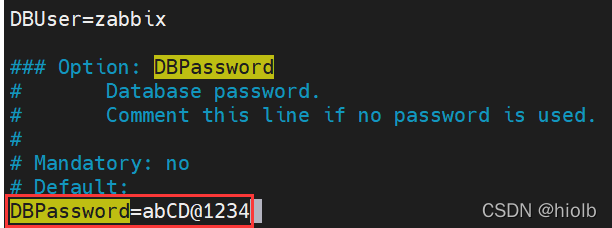
[root@localhost ~]# vim /etc/zabbix/zabbix_server.conf
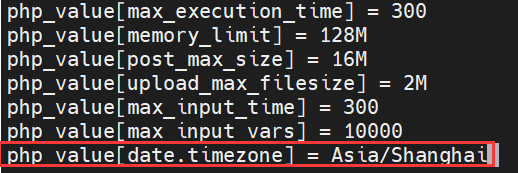
[root@localhost ~]# vim /etc/opt/rh/rh-php72/php-fpm.d/zabbix.conf
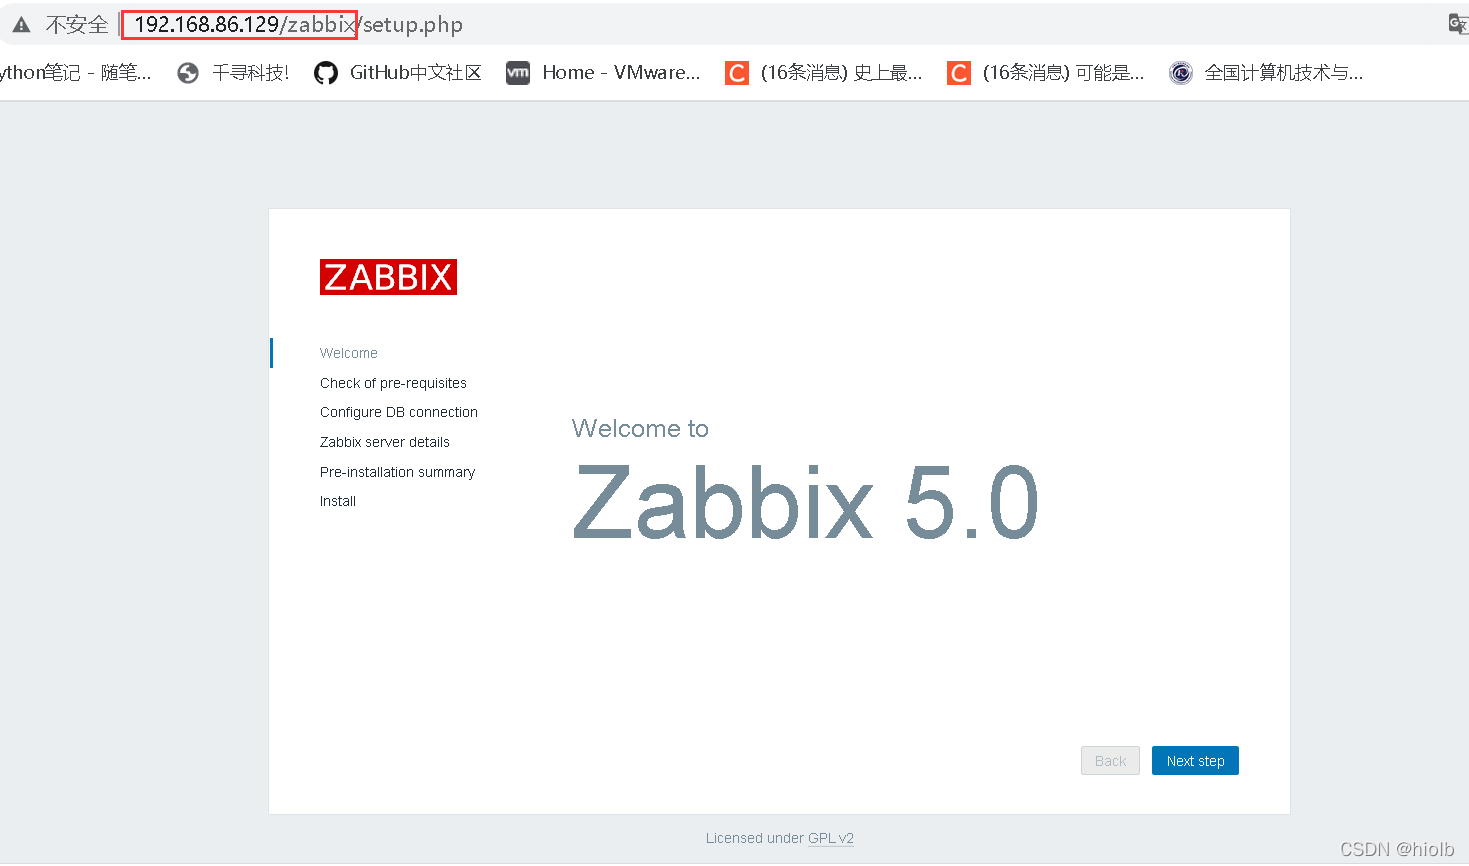
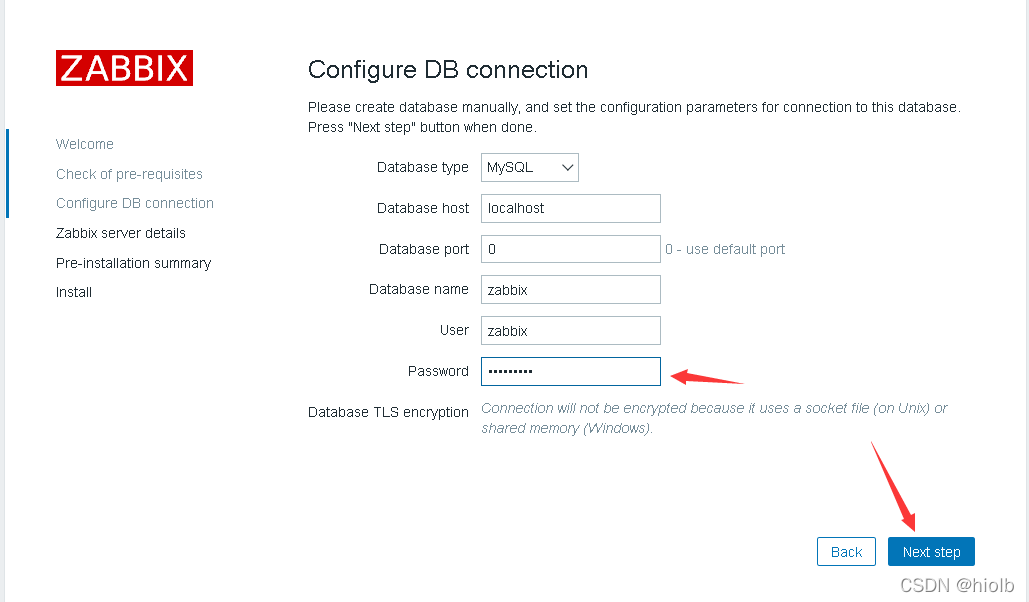

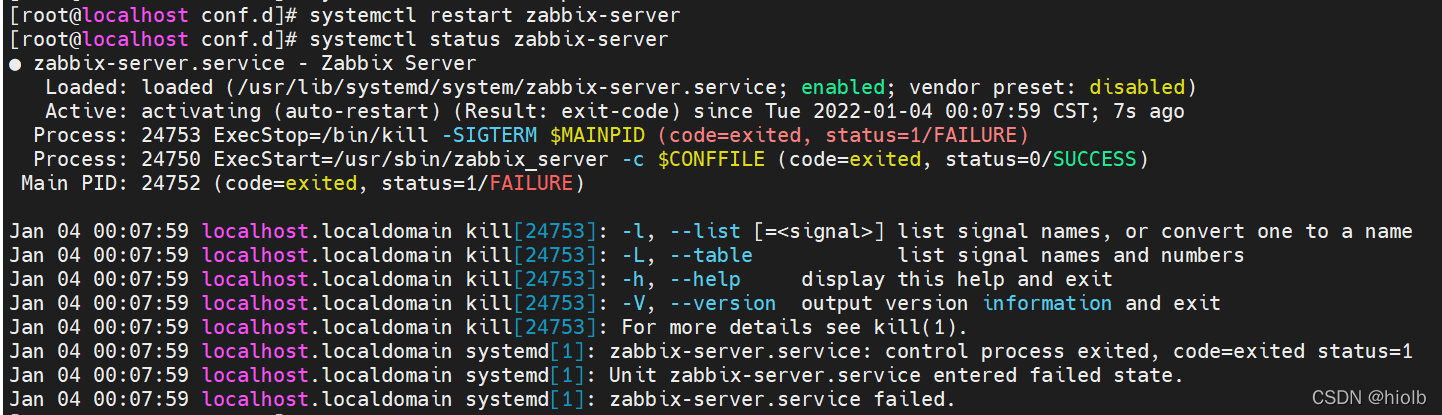
#tailf /var/log/zabbix/zabbix_server.log
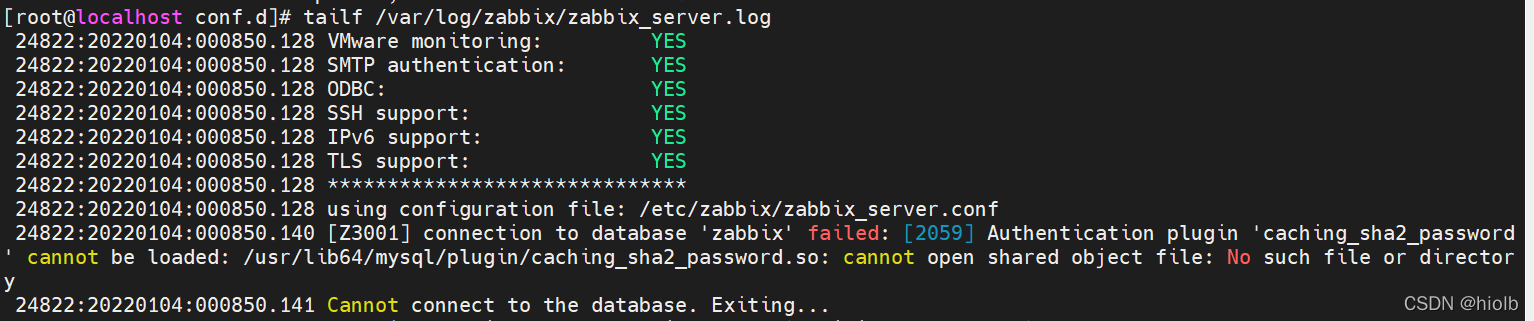
mysql>ALTER USER 'zabbix'@'localhost' IDENTIFIED WITH mysql_native_password BY 'zabbix';
#systemctl restart zabbix-server
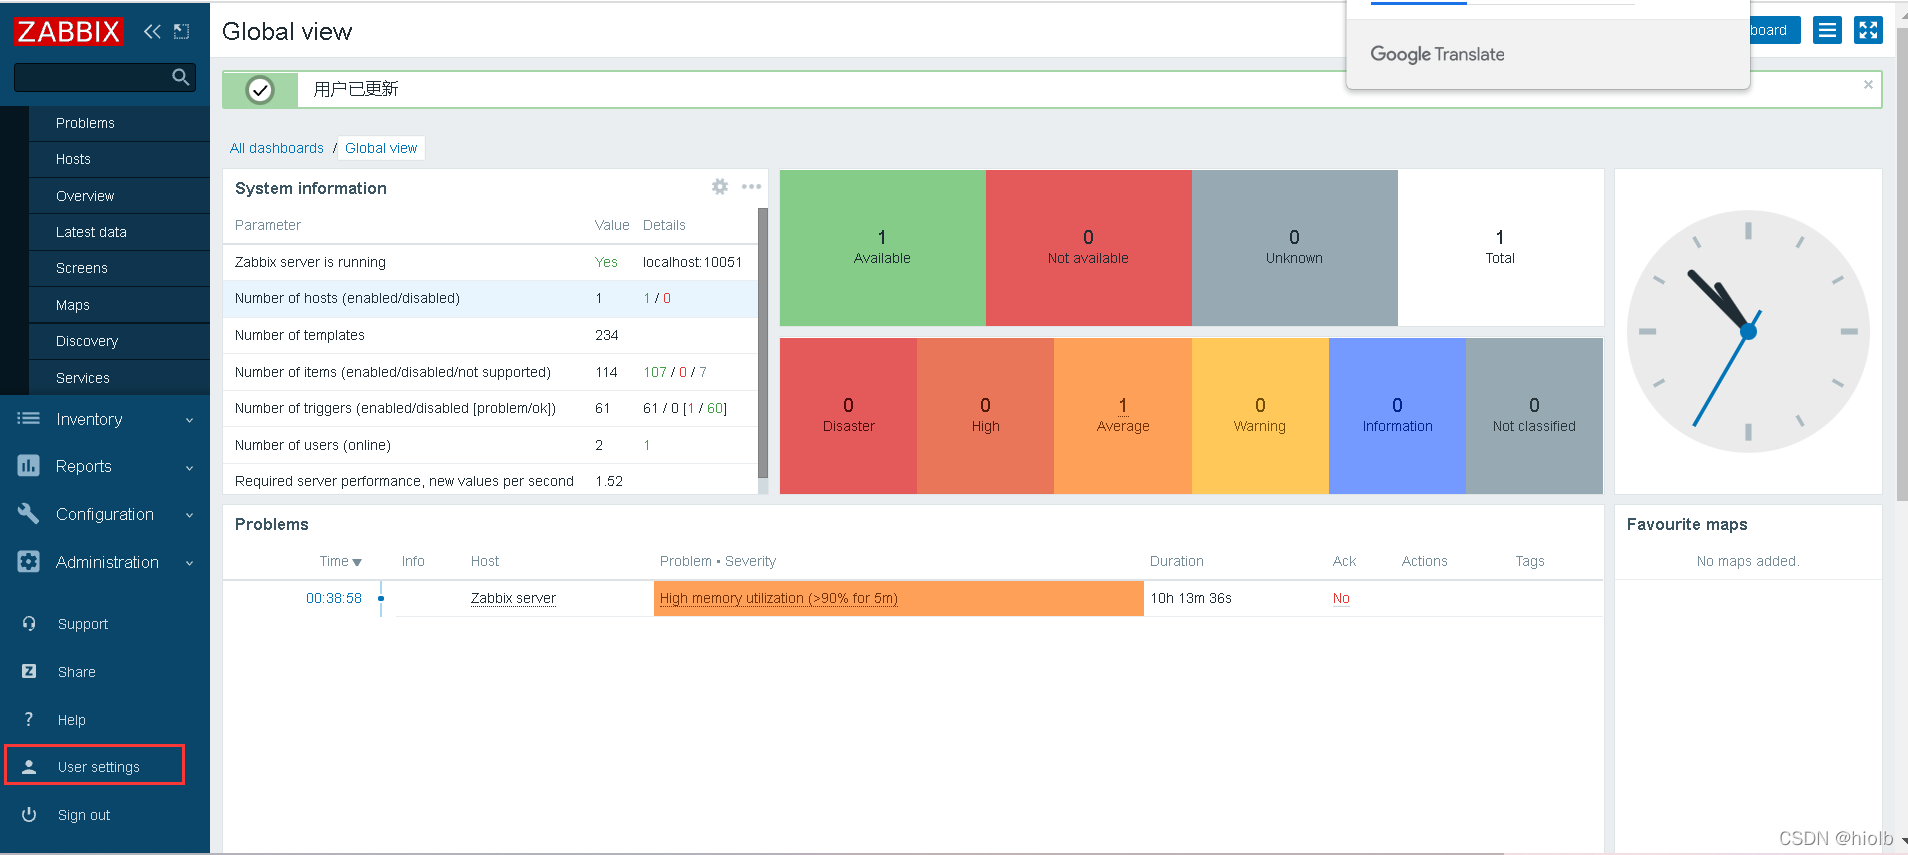
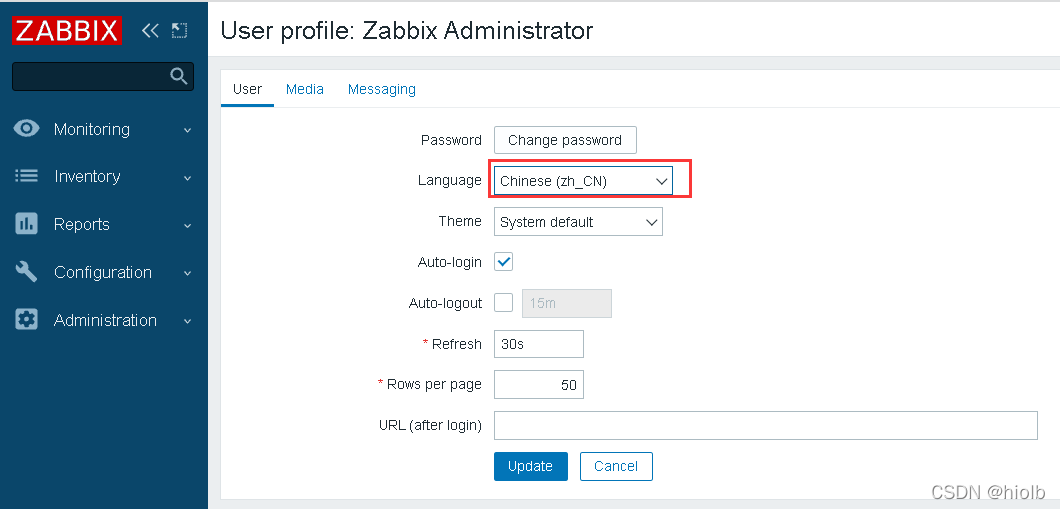
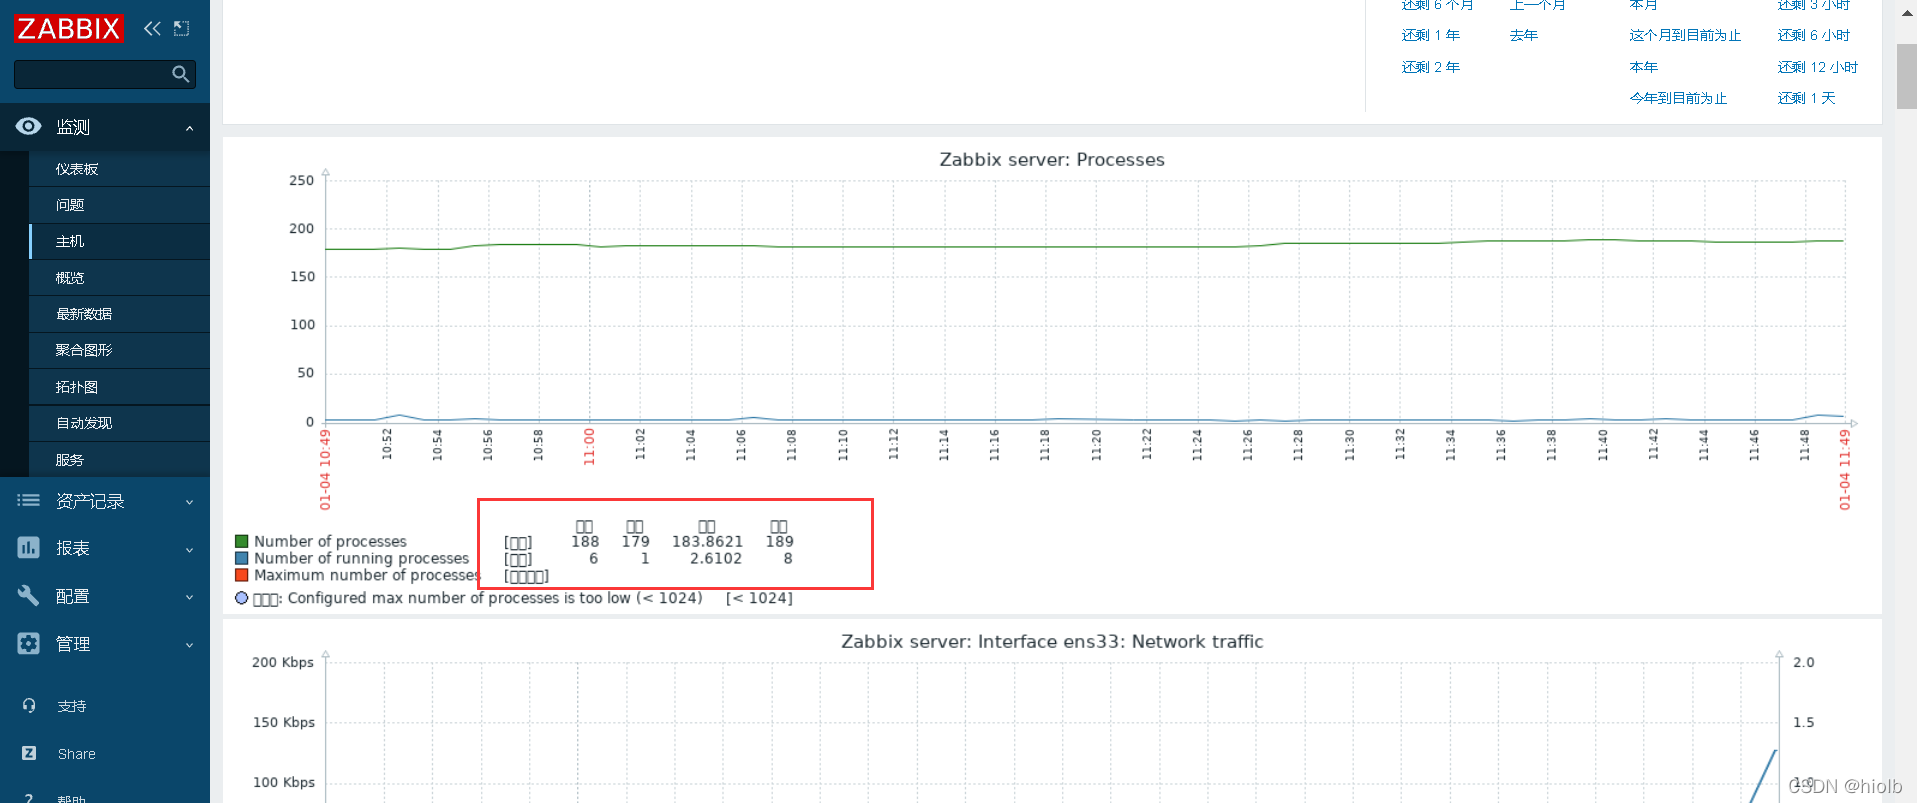
#yum -y install wqy-microhei-fonts
#alias  #系统默认的别名cp=cp -i,在cp前加\就可以还原命令的本意
alias cp='cp -i'
#\cp /usr/share/fonts/wqy-microhei/wqy-microhei.ttc /usr/share/fonts/dejavu/DejaVuSans.ttf
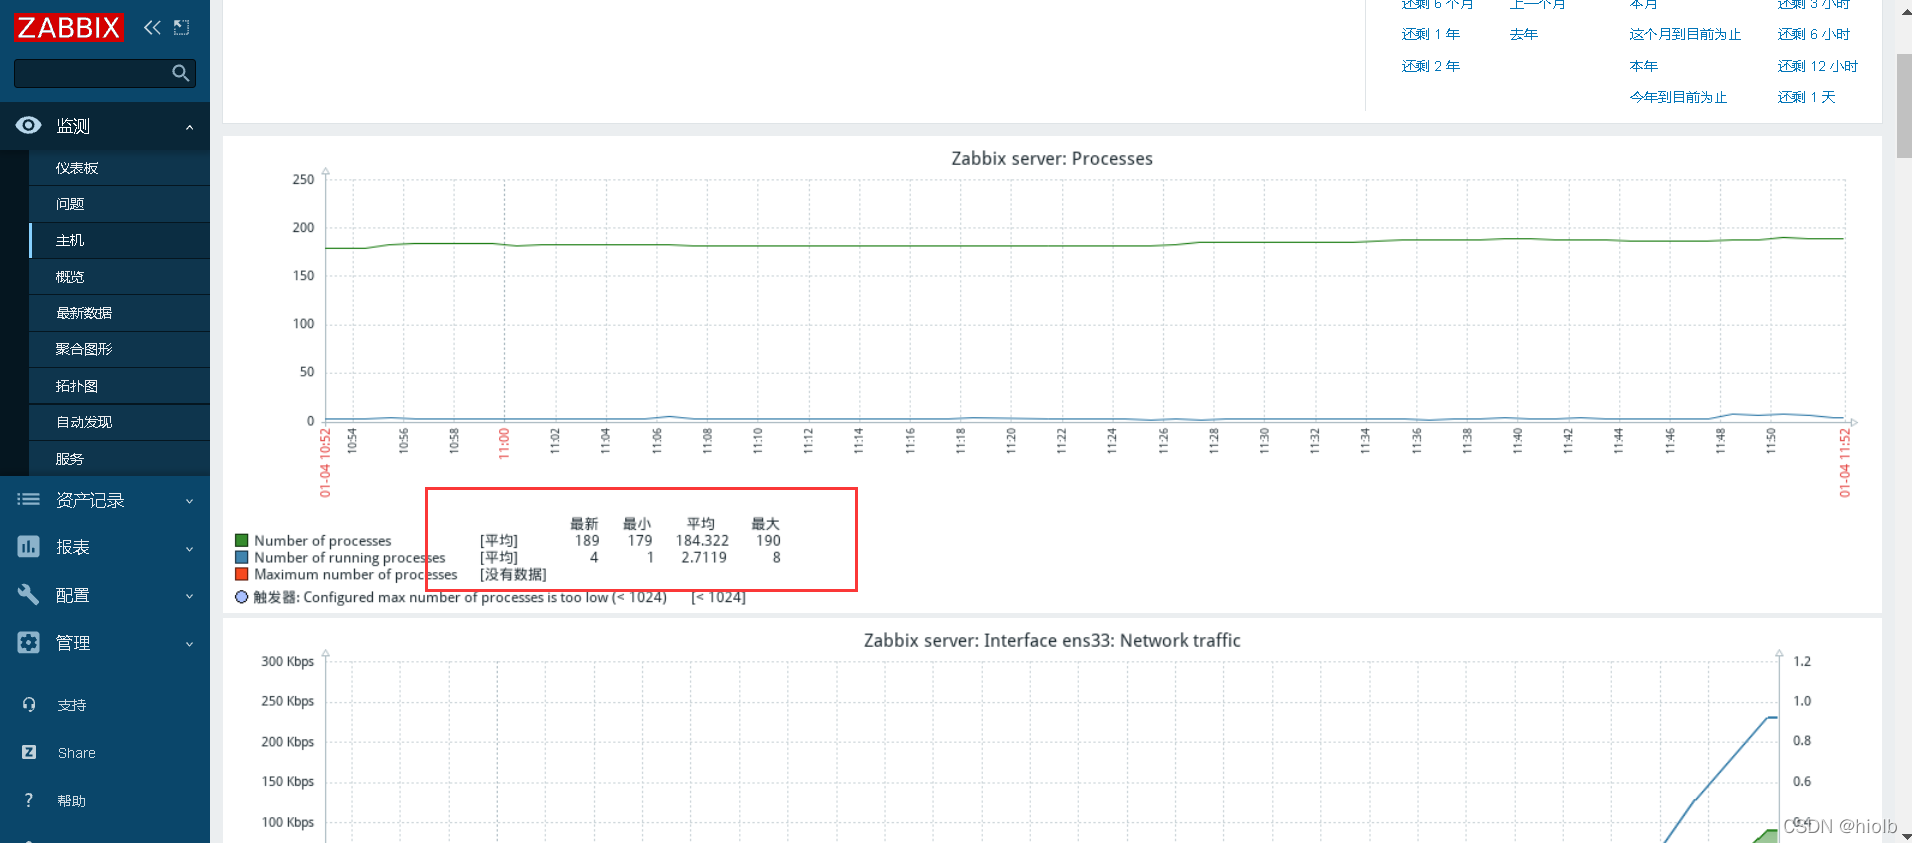
#yum -y install ntpdate
#ntpdate  -u ntp.aliyun.com   #同步时间:
#mv /etc/localtime{,.bak}
#ln -s /usr/share/zoneinfo/Asia/Shanghai /etc/localtime  #时区统一:
sed -i 's/SELINUX=enforcing/SELINUX=disabled/' /etc/selinux/config
systemctl disable --now firewalld
getenforce #查看防火墙状态
setenforce 0 #更改防火墙状态
iptables -L #查看iptables规则 #关闭防火墙:rpm -Uvh https://mirrors.tuna.tsinghua.edu.cn/zabbix/zabbix/5.0/rhel/7/x86_64/zabbix-release-5.0-1.el7.noarch.rpm
[root@localhost ~]# ls /etc/yum.repos.d/
Centos-L.repo.bak      CentOS-x86_64-kernel.repo
CentOS-Media.repo.bak  zabbix.repo
[root@localhost ~]# vim /etc/yum.repos.d/zabbix.repo
[root@localhost ~]# sed -i 's#http://repo.zabbix.com#https://mirrors.tuna.tsinghua.edu.cn/zabbix#' /etc/yum.repos.d/zabbix.repo
#yum clean all
#yum makecache
#yum -y install zabbix-agent2
#systemctl enable --now zabbix-agent2
[root@c4-node3 ~]# netstat -tpln | grep zabbix  #检查端口是否被启用(安装net-tools)
tcp6       0      0 :::10050                :::*                    LISTEN      3327/zabbix_agent2
#grep -Ev '^#|^$' /etc/zabbix/zabbix_agent2.conf  #过滤注释行和空行
PidFile=/var/run/zabbix/zabbix_agent2.pid  #pid文件
LogFile=/var/log/zabbix/zabbix_agent2.log  #日志文件
LogFileSize=0                #日志大小,默认0无限制
Server=192.168.86.148         #服务端地址(server地址,这里改为130)
ServerActive=192.168.86.148   #改为服务端地址
Hostname=zabbix_server           #建议改为机器的主机名
Include=/etc/zabbix/zabbix_agent2.d/*.conf
#使用Include语法,“.d”目录里面所有以.conf结尾的文件都会被识别为配置文件
ControlSocket=/tmp/agent.sock
systemctl restart zabbix-agent2
#yum -y install zabbix-get   #安装工具
#zabbix_get -s '192.168.86.131' -p 10050 -k 'system.hostname' #-s地址(zabbix_agent地址),-p端口,-k命令
zabbix_agent      #收集到了主机名连接成功
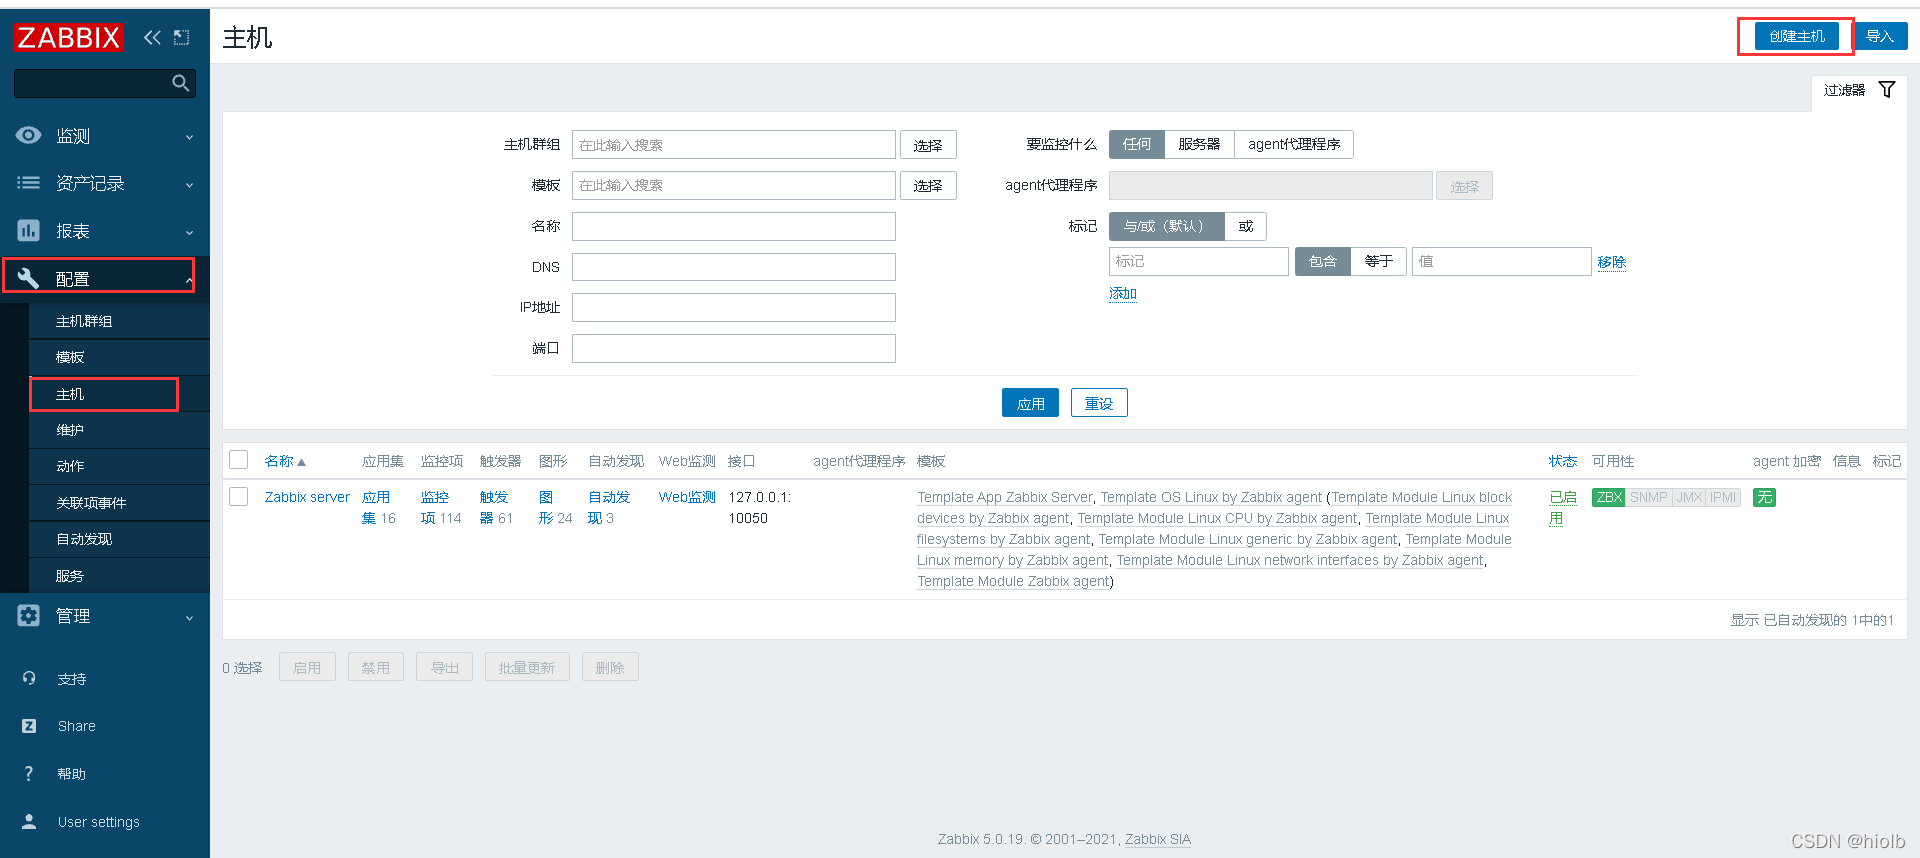
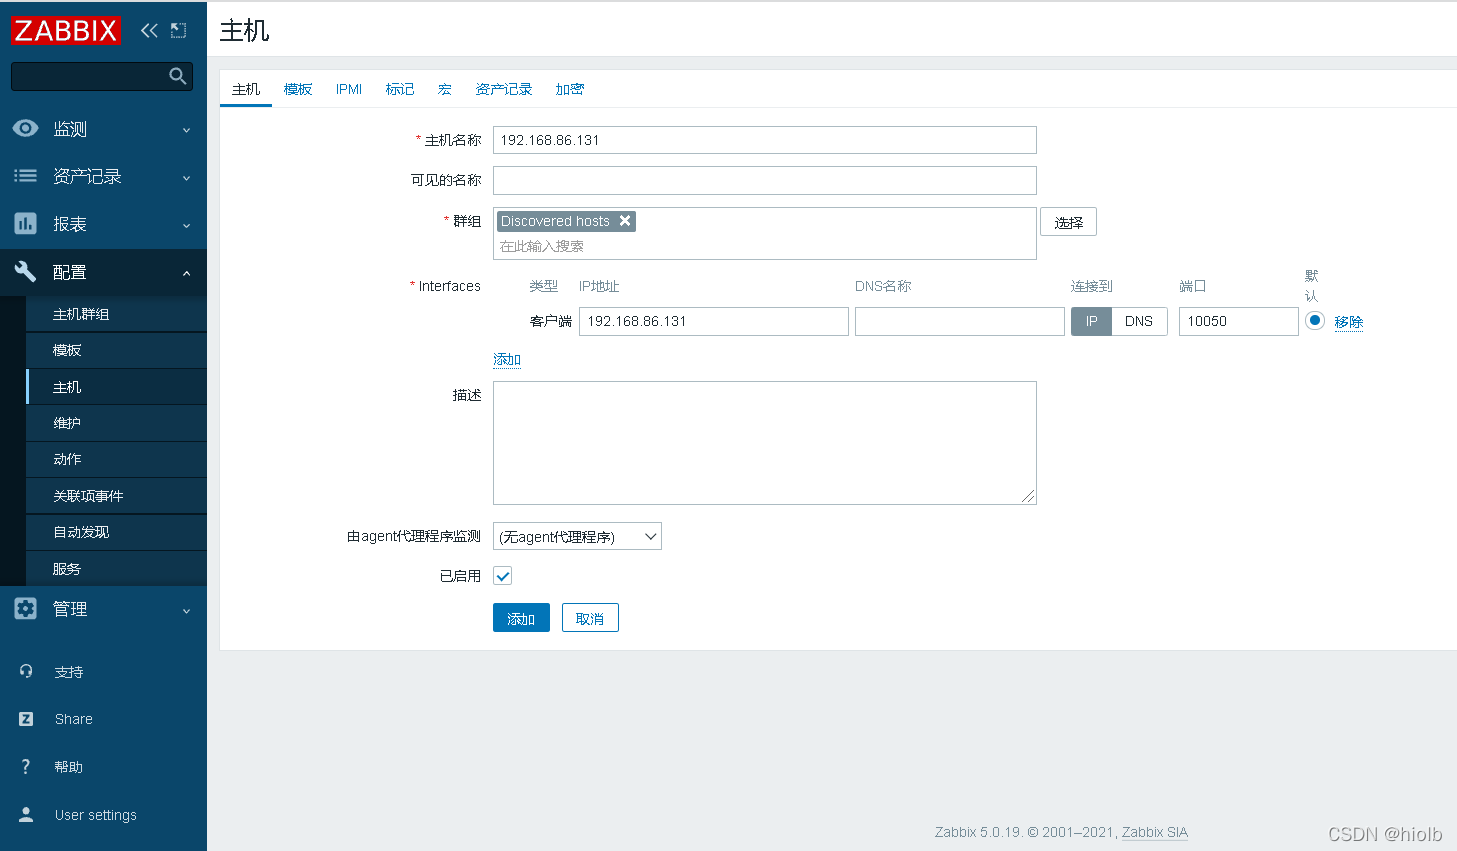
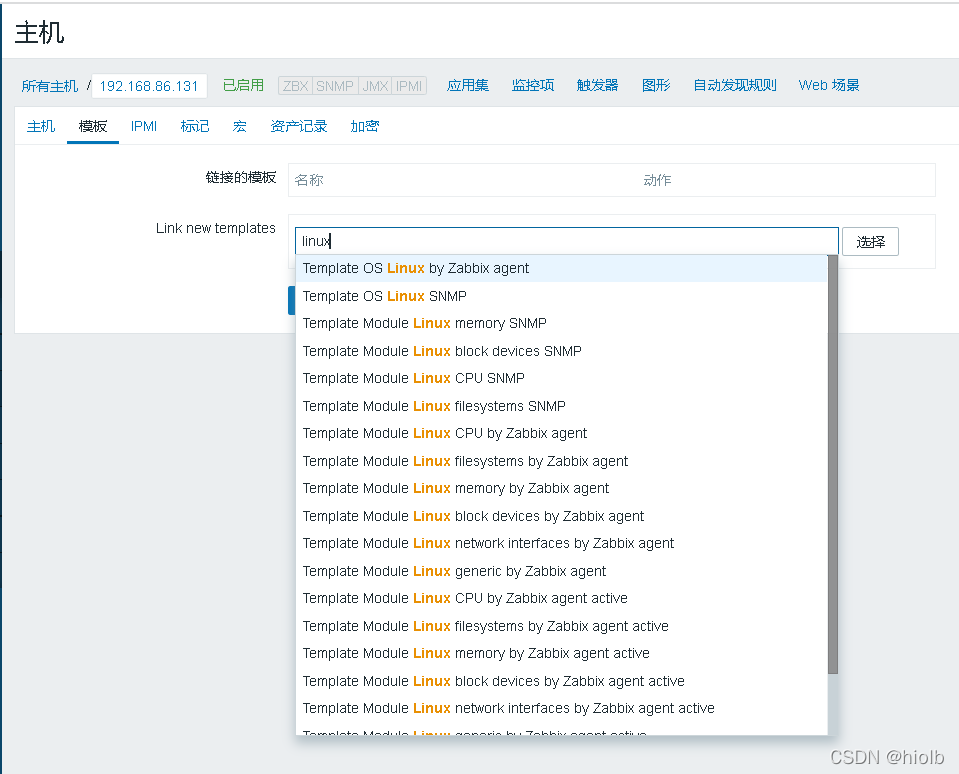
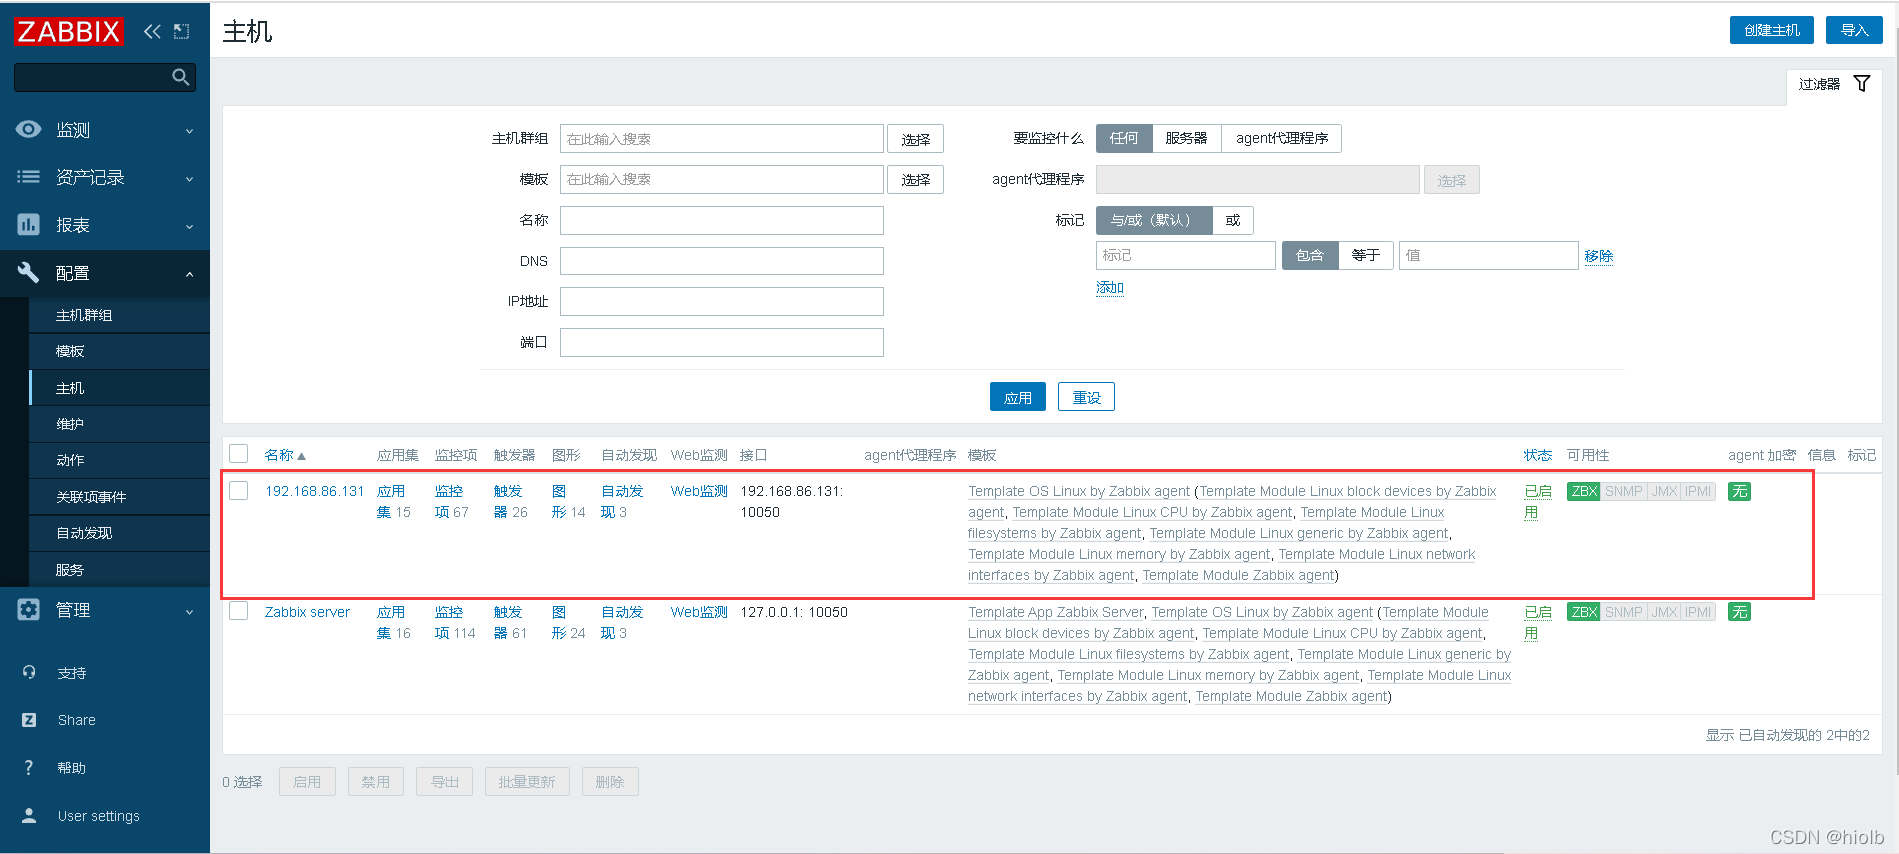
来自 “ ITPUB博客 ” ,链接:https://blog.itpub.net/70003733/viewspace-2850912/ ,如需转载,请注明出处,否则将追究法律责任。
下一篇:
Linux上搭建meterSphere

请登录后发表评论
登录
全部评论
