私有云平台OpenStack之利用Fuel-OpenStack9.0安装部署详细教程(下)
3.4 操作系统镜像制作
上传CentOS-7-x86_64-Minimal-1708.iso至fuel服务器主机的/root目录下
创建 qcow2 文件
cd /mnt
qemu-img create -f qcow2 centos7.qcow2 10G

virt-install --virt-type kvm --name centos7 --ram 1024 --disk centos7.qcow2,format=qcow2 --network network=default --graphics vnc,listen=0.0.0.0 --noautoconsole --os-type=linux --os-variant=rhel7 --location=/root/CentOS-7-x86_64-Minimal-1708.iso

检查服务端口是否启动
netstat -antup | grep 5900

使用VNC Viewer连接到新建的虚拟机
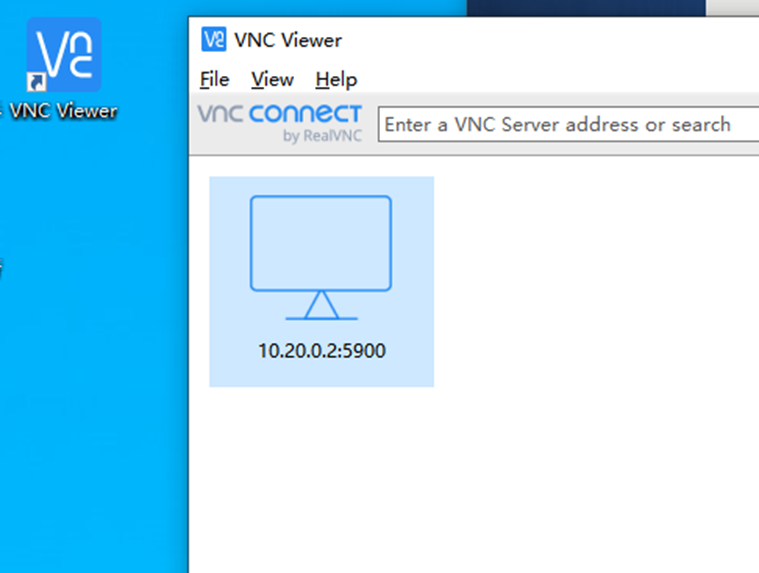
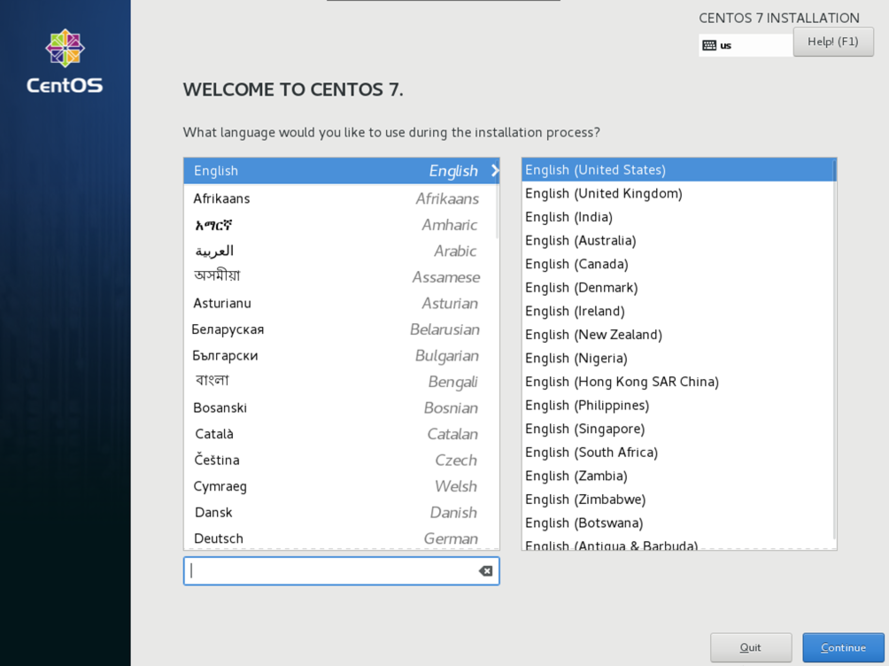
进入后,进入Centos7系统的安装,安装过程我这里 省略截图
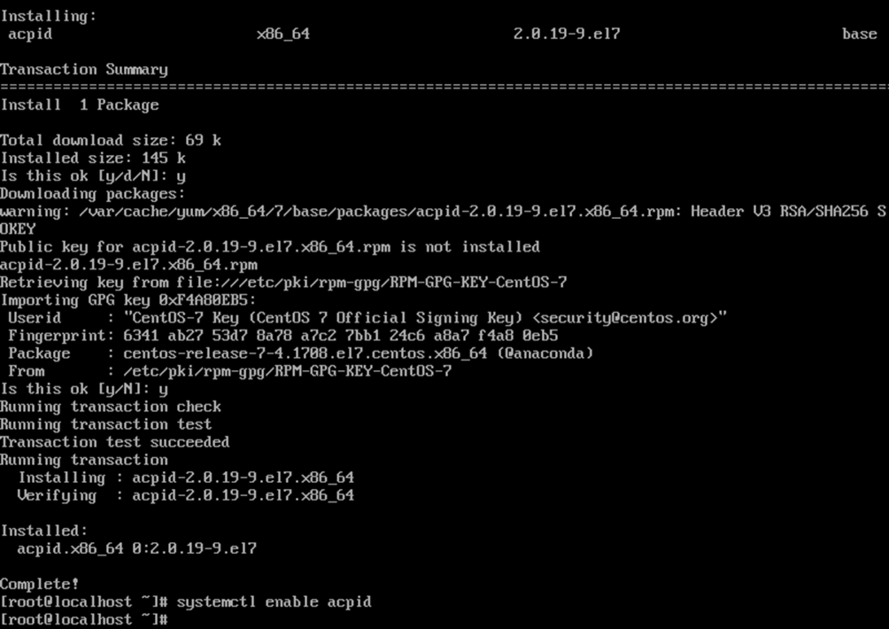
安装完系统后,使用VNC Viewer连接到KVM虚拟机
安装 acpid
yum install -y acpid
systemctl enable acpid
关闭防火墙

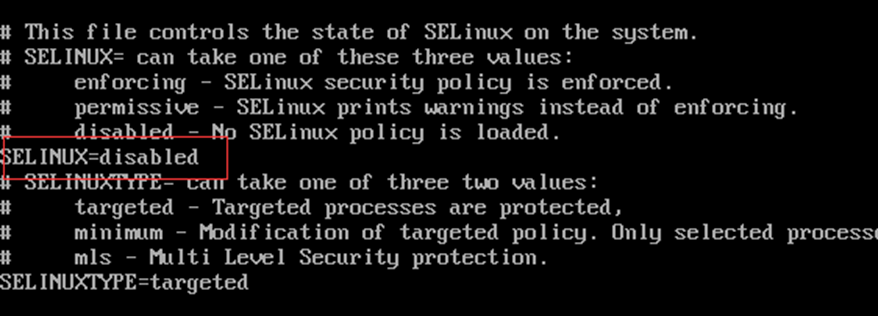
关闭selinux
vi /etc/selinux/config
安装cloud-init
yum install epel-release.noarch -y
yum install cloud-init -y
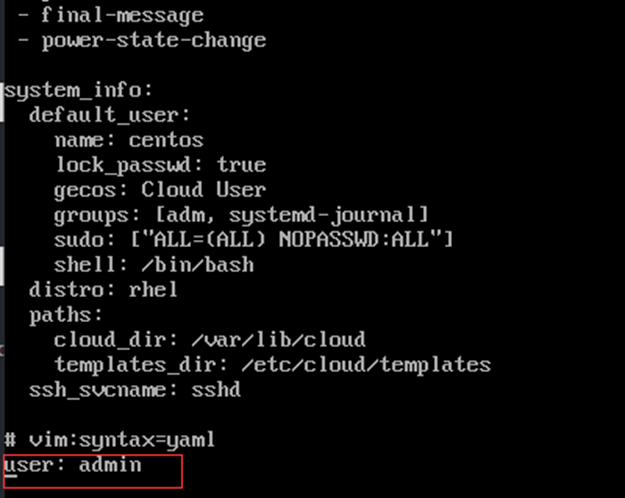
安装成功后,编辑/etc/cloud/cloud.cfg文件,在末尾加入: user: admin
安装cloud-utils-growpart以允许分区调整大小:
yum install cloud-utils-growpart -y
要访问元数据服务的实例,必须禁用默认的zeroconf路由:
echo "NOZEROCONF=yes" >> /etc/sysconfig/network

编辑/etc/default/grub文件并配置 GRUB_CMDLINE_LINUX选项:
GRUB_CMDLINE_LINUX="crashkernel=auto rd.lvm.lv=centos/root rd.lvm.lv=centos/swap console=tty0 console=ttyS0,115200n8"

# 更新grub配置
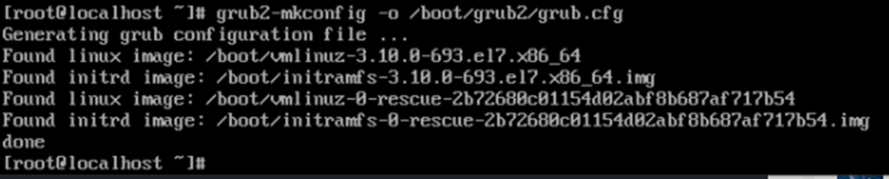
grub2-mkconfig -o /boot/grub2/grub.cfg
关闭KVM实例
Poweroff
缩主机操作
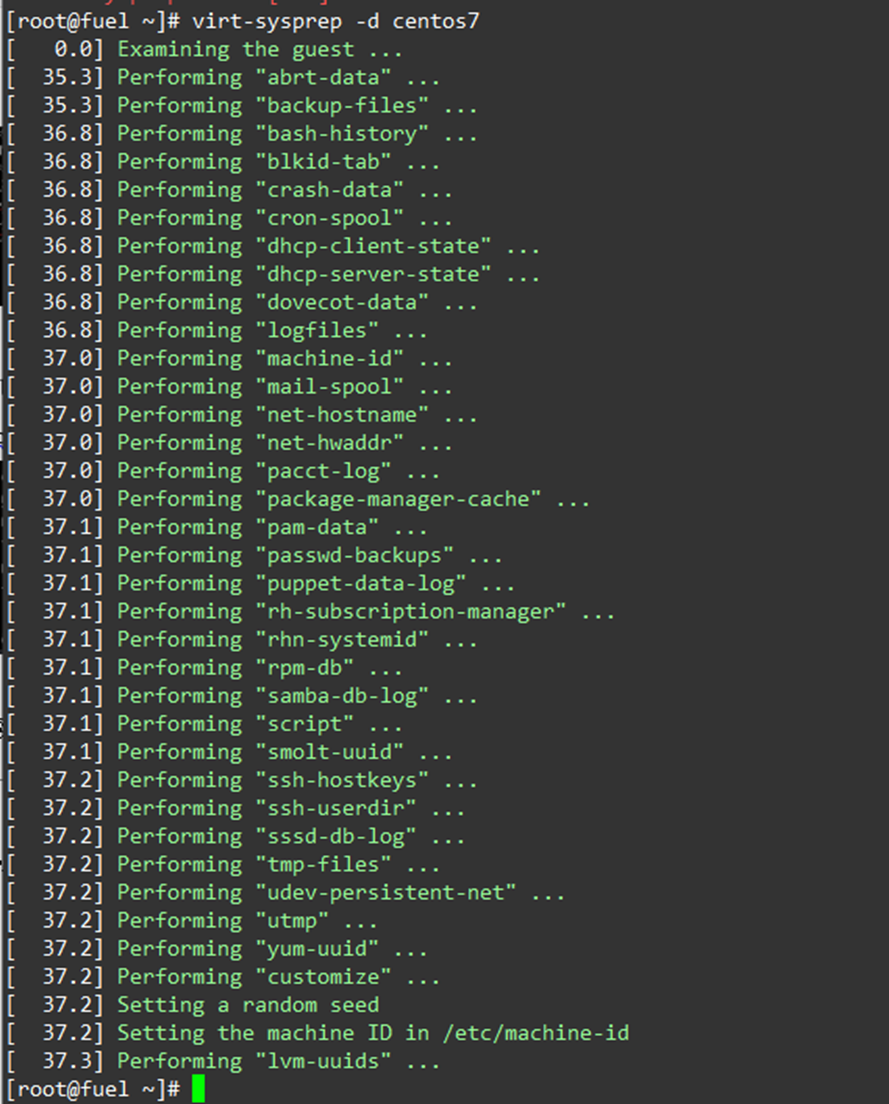
virt-sysprep -d centos7
取消定义libvirt域:
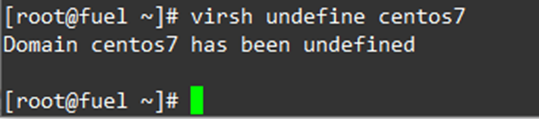
virsh undefine centos7
到这里镜像制作完成,然后我们传到openstack中
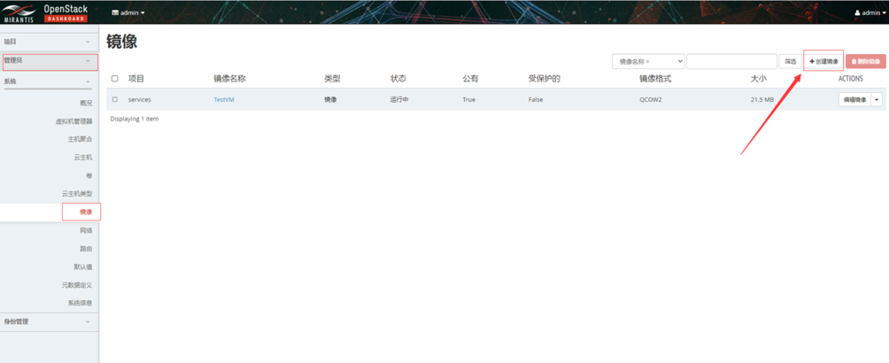
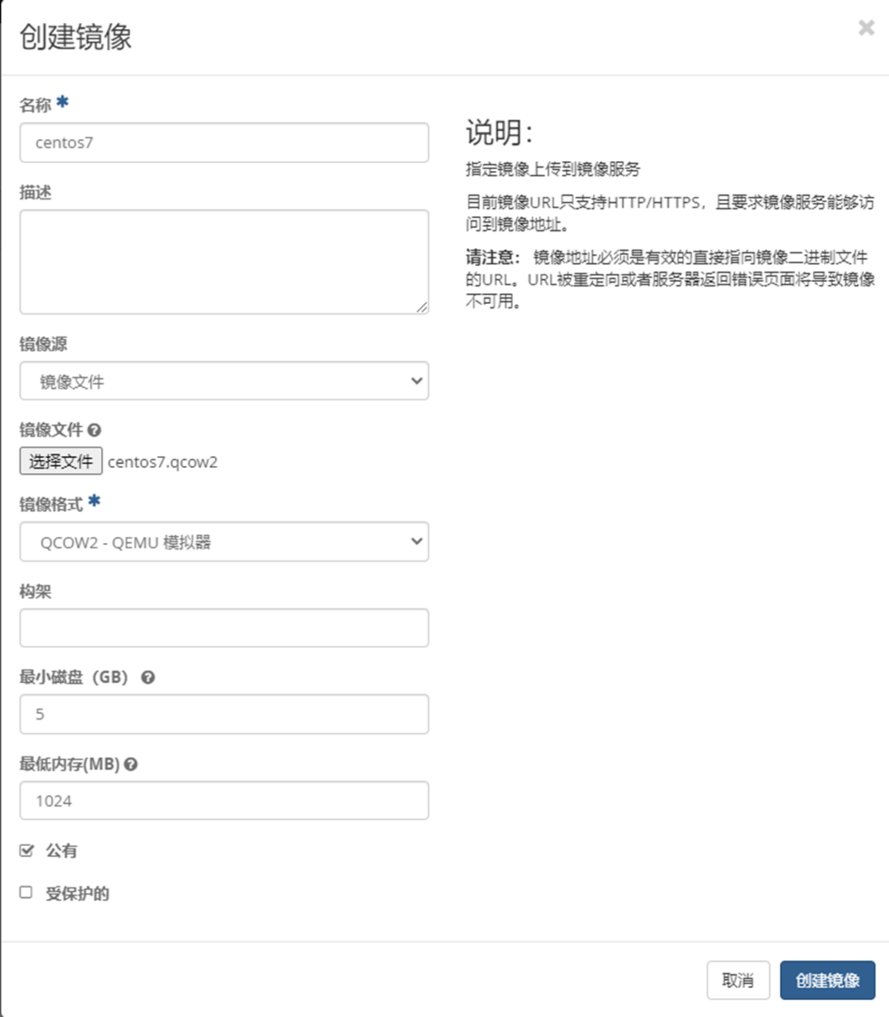
登录openstack管理后台—管理员-镜像-创建镜像
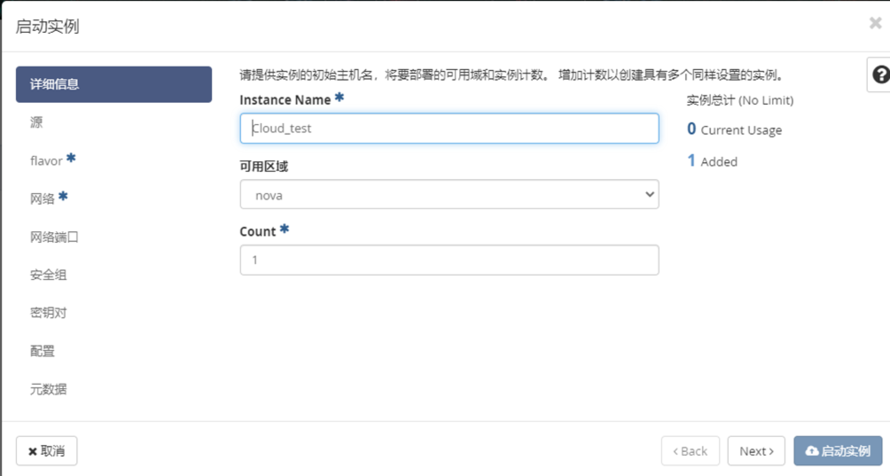
3.5 创建 Cloud_test 实例
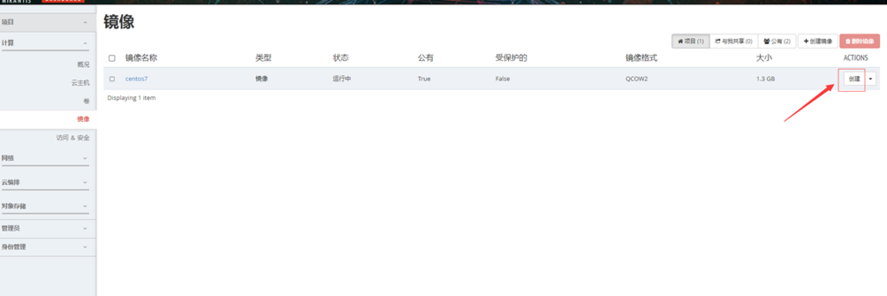
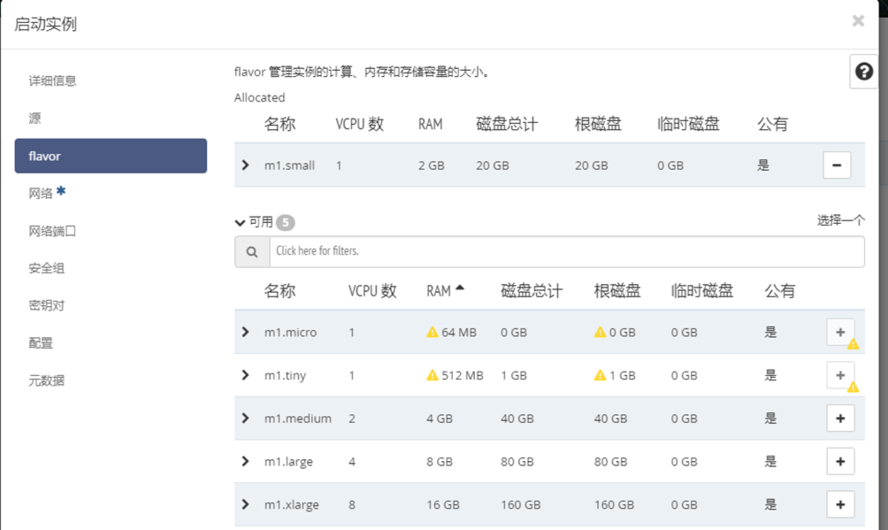


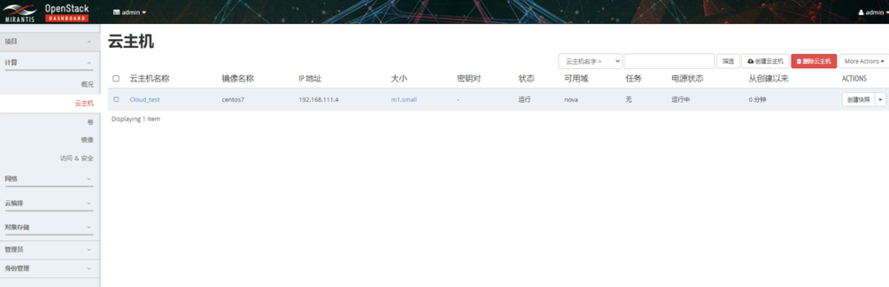
启动实例结果
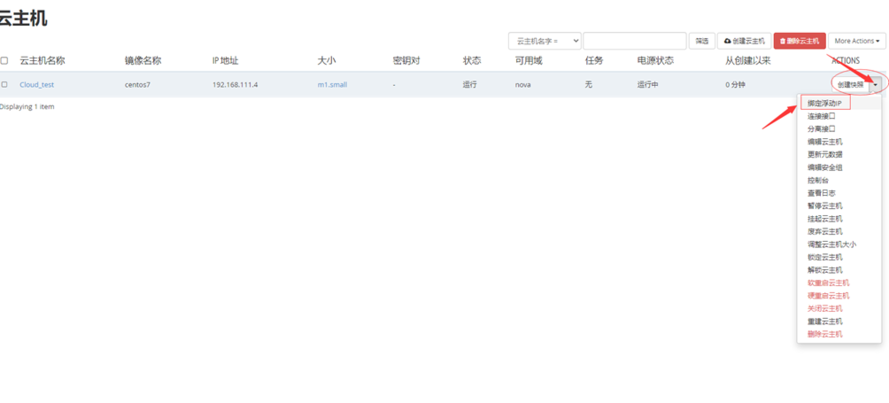
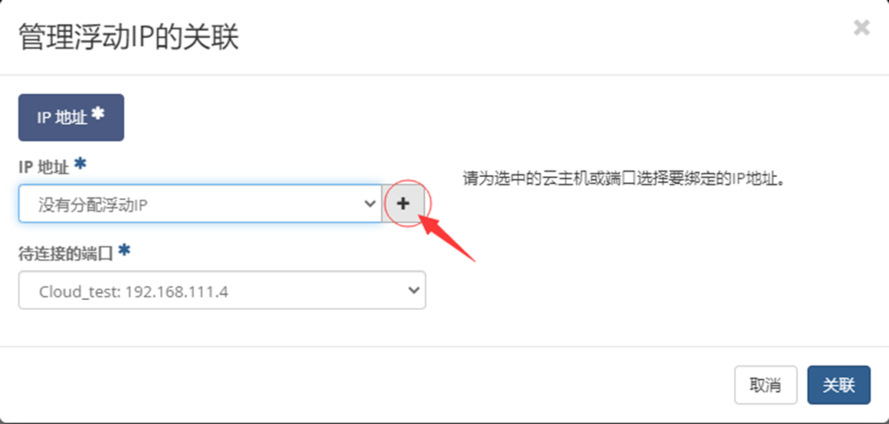
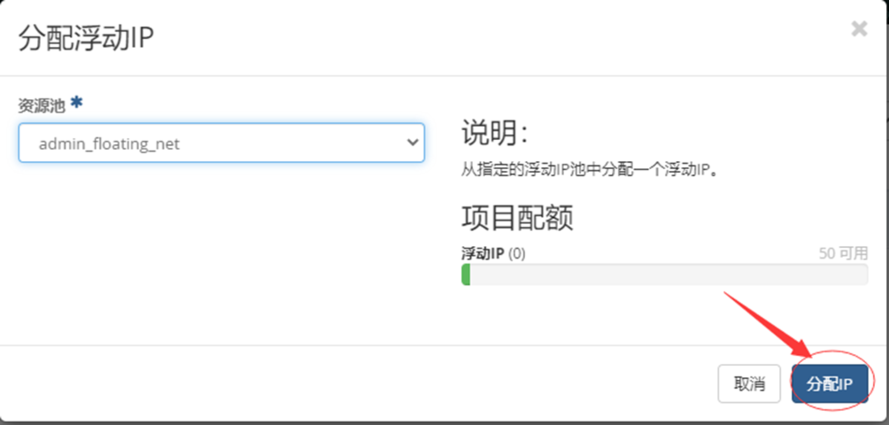
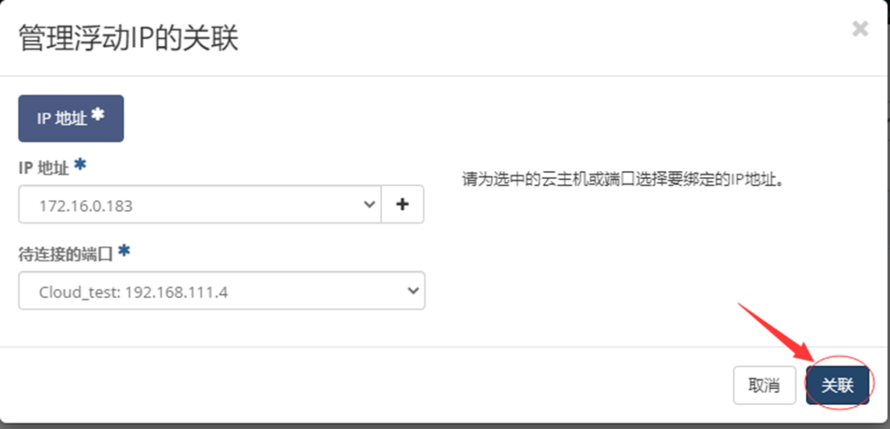
绑定浮动IP

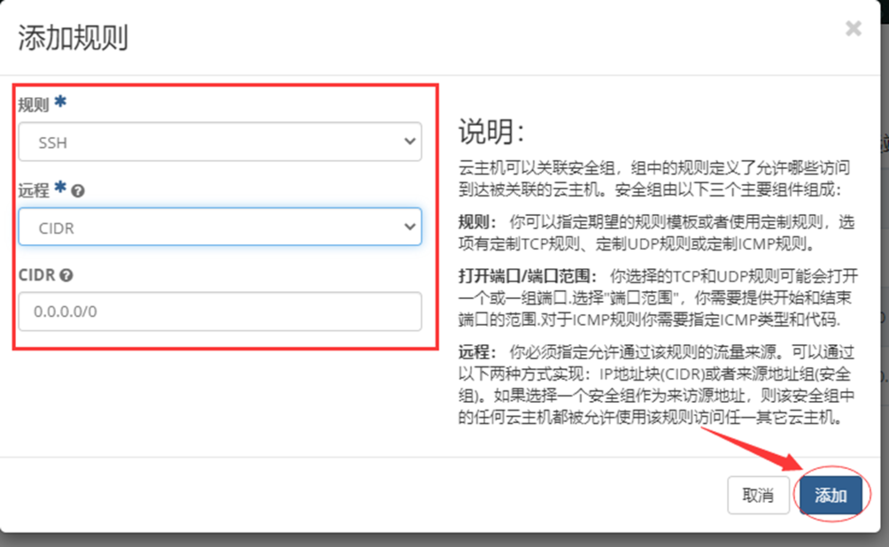
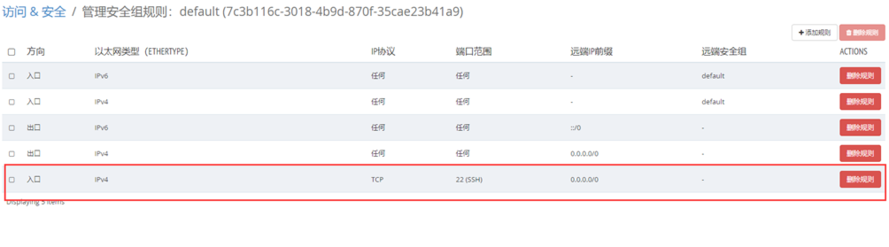
编辑默认安全组
允许ssh 连接到云主机


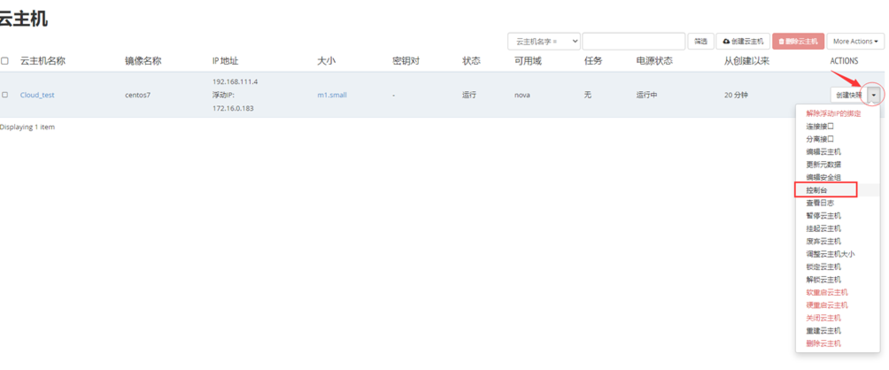
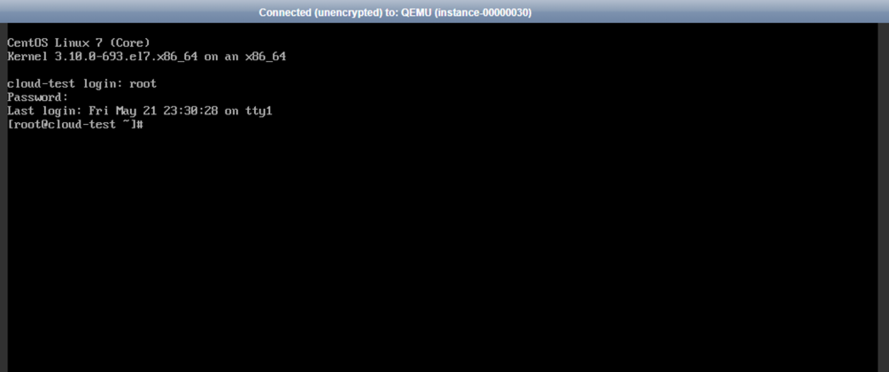
控制台连接到云主机,修改ssh配置,允许root用户远程登录
修改ssh配置
vi /etc/ssh/ssh_config
在文件中取消 PasswordAuthentication yes 与PermitRootLogin yes前面的注释“#”
保存并退出
重启ssh服务

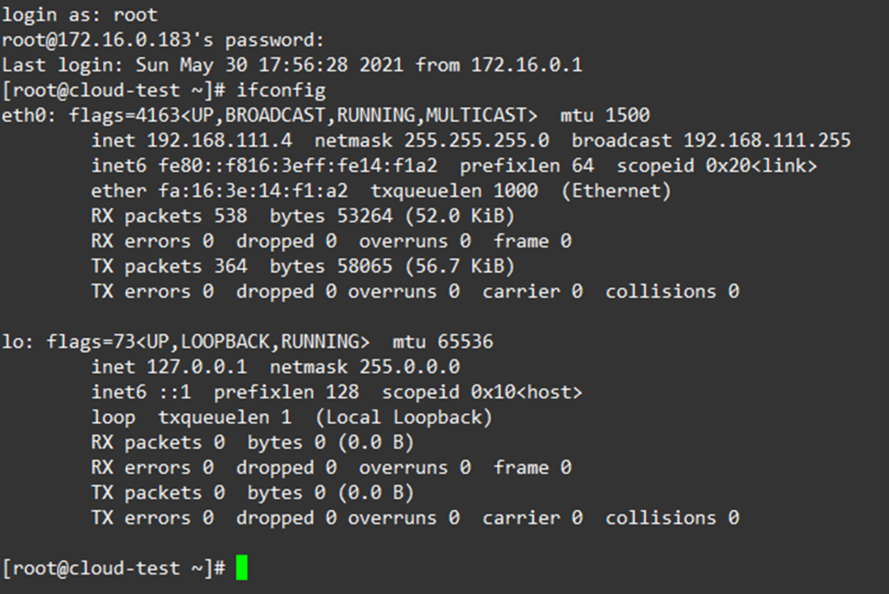
连接到云主机
通过IP 172.16.0.183 连接进去
来自 “ ITPUB博客 ” ,链接:https://blog.itpub.net/70000068/viewspace-3011965/ ,如需转载,请注明出处,否则将追究法律责任。

最新文章
- Rocky Linux 9.4操作系统安装-生产环境
- Linux部署开源堡垒机JumpServer详细教程
- root用户操作文件提示 changing permissions of '***': Operation not permitted
- use database 切换提示You can turn off this feature to get a quicker startup
- 总结MySQL存储引擎MyISAM与InnoDB区别
- 私有云平台OpenStack之利用Fuel-OpenStack9.0安装部署详细教程(中)
- centos7系统安装mysql(MariaDB)的教程
- VMware vSphere 6.7(ESXI 6.7)安装步骤图文详细教程
- CentOS7+ keepalived+ haproxy搭建Mycat高可用及负载均衡
- CentOS7系统下使用Mycat实现mysql读写分离部署
