1.前言
2.项目pom配置
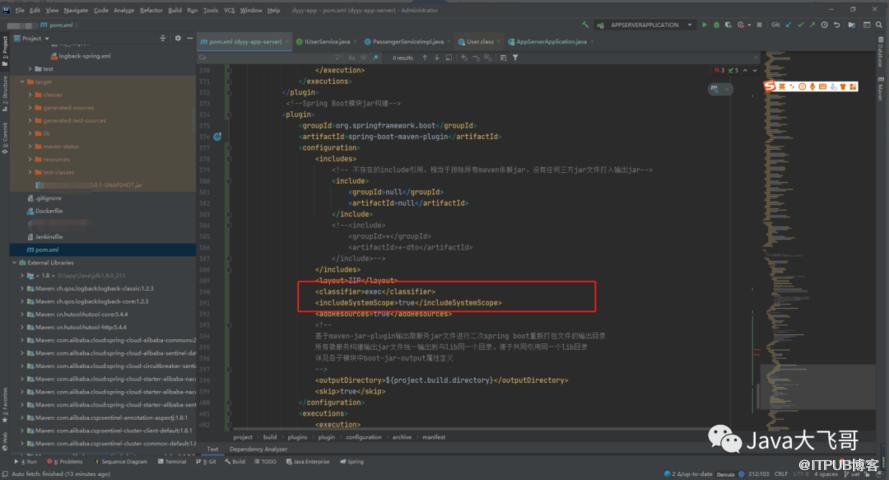
build><!--特别注意:项目仅仅是为了演示配置方便,直接在parent的build部分做了插件配置和运行定义。但是实际项目中需要把这些定义只放到spring boot模块项目(可优化使用pluginManagement形式),避免干扰其他util、common等模块项目--><plugins><plugin><groupId>org.apache.maven.plugins</groupId><artifactId>maven-jar-plugin</artifactId><configuration><!-- 不打包资源文件--><excludes><exclude>static/**</exclude><exclude>*.properties</exclude><exclude>*.xml</exclude><exclude>*.json</exclude><exclude>*.yaml</exclude><exclude>*.yml</exclude><exclude>*.png</exclude><exclude>*.txt</exclude></excludes><archive><!-- <!– 生成的jar中,不要包含pom.xml和pom.properties这两个文件 –>--><addMavenDescriptor>false</addMavenDescriptor><manifest><addClasspath>true</addClasspath><!--MANIFEST.MF中的Class-Path加前缀--><classpathPrefix>lib/</classpathPrefix><!--jar不包含唯一版本--><useUniqueVersions>false</useUniqueVersions><!-- 项目启动类 --><mainClass>com.dyyy.wechat.integration.web.WechatIntegrationWebApplication</mainClass><!--<addDefaultSpecificationEntries>true</addDefaultSpecificationEntries><addDefaultImplementationEntries>true</addDefaultImplementationEntries>--></manifest><manifestEntries><!-- <!–有些非官方三方的诸如sdk jar在pom中是以systemPath方式引入的,maven-jar-plugin组件没有直接参数声明包含指定scope的组件通过使用额外定义 Class-Path 值来追加指定依赖组件列表,在子模块按实际情况指定 jar-manifestEntries-classpath 值即可例如(注意前面个点字符及各空格分隔符):. lib/xxx-1.0.0.jar lib/yyy-2.0.0.jar详见各子模块中 boot-jar-output 属性定义示例–>--><Class-Path>./resources/</Class-Path></manifestEntries></archive><outputDirectory>${project.build.directory}</outputDirectory></configuration></plugin><!-- 拷贝项目所有依赖jar文件到构建lib目录下 --><plugin><groupId>org.apache.maven.plugins</groupId><artifactId>maven-dependency-plugin</artifactId><executions><execution><id>copy-dependencies</id><phase>package</phase><goals><goal>copy-dependencies</goal></goals><configuration><!--各子模块按照实际层级定义各模块对应的属性值,检查所有微服务模块依赖jar文件合并复制到同一个目录详见各子模块中 boot-jar-output 属性定义--><outputDirectory>${project.build.directory}/lib/</outputDirectory><!--<excludeTransitive>false</excludeTransitive><stripVersion>false</stripVersion><silent>false</silent><includeScope>runtime</includeScope>--></configuration></execution></executions></plugin><!--拷贝资源文件--><plugin><artifactId>maven-resources-plugin</artifactId><executions><execution><id>copy-resources</id><phase>package</phase><goals><goal>copy-resources</goal></goals><configuration><resources><resource><directory>src/main/resources</directory></resource></resources><outputDirectory>${project.build.directory}/resources</outputDirectory></configuration></execution></executions></plugin><!--Spring Boot模块jar构建--><plugin><groupId>org.springframework.boot</groupId><artifactId>spring-boot-maven-plugin</artifactId><configuration><mainClass>xxx.xxx.Starter(项目的主类的全路径名--包名.类名)</mainClass><classifier>exec</classifier><includeSystemScope>true</includeSystemScope><includes><!-- 不存在的include引用,相当于排除所有maven依赖jar,没有任何三方jar文件打入输出jar--><include><groupId>null</groupId><artifactId>null</artifactId></include><!--<include><groupId>*</groupId><artifactId>*-dto</artifactId></include>--></includes><layout>ZIP</layout><addResources>true</addResources><!--基于maven-jar-plugin输出微服务jar文件进行二次spring boot重新打包文件的输出目录所有微服务构建输出jar文件统一输出到与lib同一个目录,便于共同引用同一个lib目录详见各子模块中boot-jar-output属性定义--><outputDirectory>${project.build.directory}</outputDirectory><skip>true</skip></configuration><executions><execution><goals><goal>repackage</goal></goals></execution></executions></plugin><!-- 跳过deploy --><plugin><groupId>org.apache.maven.plugins</groupId><artifactId>maven-deploy-plugin</artifactId><version>2.8.2</version><configuration><skip>true</skip></configuration></plugin></plugins></build>
3.打包
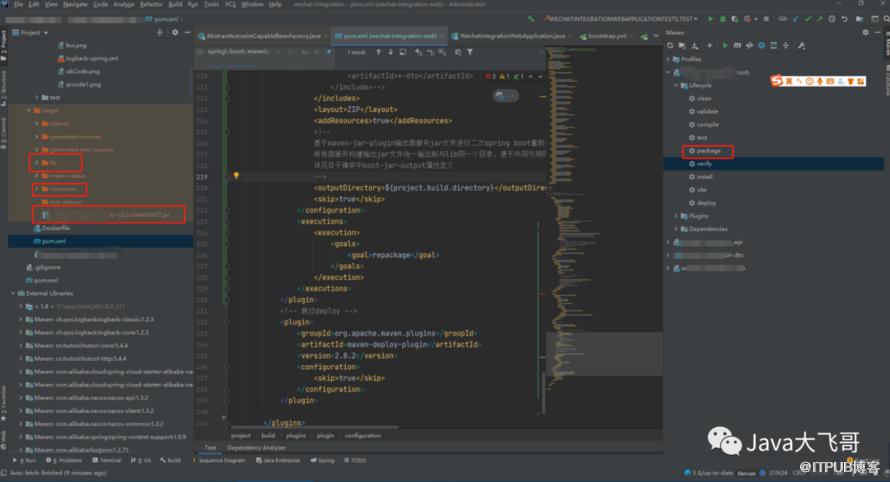
4.发布
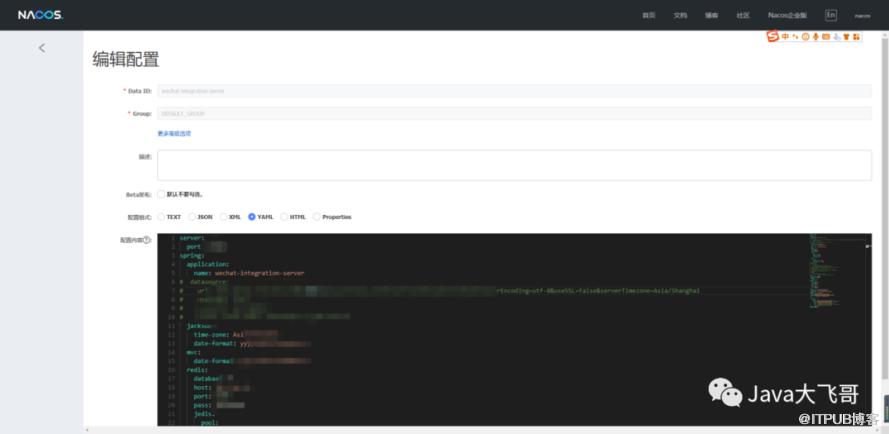
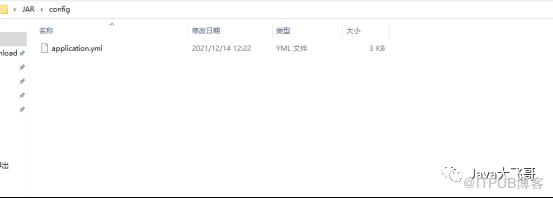
将该项目在nacos中的配置文件拷贝一份放入JAR路径中的application,yml中
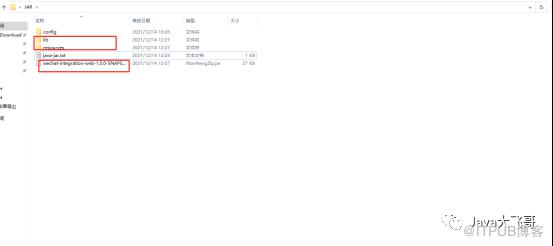
将打包路径下的lib、resources和jar包拷贝到发布路径下:打出的jar只有37kb
在本机的JAR路径下运行项目:
java -Dfile.encoding=utf-8 -jar xxxxxx-SNAPSHOT.jar --spring.profiles.active=uat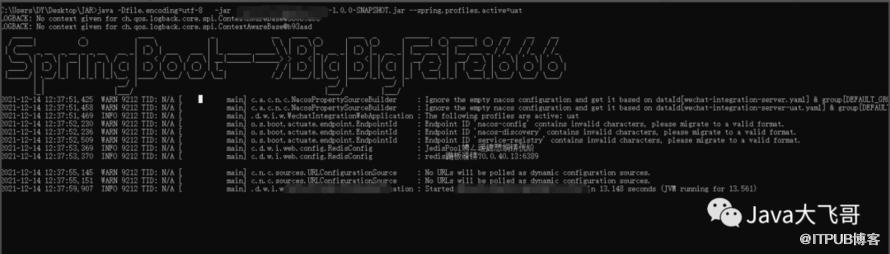
5.遇到的问题及解决办法
5.1pom配置和启动参数指定有误导致如下:
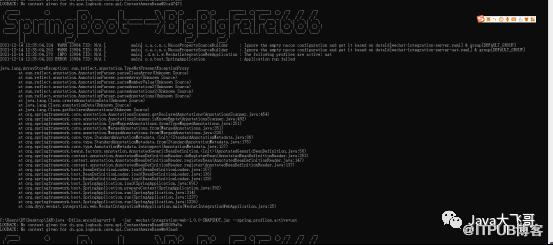
解决:
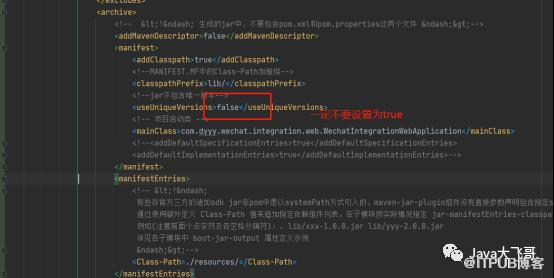
这个地方配置为true就会报这个错,启动不用指定:-Djava.ext.dirs -Dloader.path -Dloader.path等配置参数,使用4中的运行命令直接回车即可。
5.2启动找不到主类
参看:https://blog.csdn.net/wm5920/article/details/85063894
pom配置如下:
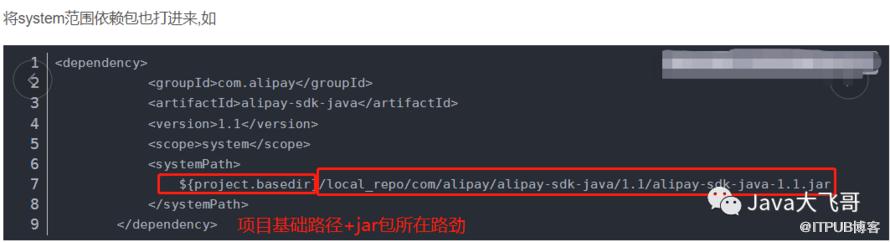
5.3引入项目中的第三方jar打包
6.总结优化建议
上面拷贝发布的环节可以借助编写dockerfile构建项目镜像,然后使用jenkins编写构建流水线脚本构建项目,在借助私有hub仓库,每次构建的镜像都会推送到Hub私服上,然后使用K8S来管理容器,在有兴趣的话可以使用一款K8S的管理工具或平台,就不用每次去服务的黑窗口下使用K8S的命令来jenkins构建好的待发布项目了,到此是不是我们会有一个清晰连贯的思路和突发奇想的灵感了。
7.参考
https://blog.csdn.net/wm5920/article/details/85063894
https://blog.csdn.net/Feihongxiansen/article/details/103703055
https://blog.csdn.net/xishining/article/details/107421609
https://mp.weixin.qq.com/s/eqUPKIlM7SjJUGnVUjUmhw
https://blog.csdn.net/believe__sss/article/details/79517962
https://www.cnblogs.com/byron0918/p/4825343.html
https://blog.csdn.net/Keith_Walker/article/details/103527554
https://www.jianshu.com/p/5f10555636b6
https://blog.51cto.com/u_15175540/2787415?ivk_sa=1024320u
原文作者:Java大飞哥;如有侵权,请联系管理员删除。

最新文章
- CentOs7.9安装Docker,SpringBoot项目分层构建镜像
- windows10下安装docker且使用wsl2安装双系统并构建最小jre镜像和应用镜像
- 乐企数电发票分布式发票号码生成重复的问题修复思路分享
- disruptor-spring-boot-start版本优化升级
- spring-rabbit的CachingConnectionFactory默认参数导致消费者Channel数量暴增问题解决
- disruptor-spring-boot-start生产实践导致pod节点CPU爆表100%的问题解决说明
- rabbitmq-spring-boot-start版本优化升级
- 使用shell脚本批量curl调用POST接口
- windwos上jps既不是内部命令也不是外部命令解决方法
- 接口对外安全交互新姿势
