CentOS 7.x环境下搭建: Headless chrome + Selenium + ChromeDriver 实现自动化测试
笔者所在公司希望使用Selenium进行高性能的自动化测试。出于稳定性考虑,我们选择linux环境,而不是Windows环境。同时为了追求测试效率,去UI化,所以选择了Chrome的Headless方案。
在环境搭建上,没有成熟的文档和方案支持,遇到了一些问题,花了不少精力,终于完成。因此记录下来希望对大家有所帮助。
1、环境说明
CentOS版本:
LSB Version: :core-4.1-amd64:core-4.1-noarch
Distributor ID: CentOS
Description: CentOS Linux release 7.3.1611 (Core)
Release: 7.3.1611
Codename: Core
Google-Chrome版本:Google Chrome 65.0.3325.146
Chromedriver版本:2.3.6(最新)
JDK版本:jdk-8u161-linux-x64
Tomcat版本:7.0.42
2、最新版本Google-Chrome安装
CentOS/RedHat 7以上安装google-chrome可以完全参考https://intoli.com/blog/installing-google-chrome-on-centos/ (6及以下版本不适用,一定请大家注意,强调三次)。
2.1 指定上网代理
由于服务器环境本身与外网隔绝,需要指定代理才能正常适用yum工具。我们用的代理服务器为http://10.46.89.29:1087(正常上网可以忽略此过程)。
首先,为yum工具指定代理,打开/etc/yum.conf配置文件进行编辑
在文件末尾增加以下内容(ip号+端口后无认证连接):
proxy=http://10.46.89.29:1087
如果需要认证连接则输入以下内容:
proxy=http://10.46.89.29:1087
proxy_username=代理服务器用户名
proxy_password=代理服务器密码
其次,我们还是要设置全局代理的,因为yum过程中可能还会用到curl等操作。
打开/etc/skel/.bash_profile进行编辑,末尾增加:
http_proxy=http://10.46.89.29:1087
https_proxy=http://10.46.89.29:1087
export http_proxy https_proxy
执行source /etc/skel/.bash_profile马上更新:
- 1
执行curl测试:
- 1
- 2
- 3
- 4
- 5
- 6
- 7
- 8
- 9
- 10
- 11
- 12
- 13
- 14
- 15
- 16
- 17
- 18
- 19
- 20
- 21
- 22
- 23
- 24
- 25
- 26
- 27
- 28
- 29
- 30
- 31
- 32
- 33
- 34
- 35
- 36
- 37
- 38
- 39
- 40
- 41
- 42
- 43
- 44
- 45
- 46
- 47
- 48
- 49
- 50
- 51
- 52
2.2 指定yum源
服务器应该指定合适yum源,避免找不到某些依赖的尴尬。
修改 /etc/yum.repos.d/CentOS-Base.repo,可以使用阿里的yum repo:
- 1
- 2
注意,选择你能正常访问的repo地址。保存后执行yum clean all操作。
- 1
- 2
- 3
- 4
- 5
2.3 安装google-chrome
根据https://intoli.com/blog/installing-google-chrome-on-centos/ ,执行命令:
- 1
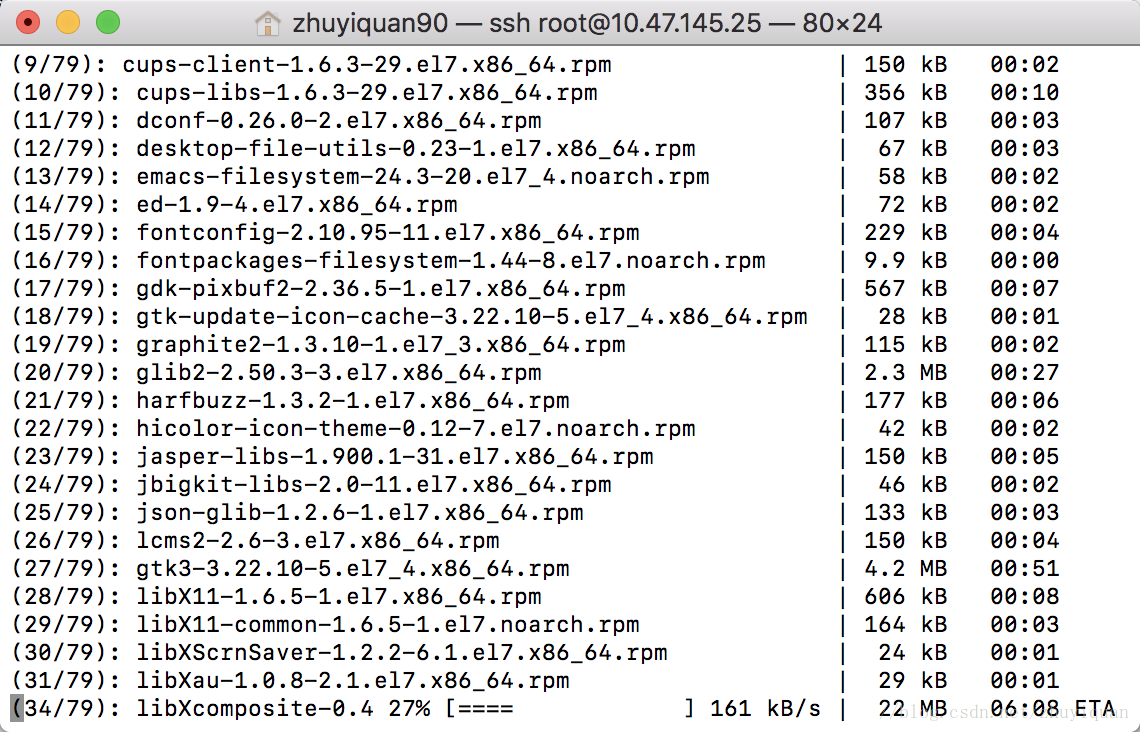
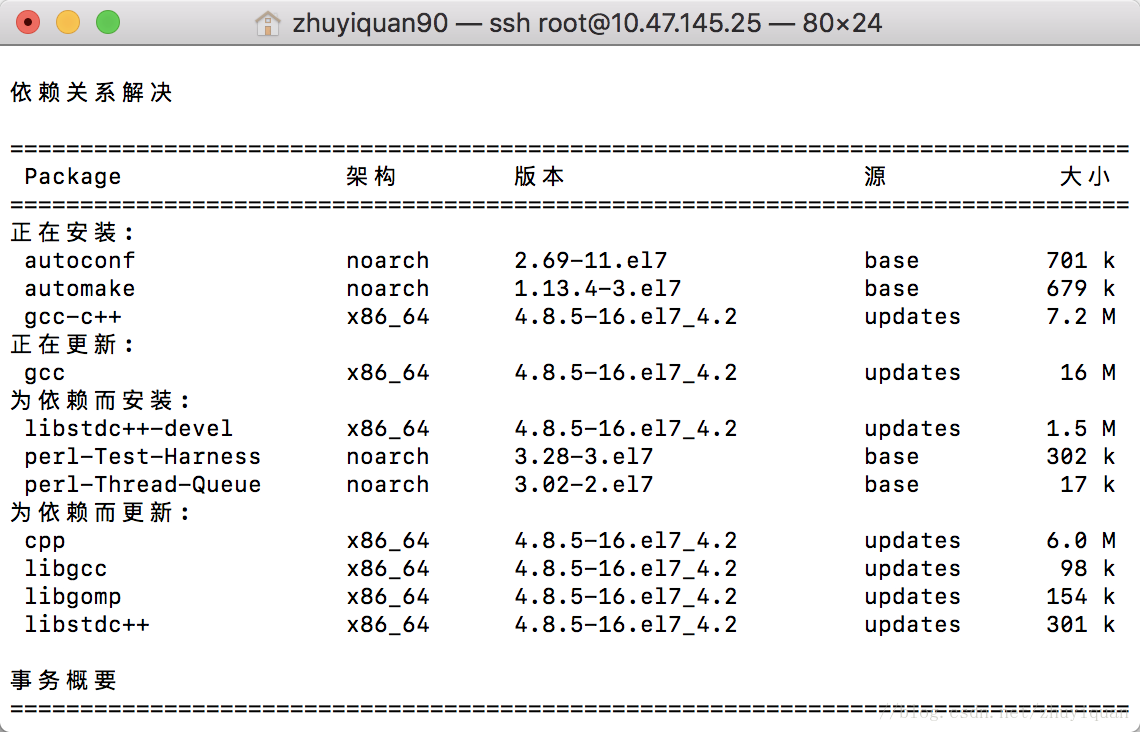
脚本会自动检测当前版本安装chrome所缺失的依赖包并下载。如下图所示。
注意,要注意脚本中的地址你都可以正常访问,否则脚本会执行失败。
最终安装成功会显示:
Successfully installed google-chrome-stable, Google Chrome 65.0.3325.146 .
检查是否还缺乏依赖:
- 1
返回为空,说明CentOS下chrome依赖问题基本解决。
2.4 运行chrome
执行
google-chrome-stable --headless --disable-gpu --screenshot https://运行chrome。报异常:
[0313/205202.138005:ERROR:zygote_host_impl_linux.cc(90)] Running as root without –no-sandbox is not supported. See https://crbug.com/638180.
必须以--no-sandbox模式运行。所以标准测试命令如下:
- 1
然而,仍然有错误:
[0100/000000.311368:ERROR:broker_posix.cc(43)] Invalid node channel message
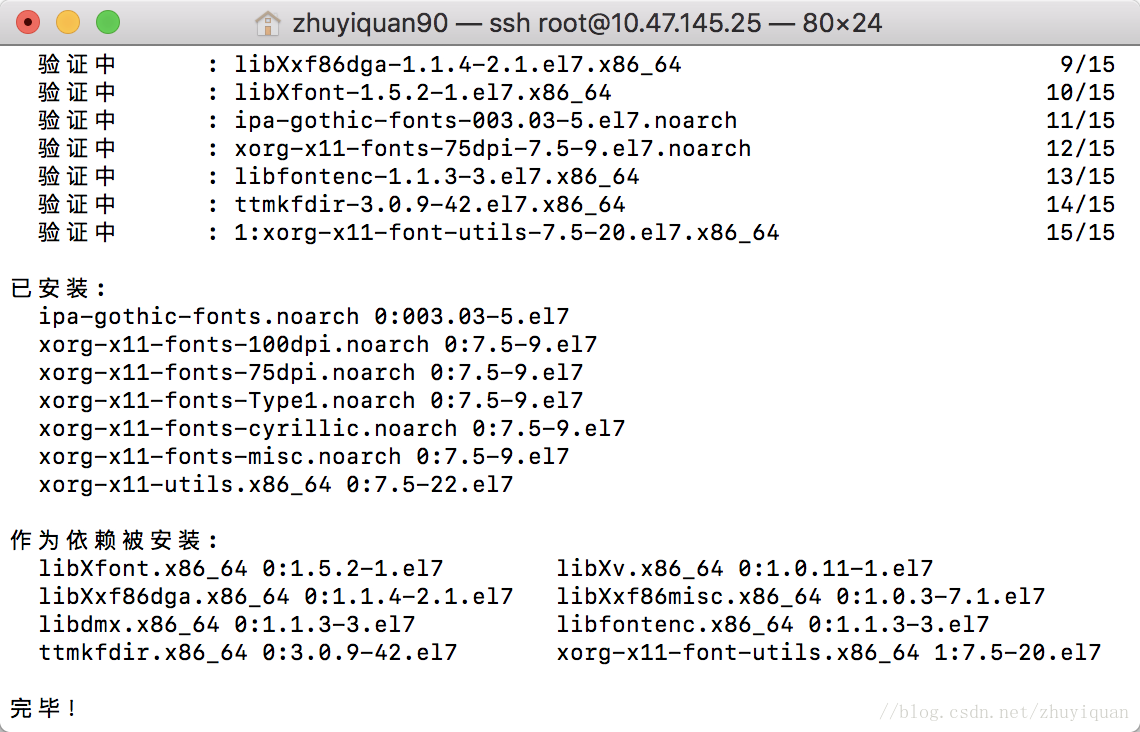
翻墙求助了好久,发现解决方案,仍然缺乏依赖:
- 1
- 2
- 3
- 4
- 5
- 6
- 7
- 8
解决之。再次运行
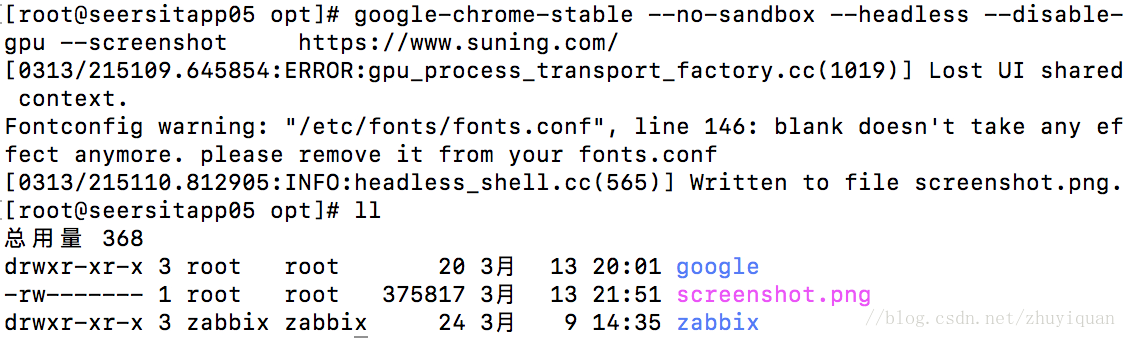
google-chrome-stable --no-sandbox --headless --disable-gpu --screenshot https://。访问成功,生成截图。
3、最新版本Chromedriver安装
为了匹配chrome版本Google Chrome 65.0.3325.146,下载最新版本的chromedriver 2.3.6 linux64位http://npm.taobao.org/mirrors/chromedriver/2.36/chromedriver_linux64.zip
解压后部署到/opt/drivers目录下,尝试运行:
- 1
- 2
- 3
成功!
另外要修改/etc/hosts,绑定127.0.0.1 localhost,否则,Java Selenium运行时chromedriver可能因为找不到localhost报超时异常(Timed out waiting for [http://localhost:9567/status]):
- 1
- 2
- 3
- 4
- 5
- 6
- 7
- 8
- 9
- 10
- 11
- 12
- 13
- 14
- 15
- 16
- 17
- 18
- 19
注意,其他版本chromedriver可能会缺依赖,缺啥补啥。
至此,CentOS 7下Google-Chrome和ChromeDriver搭建完毕!
由于我们使用的是Java Web开发。所以下面继续说下JDK和Tomcat搭建。(至于Selenium代码应用部分,将另起篇幅详述!)
4、Java环境安装
到Oracle官方下载http://www.oracle.com/technetwork/java/javase/downloads/jdk8-downloads-2133151.html
安装之前先检查一下系统有没有自带open-jdk:
- 1
- 2
- 3
如果安装可以批量卸载所有带有Java的文件:
- 1
在/opt目录下解压下载的jdk:
- 1
配置JDK环境,打开/etc/profile,增加JAVA环境变量:
- 1
- 2
- 3
- 4
- 5
设置完成后,退出vim,然后继续输入如下指令,刷新环境变量:
- 1
尝试测试JAVA是否安装成功:
- 1
- 2
- 3
- 4
- 5
- 6
5、Tomcat 7搭建
首先我们来配置一下tomcat的环境变量和内存设置,进入tomcat的bin目录后通过vi命令打开catalina.sh文件,并在其中加入如下配置:
- 1
- 2
- 3
- 4
接下来是tomcat的应用端口号,进入tomcat的conf目录下的server.xml文件,默认是8080端口。
最后,介绍下相关命令:
比如tomcat启动:
- 1
启动控制台日志可以在中打印:
- 1
关闭tomcat:
- 1
另外,还碰到了CentOS关闭后tomcat进程仍然存在的情况,生产环境下,当然不能每次强杀进程吧。可以参考:
https://www.cnblogs.com/ylz8401/p/6082242.html
http://blog.csdn.net/u012599988/article/details/44458083
最后,如果大家开启了代理模式,记得真正服务器生产运行时记得还原配置,关闭代理模式
来自 “ ITPUB博客 ” ,链接:https://blog.itpub.net/31541037/viewspace-2156992/ ,如需转载,请注明出处,否则将追究法律责任。

