SpringCloudBus:事件、消息总线,用于在集群(例如,配置变化事件)中传播状态变化,可与Spring Cloud Config联合实现热部署。
在上一篇写出了springcloud对微服务的集中配置,那么就出现了一个问题,如果修改配置了怎么实现不需重启服务来实现配置的更新,下面有集中解决方法。
1.使用/refresh手动刷新配置
缺点:单点刷新,如果集群服务多的话,无论是工作量还是维护上都十分麻烦。
使用上一篇的config-client服务,加入依赖,
spring-boot-starter-actuator
pom文件如下:
4.0.0 com.dalaoyang springcloud_config_client 0.0.1-SNAPSHOT jar springcloud_config_client springcloud_config_client org.springframework.boot spring-boot-starter-parent 1.5.9.RELEASE <!-- lookup parent from repository --> UTF-8 UTF-8 1.8 Edgware.SR1 org.springframework.cloud spring-cloud-starter-eureka org.springframework.boot spring-boot-starter-test test org.springframework.cloud spring-cloud-starter-config org.springframework.boot spring-boot-starter-actuator org.springframework.cloud spring-cloud-dependencies ${spring-cloud.version} pom import org.springframework.boot spring-boot-maven-plugin
在Controller类上加入@RefreshScope注解,由于上一篇controller写在了启动类上,所以直接加在启动类上,代码如下:
package com.dalaoyang;

import org.springframework.beans.factory.annotation.Value;
import org.springframework.boot.SpringApplication;
import org.springframework.boot.autoconfigure.SpringBootApplication;
import org.springframework.cloud.context.config.annotation.RefreshScope;
import org.springframework.web.bind.annotation.RequestMapping;
import org.springframework.web.bind.annotation.RestController;

@SpringBootApplication
@RestController
@RefreshScope
public class SpringcloudConfigClientApplication {

	public static void main(String[] args) {
		SpringApplication.run(SpringcloudConfigClientApplication.class, args);
	}


	@Value("${title}")
	String title;

	@RequestMapping("/getTitle")
	public String getTitle(){
		return title;
	}

}
配置文件新增配置management.security.enabled=false,在刷新时关闭安全验证。
代码如下:
spring.application.name=config-client
spring.cloud.config.label=master
spring.cloud.config.profile=test
spring.cloud.config.uri= http://localhost:9000/

##注册中心地址
eureka.client.service-url.defaultZone=http://eureka.dalaoyang.cn/eureka/

## 刷新时,关闭安全验证
management.security.enabled=false
分别启动项目config-server,config-client。访问http://localhost:8080/getTitle,结果如下图
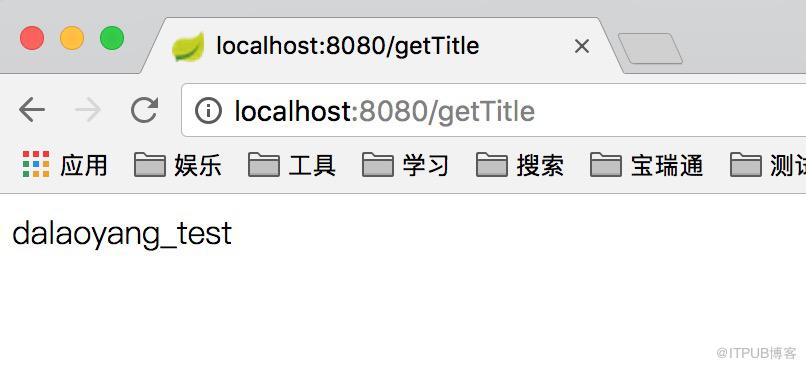
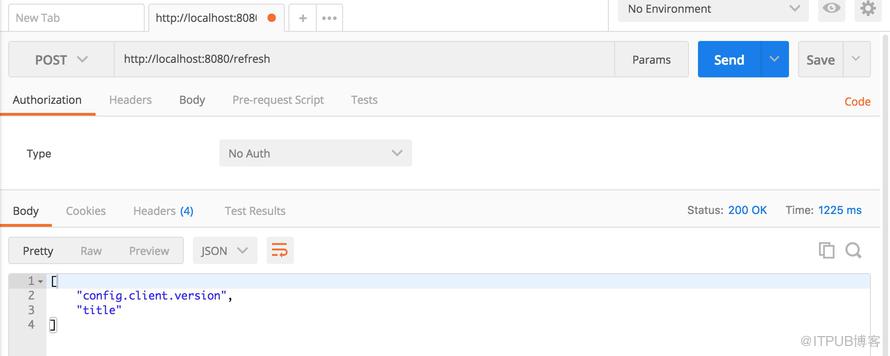
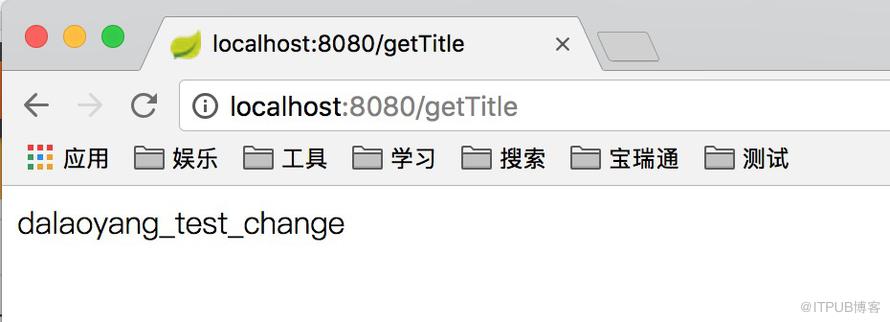
修改git上配置,修改为dalaoyang_test_change,在次请求,结果没有改变,使用postman或者其他工具post请求http://localhost:8080/getTitle看到返回如下结果。
在次访问http://localhost:8080/getTitle,如下图
2.使用springcloudbus刷新配置
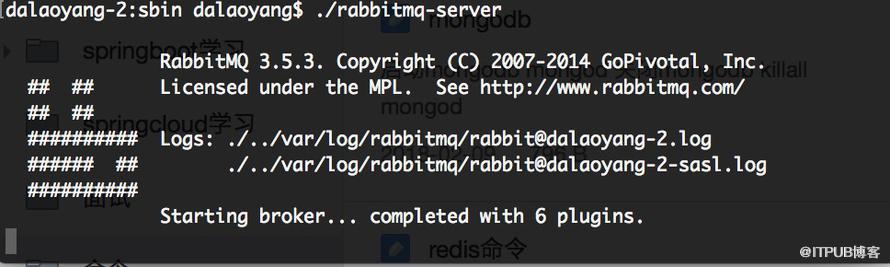
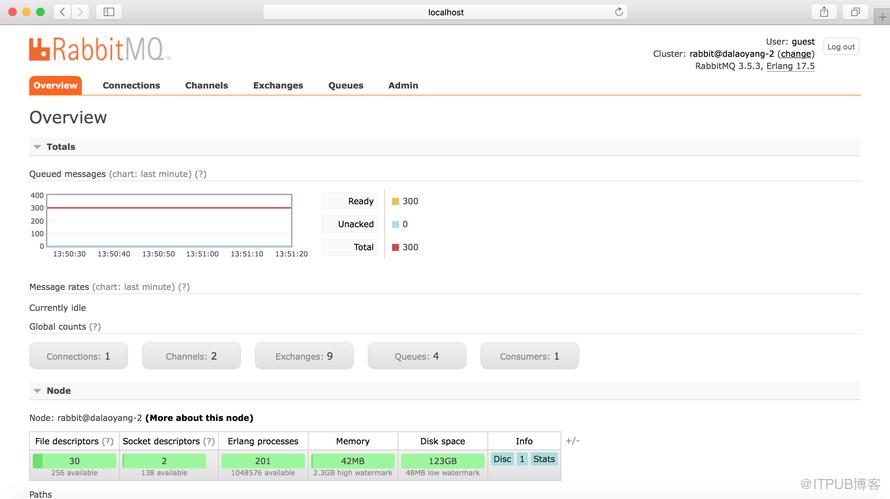
springcloudbus需要使用轻量消息代理,本文使用rabbitmq,启动rabbitmq如下图:
访问http://localhost:15672/#/如下图
新建项目springcloud_bus,同时改造config-client,pom文件加入bus依赖,代码如下:
4.0.0 com.dalaoyang springcloud_bus 0.0.1-SNAPSHOT jar springcloud_bus springcloud_bus org.springframework.boot spring-boot-starter-parent 1.5.9.RELEASE <!-- lookup parent from repository --> UTF-8 UTF-8 1.8 Edgware.SR1 org.springframework.cloud spring-cloud-starter-eureka org.springframework.boot spring-boot-starter-test test org.springframework.cloud spring-cloud-starter-config org.springframework.boot spring-boot-starter-actuator org.springframework.cloud spring-cloud-starter-bus-amqp org.springframework.cloud spring-cloud-dependencies ${spring-cloud.version} pom import org.springframework.boot spring-boot-maven-plugin
加入rabbitmq配置,配置文件如下:
spring.rabbitmq.host=localhost
spring.rabbitmq.port=5672
spring.rabbitmq.username=guest
spring.rabbitmq.password=guest

##端口号
server.port=8881

## 刷新时,关闭安全验证
management.security.enabled=false

spring.application.name=config-client
spring.cloud.config.label=master
spring.cloud.config.profile=test
spring.cloud.config.uri= http://localhost:9000/

##注册中心地址
eureka.client.service-url.defaultZone=http://eureka.dalaoyang.cn/eureka/
启动类加入注解@RefreshScope,代码如下:
package com.dalaoyang;

import org.springframework.beans.factory.annotation.Value;
import org.springframework.boot.SpringApplication;
import org.springframework.boot.autoconfigure.SpringBootApplication;
import org.springframework.cloud.context.config.annotation.RefreshScope;
import org.springframework.web.bind.annotation.RequestMapping;
import org.springframework.web.bind.annotation.RestController;

@SpringBootApplication
@RestController
@RefreshScope
public class SpringcloudBusApplication {

	public static void main(String[] args) {
		SpringApplication.run(SpringcloudBusApplication.class, args);
	}


	@Value("${title}")
	String title;

	@RequestMapping("/getTitle")
	public String getTitle(){
		return title;
	}
}
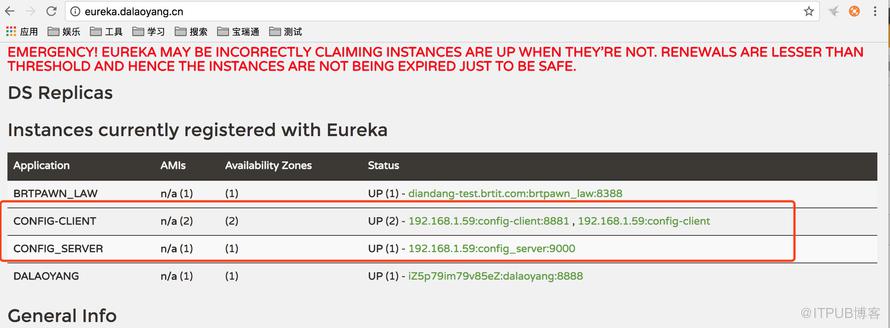
config-client加入同样依赖和配置,重启config-client,启动springcloud_bus,先去http://eureka.dalaoyang.cn/,可以看到
先将git上配置改回dalaoyang_test,分别请求http://localhost:8881/getTitle和http://localhost:8080/getTitle结果如下:
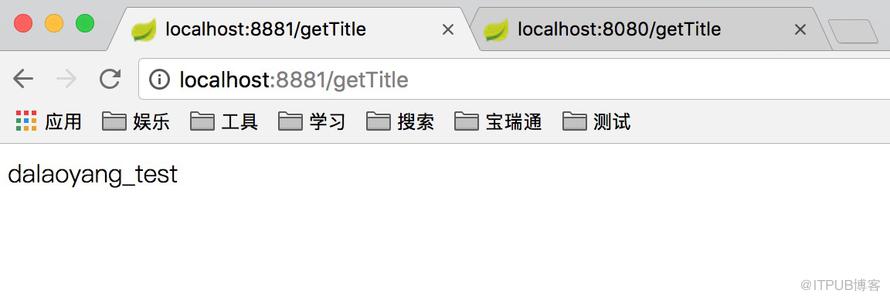
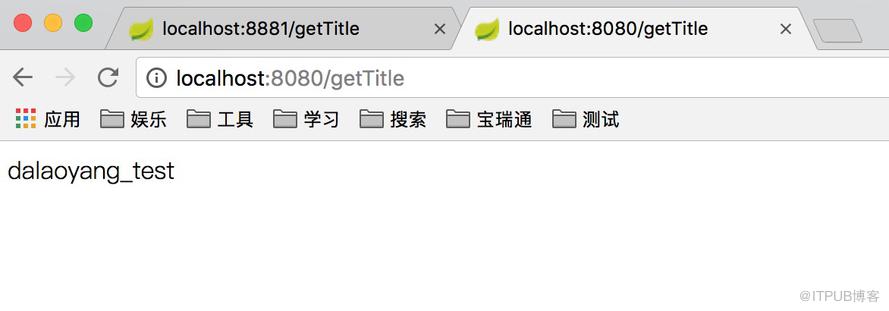
然后用postman使用post请求访问http://localhost:8881/bus/refresh
再次分别请求http://localhost:8881/getTitle和http://localhost:8080/getTitle结果如下:
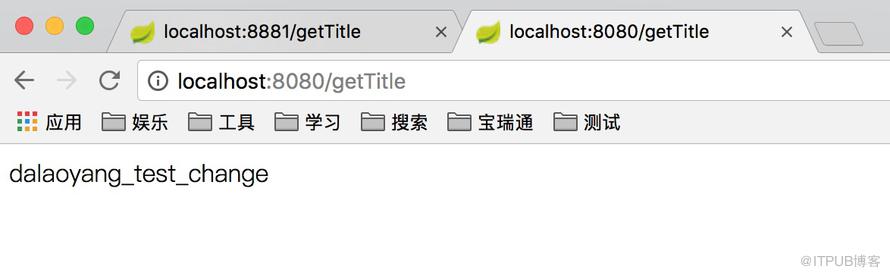
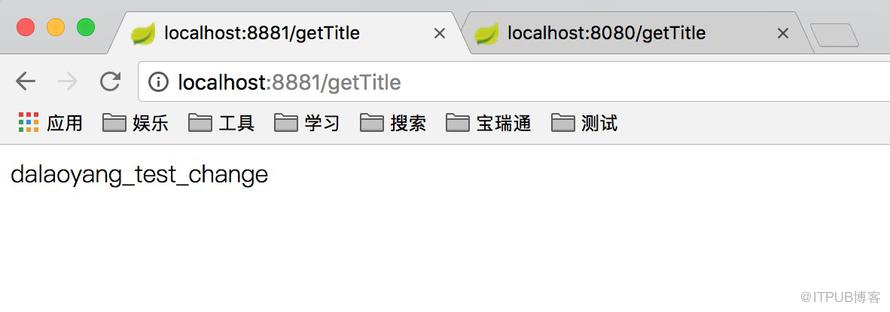
从图中可以看出刷新配置成功。
3.局部刷新配置,配置与第2种方法一样,只是在使用postman刷新时略加改变,在本文中使用http://localhost:8881/bus/refresh?destination=config-client:8881可以刷新服务名为config-client端口为8881的服务,如果想要刷新服务名为config-client的所有服务可以写成http://localhost:8881/bus/refresh?destination=config-client:**
源码下载 :大老杨码云
来自 “ ITPUB博客 ” ,链接:https://blog.itpub.net/225/viewspace-2804717/ ,如需转载,请注明出处,否则将追究法律责任。

