1. 准备工作
1.1 注册阿里云账号
使用个人淘宝账号或手机号,开通阿里云账号,并通过实名认证(可以用支付宝认证)
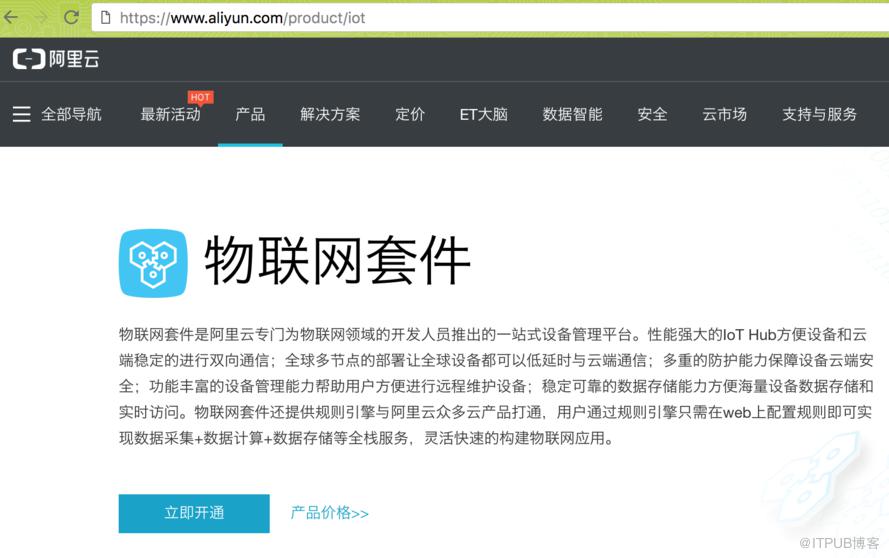
1.2 免费开通IoT物联网套件
产品官网 https://www.aliyun.com/product/iot
1.3 软件环境
Nodejs安装 https://nodejs.org/en/download/
编辑器 sublimeText/nodepad++/vscode
2.1 云端开发
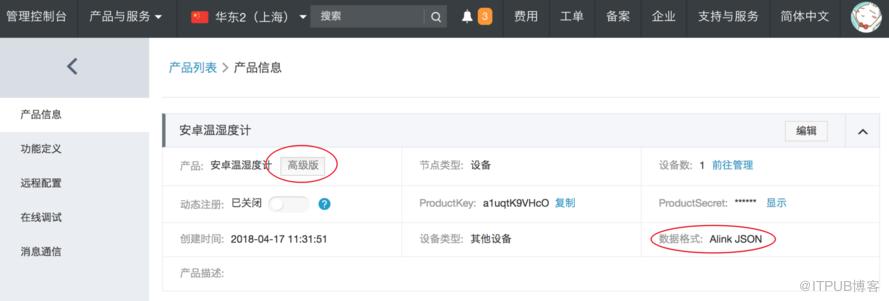
1) 创建高级版产品
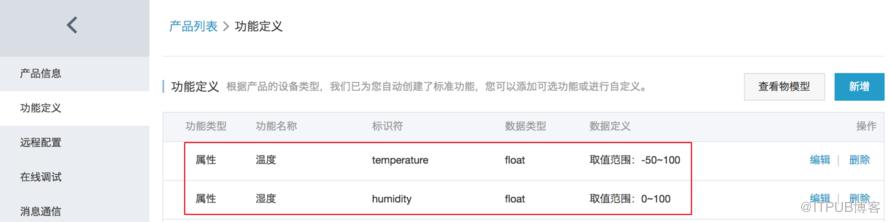
2) 功能定义,产品物模型添加属性
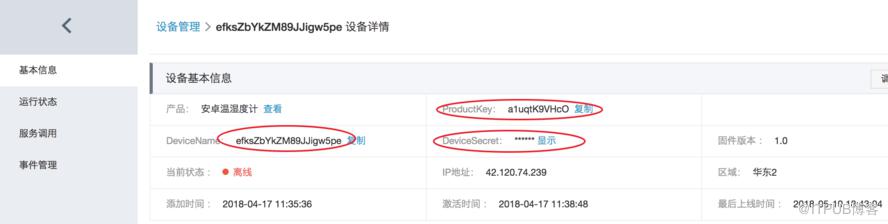
3) 注册设备,获得身份三元组
2.2 设备端开发
我们以nodejs程序来模拟设备,建立连接,上报数据。
1) 应用程序目录结构
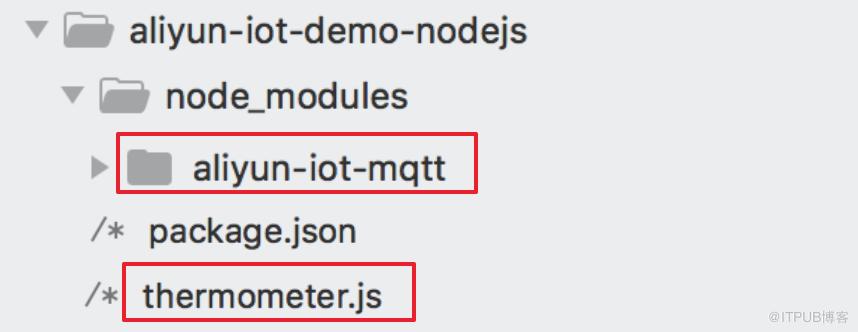
2) package.json添加阿里云IoT套件sdk依赖
{
  "name": "aliyun-iot",
  "dependencies": {
    "aliyun-iot-mqtt": "^0.0.4"
  },
  "author": "wongxming",
  "license": "MIT"
}
下载安装SDK
$npm install3) 模拟设备thermometer.js代码
/**
"dependencies": { "aliyun-iot-mqtt": "^0.0.4" }
*/
const mqtt = require('aliyun-iot-mqtt');
//设备属性
const options = {
    productKey: "产品productKey",
    deviceName: "设备deviceName",
    deviceSecret: "设备的secret",
    regionId: "cn-shanghai"
};
//建立连接
const client = mqtt.getAliyunIotMqttClient(options);

//属性上报的Topic
const topic = `/sys/${options.productKey}/${options.deviceName}/thing/event/property/post`;
setInterval(function() {
    //发布数据到topic
    client.publish(topic, getPostData());
}, 5 * 1000);

function getPostData(){
    const payloadJson = {
        id: Date.now(),
        params: {
            temperature: Math.floor((Math.random() * 20) + 10),
            humidity: Math.floor((Math.random() * 20) + 60)
        },
        method: "thing.event.property.post"
    }

    console.log("===postData topic=" + topic)
    console.log(payloadJson)

    return JSON.stringify(payloadJson);
}3.1 设备启动
$node thermometer.js3.2 云端查看设备运行状态
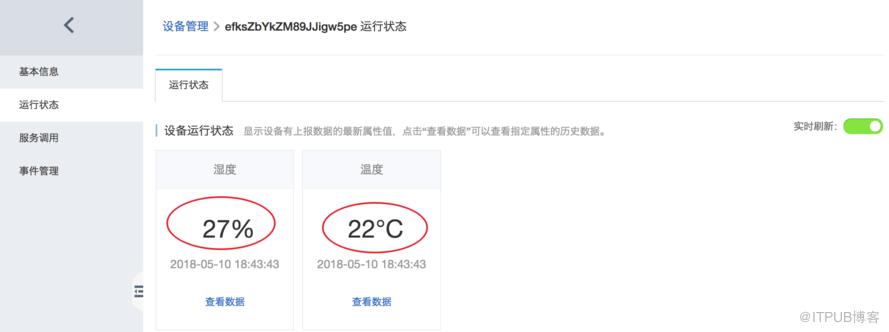
来自 “ ITPUB博客 ” ,链接:https://blog.itpub.net/1595/viewspace-2809351/ ,如需转载,请注明出处,否则将追究法律责任。
上一篇:
人脸检测之MTCNN代码实现
下一篇:
Android快速实现发送邮件

请登录后发表评论
登录
全部评论
